During the entire process over the last few months, we have kept our eye out for the things we needed in the room, you know, for finishing touches that would help with workspace areas and storage.
Steve, the ever-vigilant Bargain Hunter, ran across an ad on Craigslist a while back. A gentleman had some office cabinetry stored away in a storage unit that he was looking to get rid of. It turned out his mother had five different storage units full of stuff and he was trying to liquidate things one unit at a time. What a job.
He had an assortment of cabinetry that he said came out of an office somewhere. He had no idea where his mother had gotten it from. It was really UGLY to say the least.
If I saw it in an office, I would think it was quite butt ugly!!!
But I could see beyond that.
Envisioning what I could do with it, we examined it a little more closely. This was very heavy solidly built office furniture. There were two file cabinets with very strong drawer glides and were well put together.


Then there was this tall bar piece that was kind of like maybe a countertop, maybe to come up to to make appointments or to block off a work area in an office. I had a really good idea of what to use this for! (sorry, no pic, it was stored behind the other stuff.)

We took all of it off his hands for the mere price of $100 --- for the entire load.


In deciding where everything needed to go, I made little cut out pieces of cardboard, made to scale, of every piece that would be going into the she shed. I cannot tell you how many times we sat down and went over this diagram working it out on the grid of this cutting board. Everything was to scale.

Even the littlest grandchild Claire gave her input into the arrangement!

Now it was time to bring it all to fruition. I pretty much decided on my final arrangements and we began carrying in the pieces to assemble everything.
The largest wall unit was way too heavy for me to hold up into place, even with a temporary mounting plate screwed in underneath. Time to call on our kids. It's nice that some only live a few miles away. Our son-in-law Waylen came over after dinner to help Steve haul in this huge heavy piece of cabinetry. I cannot even guess how heavy it was. They held it up to the wall and attached it securely with huge lag screws into the studs.


We ran a cord from the floor outlet and installed a power strip up the inside of one cabinet and screwed into place. Then we laid a 3 foot by 5 foot table top over the work area and secured it down to the file cabinets with heavy brackets.

We cut an access hole in the top with a hole saw and added a large wiring grommet to cover the rough edges. Now I could run power cords up from the power strip underneath to the top surface of the work station. Cords for my Ott lamp, sewing machine, or small iron could come up through this opening and not be dangling over the edge of the table top.

Once we had that part all put together
now was the next step
that I thought was pretty ingenious
Remember that odd appointment bar countertop piece? Well, that was going to become part of my sewing/cutting/ironing island and we would attach it to that cutting table surface. It was extremely heavy and could tip over easily. Steve made heavy brackets to attach it right to the table top as well as some strong wooden support boards to come out from the bottom of each file cabinet and attach securely at the bottom of the bar piece. Now the entire structure was one piece of furniture. The two file cabinets, the tabletop, and this bar piece.


This sewing/cutting/ironing island configuration would be meeting two different needs. One is that it would kind of block off my messy work area from the rest of the room as I'm sewing or working on things. Visually all of my work-in-progress stuff would be down behind the bar and not out in the middle of the room. I liked it bringing a cleaner neater appearance when being in the room.

Soooooo
We detached my "Big Board" surface from the heavy duty legs. Now I can easily set this board on top of the countertop of this bar area.

When not in use, the board can just be slid down between the bar area and the backs of these file cabinets in the open space. On one side of the open space Steve hung a cute little wire rack that was originally in our laundry room when we bought the house. The rack is made to hold the irons and a spray bottle or two of starch.


Now I can stow everything away in the matter of minutes, or take it back out again to do the quilting pressing and ironing as I wish.
One end of this countertop bar was rough unfinished wood from where it had been attached to a wall.
No problem, said Steveio!

Steve was able to remove a section of matching laminate from that huge half circle piece still waiting in the garage. He used the small oscillating tool with a putty knife blade and it came off after a slight warming with a heat gun. Now he was able to attach it to the end of the bar and cover up that one unsightly section. Using good contact adhesive and clamps, he finished off the edge and around the corner of it where there had been some missing pieces. It looks just like an original installation now and he did a great job. Steve had done a lot of laminate countertop work at the University for the classrooms and labs over the years.

Hopefully somebody else is going to reuse repurpose recycle it!
There were a few other pieces of cabinetry that needed to be reused as well in my she shed.
When we first moved here, here, there was a big black tall cabinet in the garage. It was loaded with odds and ends of automotive things and plumbing fixtures. I told Steve I had my eye on it because it was the perfect size for stacking in my fabric bins for the quilting area of my she shed. It took three coats of paint to cover that black, but now the cabinet was done and ready to be moved into my she shed.


Also when we first bought the house there was a tall white linen cabinet in the laundry room. Because we reconfigured and changed the laundry room around, we moved the cabinet out of there. That cabinet I now wanted for my she shed room to hold more of my supplies and weaving stash.
We moved both of the tall cabinets into the she shed and balanced them on each side of my quilting frame. I think they worked out perfectly there and are great additional storage.

Steve is working on the outlets and covers,
even though I anxiously was moving in my stuff!
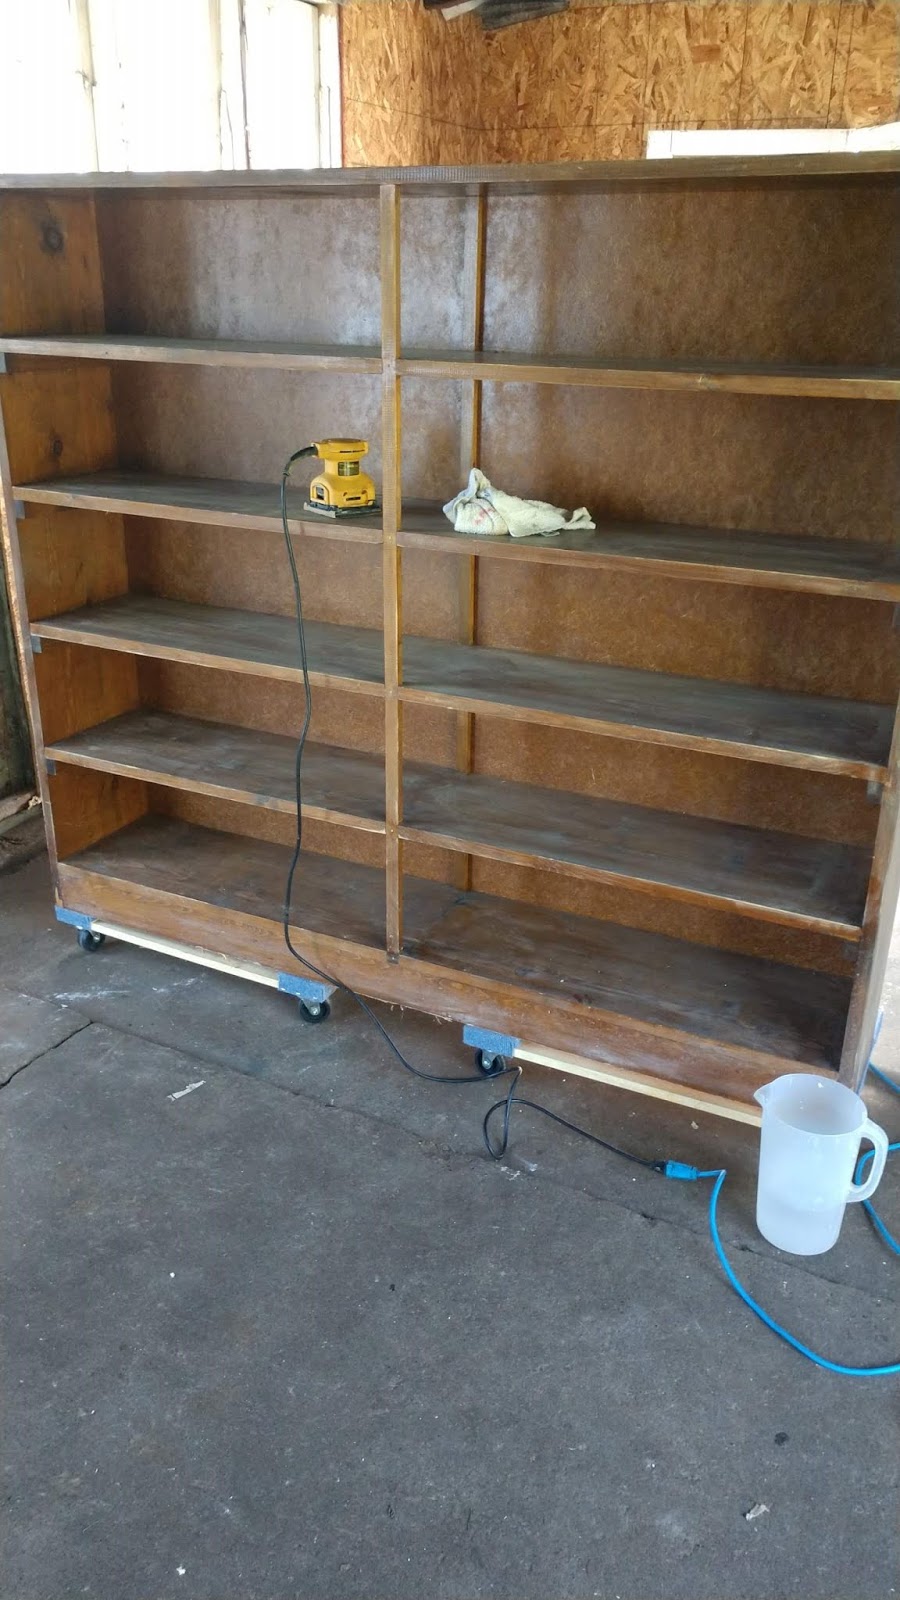
I painted it up and got out my tape measure. It was too big to go in my completed she shed but it would fit perfectly into the small office room in the house. The bookcase was very heavy, so again, we called upon a son-in-law to help lift it up and carry it into the house.

It exactly fit to the inch between the quarter round floor moldings of the baseboards. six feet wide from edge to edge.
Talk about a tight squeeze and perfect fit!

This now can hold all of my books, magazines, inventory, shipping materials, and office supplies. This office room had at one time long ago been a bedroom in this little old farmhouse. Only 6 feet wide by about 8 feet long. Room for a small double bed and maybe a tiny chest of drawers? Now it was our "office".

One of the last reuse repurpose recycle items we did was a set of old white cabinet doors that we found at the ReStore. The size was almost what we needed, but a little bit bigger. We brought them home for the price of $5 each. The hinges and handles were already on them. Steve only had to cut off the bottom edge about 4 inches to get them to fit in the space we wanted.

I gave them a fresh coat of paint and Steve mounted them in place. These two doors were going to disguise the extra scuttlehole entryway into our basement. That way it looks like a piece of built-in cabinetry on the wall.


I like the added square footage of floor space by blocking off those crumbly old steps. Now the entire floor is usable, but we can still access the basement if we needed to. There is access our basement from a full sized exterior doorway on the other side of the house
Reuse repurpose recycle!
With the she shed coming together nicely, our next step is going to be completing all of the trim around the windows and doors and baseboards. The items I moved into the room are easily slid over to attach the rest of the baseboard trim. It was fun that I got to start arranging and assembling and storing some of my items, even though we didn't have all of the trim into place yet.


Wow you are one busy girl! I would never keep up with you my husband is like Steve busy all the time never sits still he can turn his hand to anything. He also restores old cars and sews the interiors.
ReplyDeleteSounds like Steve's kind of buddy!
DeleteIt's just a miracle what a few coats of white paint can do. Everything looks so fresh & new! You are going to enjoy your she-shed so much! Are you thinking of an area rug to anchor the seating area?
ReplyDeleteGood suggestion, but with the electrical outlet in the floor under the couch that wouldn't work. We use it to plug in our laptops and maybe a lamp later if we add an an endtable on each side of the couch. Less tripping hazard than using extension cords going to the walls. I do have a handwoven runner in front of the couch that matches one over near the doggie door.
DeleteLove it!! I will be stealing some of your ideas!
ReplyDelete