Hey RVing readers, it's time for a motor home modification post!! We haven't had too many of them this year so far, just the brake calipers so far. Time for another one.
A number of years ago we had changed the old orginal Winguard bat wing antenna over to a Jack antenna made by King. We still had the existing crank up mast and all of the interior connections that went along with the old Winguard batwing. All we did was change the top head with the King Jack amplified antenna head. It worked great for all these years and there's really nothing wrong with it.
Buttttt
Last week, during all of the rain that we were getting, we noticed that dreaded awful thing that any RV'er does not want to see. We saw some drips of WATER coming in alongside of our antenna mast and dripping down on to the driver's seat!
Rut Roh, that is not good---
As soon as the rain stopped, Steve went up on the roof to check things out. He figured there was probably a little spot that he needed to seal back up with Dicor roof sealant. He did see a questionable area that he thought might be where the water was intruding on the lip edge of the base. It wasn't much, but we knew from other Safari owners experiences, that we HAD to take care of it right away, or else.
From the inside, Steve removed the speakers in the nearby area to pull away the insulation at the roofline. Now he could look up from the inside and make sure that there wasn't any rot or mold going on. Whew! We were in the clear. It wasn't bad at all it was just dripping straight down the mast directly into the motor home Up under the lip of the existing antenna mast and through the center. But it needed to be taken care of right away.
We thought to ourselves: why not, at the same time, order a new non-cranking antenna and a full base plate to cover the entire area where it may have been leaking. We decided this would be a nice time to buy the newest one out from King. Our kids had it on their newer motorhome and it worked fine for them. Time to upgrade?
The added bonus is with the new one, we don't need to crank up or down, just rotate it for the best signal. It is really the same antenna we already have, just on a different base mount.
We looked around a bit online and read a bit and decided to order this one from Amazon, along with the base, and a new tube of Dicor--- which is the best silicone roof sealant for RV's. Altogether it came to about $150 total.
If you are going to put on a new King antenna over where the old Winguard bracket had been mounted before, the holes do not line up. To cover over the extra holes, you need to order this additional base plate. It doesn't come with the antenna itself.
Steve gathered up all of his tools, ladder and power cord. He got set to remove the old antenna mast with the crank up arm. Luckily all of the screws came out easily and a little power oscillating tool helped to remove any built up layers of putty or Dicor that was around the base of the old antenna.
(P.S. our roof is looking a little grubby, so I think a power wash and maybe a new coat of elastomeric paint is next up on the task list?)
I grabbed the camera and went up on the ladder to take a picture as he was just pulling the old base loose. WHEW=== look at that!
Actually, it's all soft putty which is good. That was better than having it all rock solid and hard!
Just look at that guy up there manhandling that little antenna. Most people lose their antennas because they forgot to crank it down and hit a tree, or overhanging power line, or an awning on a drive through or at a gas station. Not us. Instead our antenna got yanked off by pure muscle from my man, pulling it off the roof.
So this is what was left behind. We're not exactly sure where was leaking in from. It looks like it was pretty well sealed. Maybe at one of the screw holes? Or under the flange? But at least we caught it early enough before it did any damage internally.
This handy little oscillating tool works really well to pick up all of the extra goo and gunk around the edges.
Now that Steve got that surface all cleaned up, it's time to feed the cables up through the new base and figure out exactly where it needs to lay on the roof. He marked it with a marker, and drilled an access hole to accommodate the small signal finder cable.
The cables must be connected first before it is attached down firmly to the roof surface. Following the directions, both the regular coax and the smaller lead that goes down to the signal finder are screwed tightly into place on the splitter inside the base.
He found it's easier to remove the splitter from the base to screw them onto the male nubs than to try to do it while in place. Then return the splitter mechanism back into its proper position and screw it back down tight. Kinda helps because otherwise there's not a lot of knuckle room to use your fingers and tighten the coax cable fittings snugly.
Before he attaches the base of the antenna to the big square plate, he put a liberal bead of Dicor all of the way around, per manufacturer's instructions. This stuff is the best to use on a roof, and we used it also on our solar panel screws that are drilled right into the roof material as well.
Now that everything is coming together, it's time to tilt it down and into place. I went back inside to help guide the cable and the rotating shaft down inside through the hole. This next part helps to have 2 people doing it.
From the inside, I made sure that the rotating shaft was centered in the opening and not being impeded on in any way by rubbing against any of the edges. I also made sure that the extra little cable was coming down in through the hole on the proper side of the shaft. This will be connected to the built-in signal finder unit.
He attached that to the base of the antenna with the 6 bolts and locking nuts. Then he ran a double bead of Dicor all the way around the bottom surface of the square mounting plate.
Again, we checked that the antenna rotated freely in 360゚. Now he was able to actually screw it down into place firmly using stainless steel screws. Then he liberally coated around all of the edges and over the top of each screw with more Dicor. The more the merrier, and it will be sealed up permanently.
That sure looks a lot better than what we had before. Plus, we don't have to worry about cranking it up or remember to crank it down anymore. This unit is stationary on the base and just the head rotates 360 degrees.
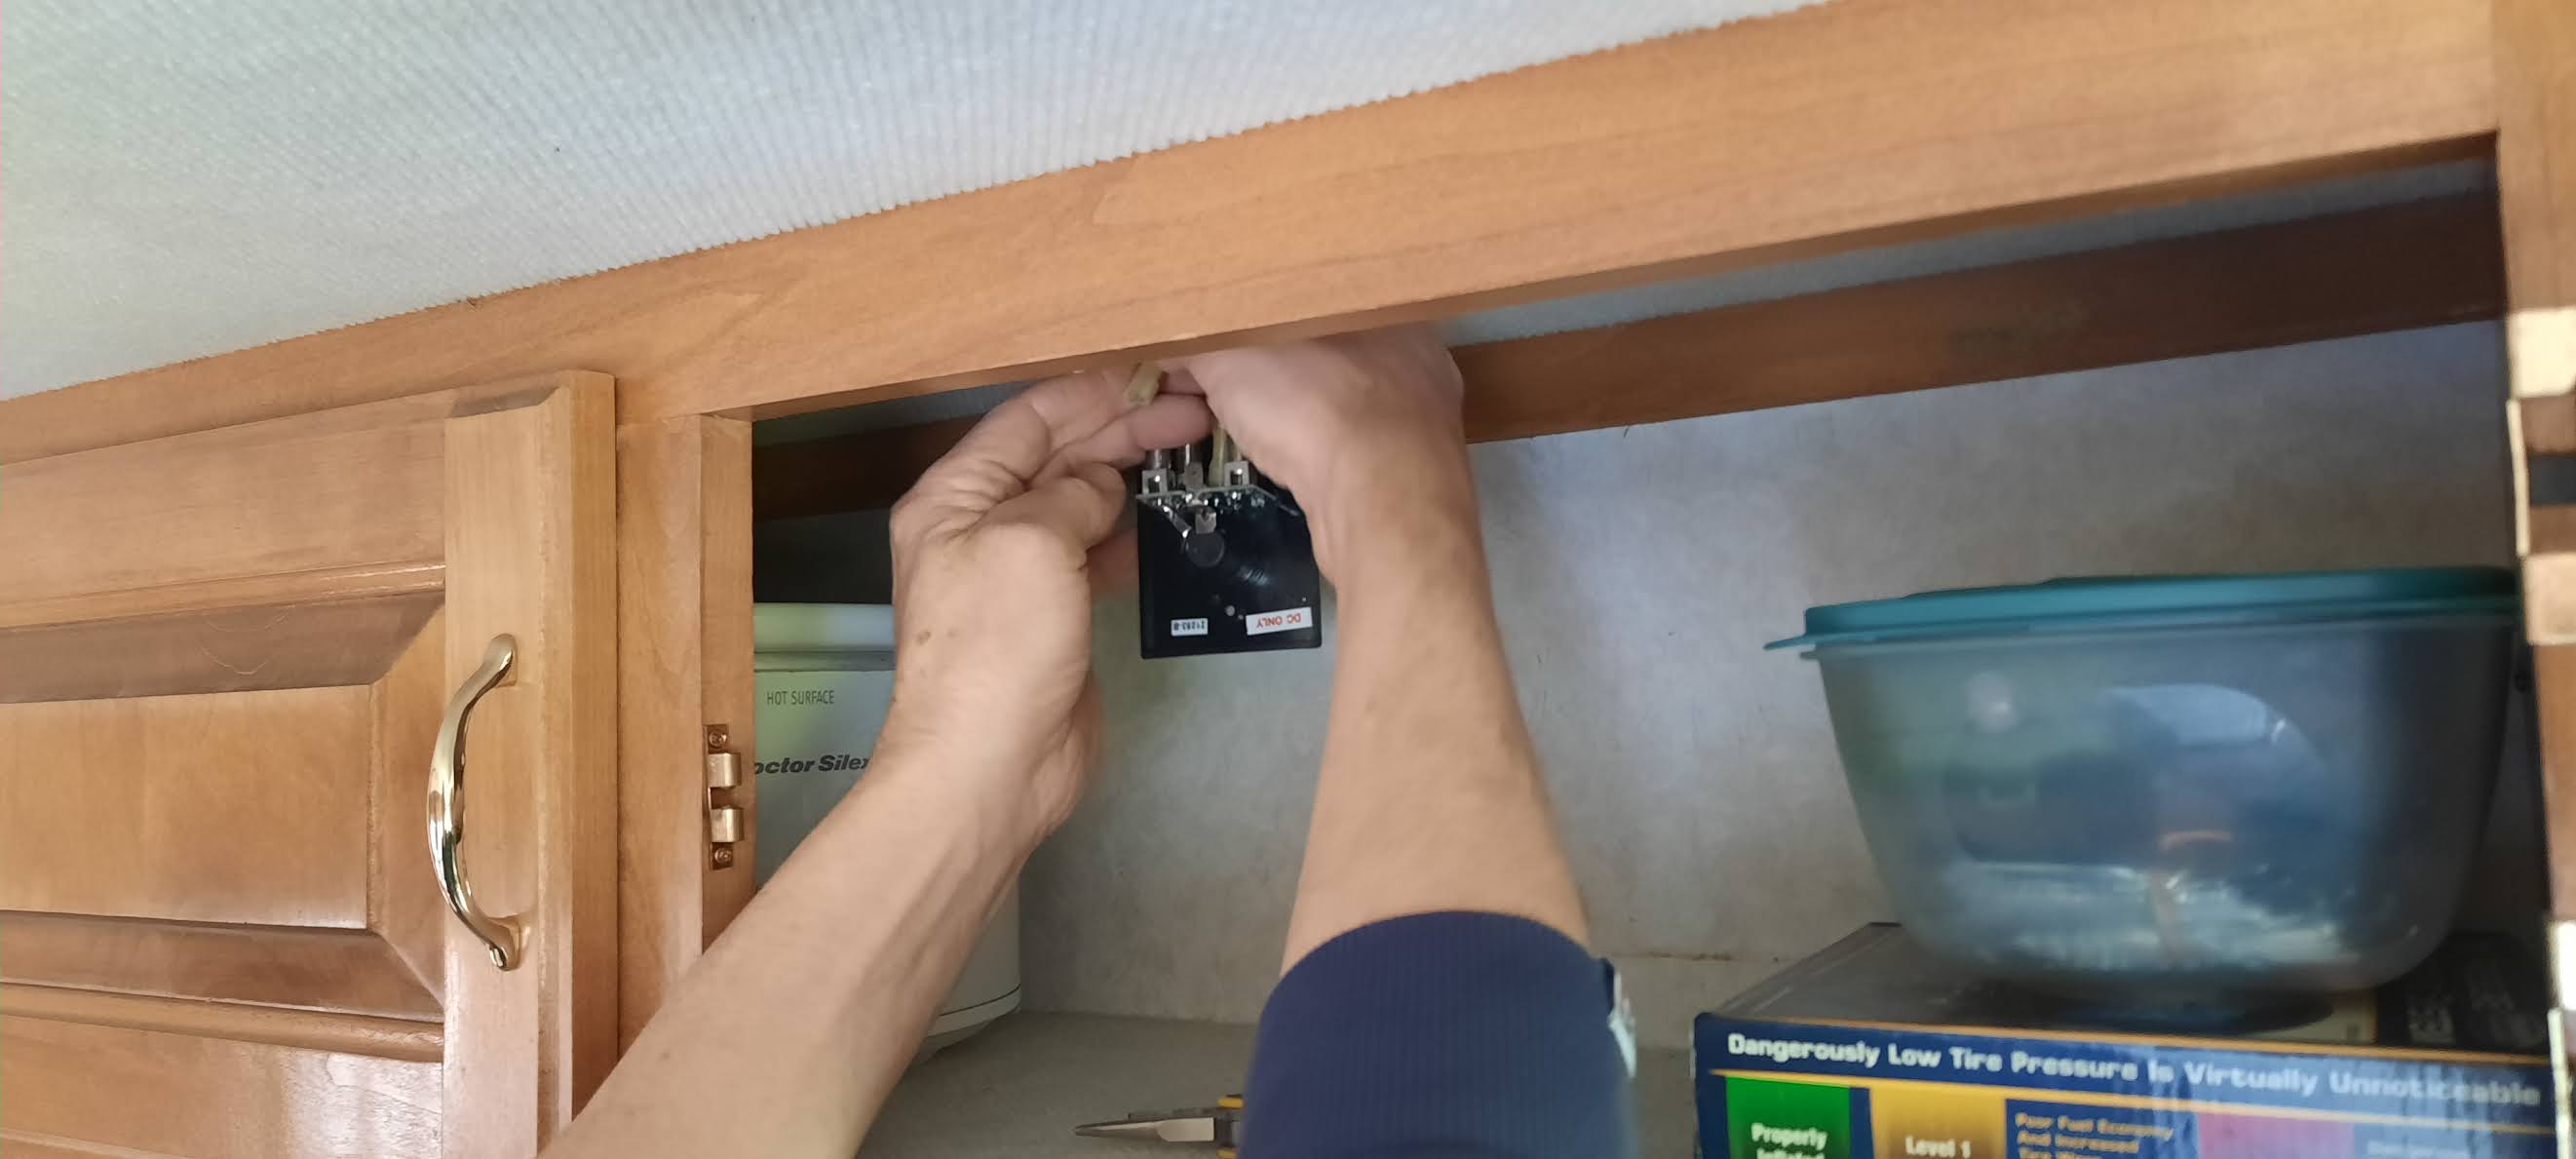
Now back inside, Steve was able to go up in the cabinet and remove the old amplifier switch and outlet from where it's conveniently hidden away in a cabinet.
The new King Jack comes with a new amplifier switch, so he wired that new one correctly according to directions.
When the little green light is on, it is getting the signal from the antenna. If the little green light is off (by pushing the button) then the tvs can receive a signal from cable or a satellite set up or whatever. We don't have any of that extra stuff, so we just leave the little booster on and forget about it.
While inside, he put the speakers back into place. He had originally removed them gain access and to check out the situation between the inner ceiling and the outer roof.
He put the base plate and dial selector knob with the built-in signal finder unit. We used to use an auxiliary one to find the station towers, but this now has one built in. Nice!
Done! I am soooo glad we caught this early, before it did any further damage. When rigs are unused for a long time, or stored a distance away from home, things like this go unnoticed until it's too late. I am glad our rig is nearby in our own yard, and we are in and out of it on a regular basis. Actually, I am in it multiple times a day right now, replenishing and loading up for our first camping trip.
Now that everything was done, we turned on the power and aimed the antenna according to the signal finder. We ran the channel scan on both of the tvs, and we pulled in 29 stations! Yay! Everything is good to go and Steve spent the afternoon doing a wonderful modification.
While we were working on the motorhome, Steve was mostly upon the roof and I was mostly down inside. Here was my view while I was sitting in the driver's seat, waiting for commands from above:
Mr. and Mrs. Mallard were hanging out in a big mud puddle in the backyard. We had a lot of rain lately and they decided this was their new little pond. Little do they know that in another day or two, it will be dried up and gone. We hope.
We went out to take a walk with the dog and they decided to fly off into the state wildlife preservation marsh behind our home.
One more step to get ready to go camping soon.


We sell 15 of those King Jacks every year to people who drive under low branches. I think you'll be ok because the front AC should protect the antenna.
ReplyDeleteOn recoating the roof, is it Filon? (I couldn't tell from the pix). If so, consider painting it with Interlux Brightside boat paint. If you wait a few weeks, I'll let you know how mine came out.
Yes, the roof is filon. We coated it with the elastomeric paint in 2009 and it has held up really well so far. Might be time for another good wash and a recoat. Here is the blog post from when we did it the 1st time:
Deletehttp://kareninthewoods-kareninthewoods.blogspot.com/2018/03/motorhome-modifications-r-is-roof.html?m=1
In your opinion does this antenna receive as good or better than the batwing? When it came to antennas I thought the bigger they were the better they worked.
DeleteOur King antenna seems to have stopped working so this sounds like a good replacement.
ReplyDeleteOnce you've cleaned the roof you might consider doing what we did.
We used a product called Stay-Kool. It not only reseals the roof better then Dicor but it adds an Insulation value that has an Energy Saving Seal of Approval. It's around Fifty Dollars a Gallon and needs to be applied on as clean a surface you can provide plus it needs to remain Dry for Forty-Eight Hours. You will probably need Three Gallons to do Two Coats with a Brush and Roller. It will remain tacky for Months later.
Be Safe and Enjoy.
It's about time.