I've been collecting these pictures in a file called "storage solutions". Actually, it's kind of how we started loading all of our gear out into the motorhome and where we decided the best places to put things.
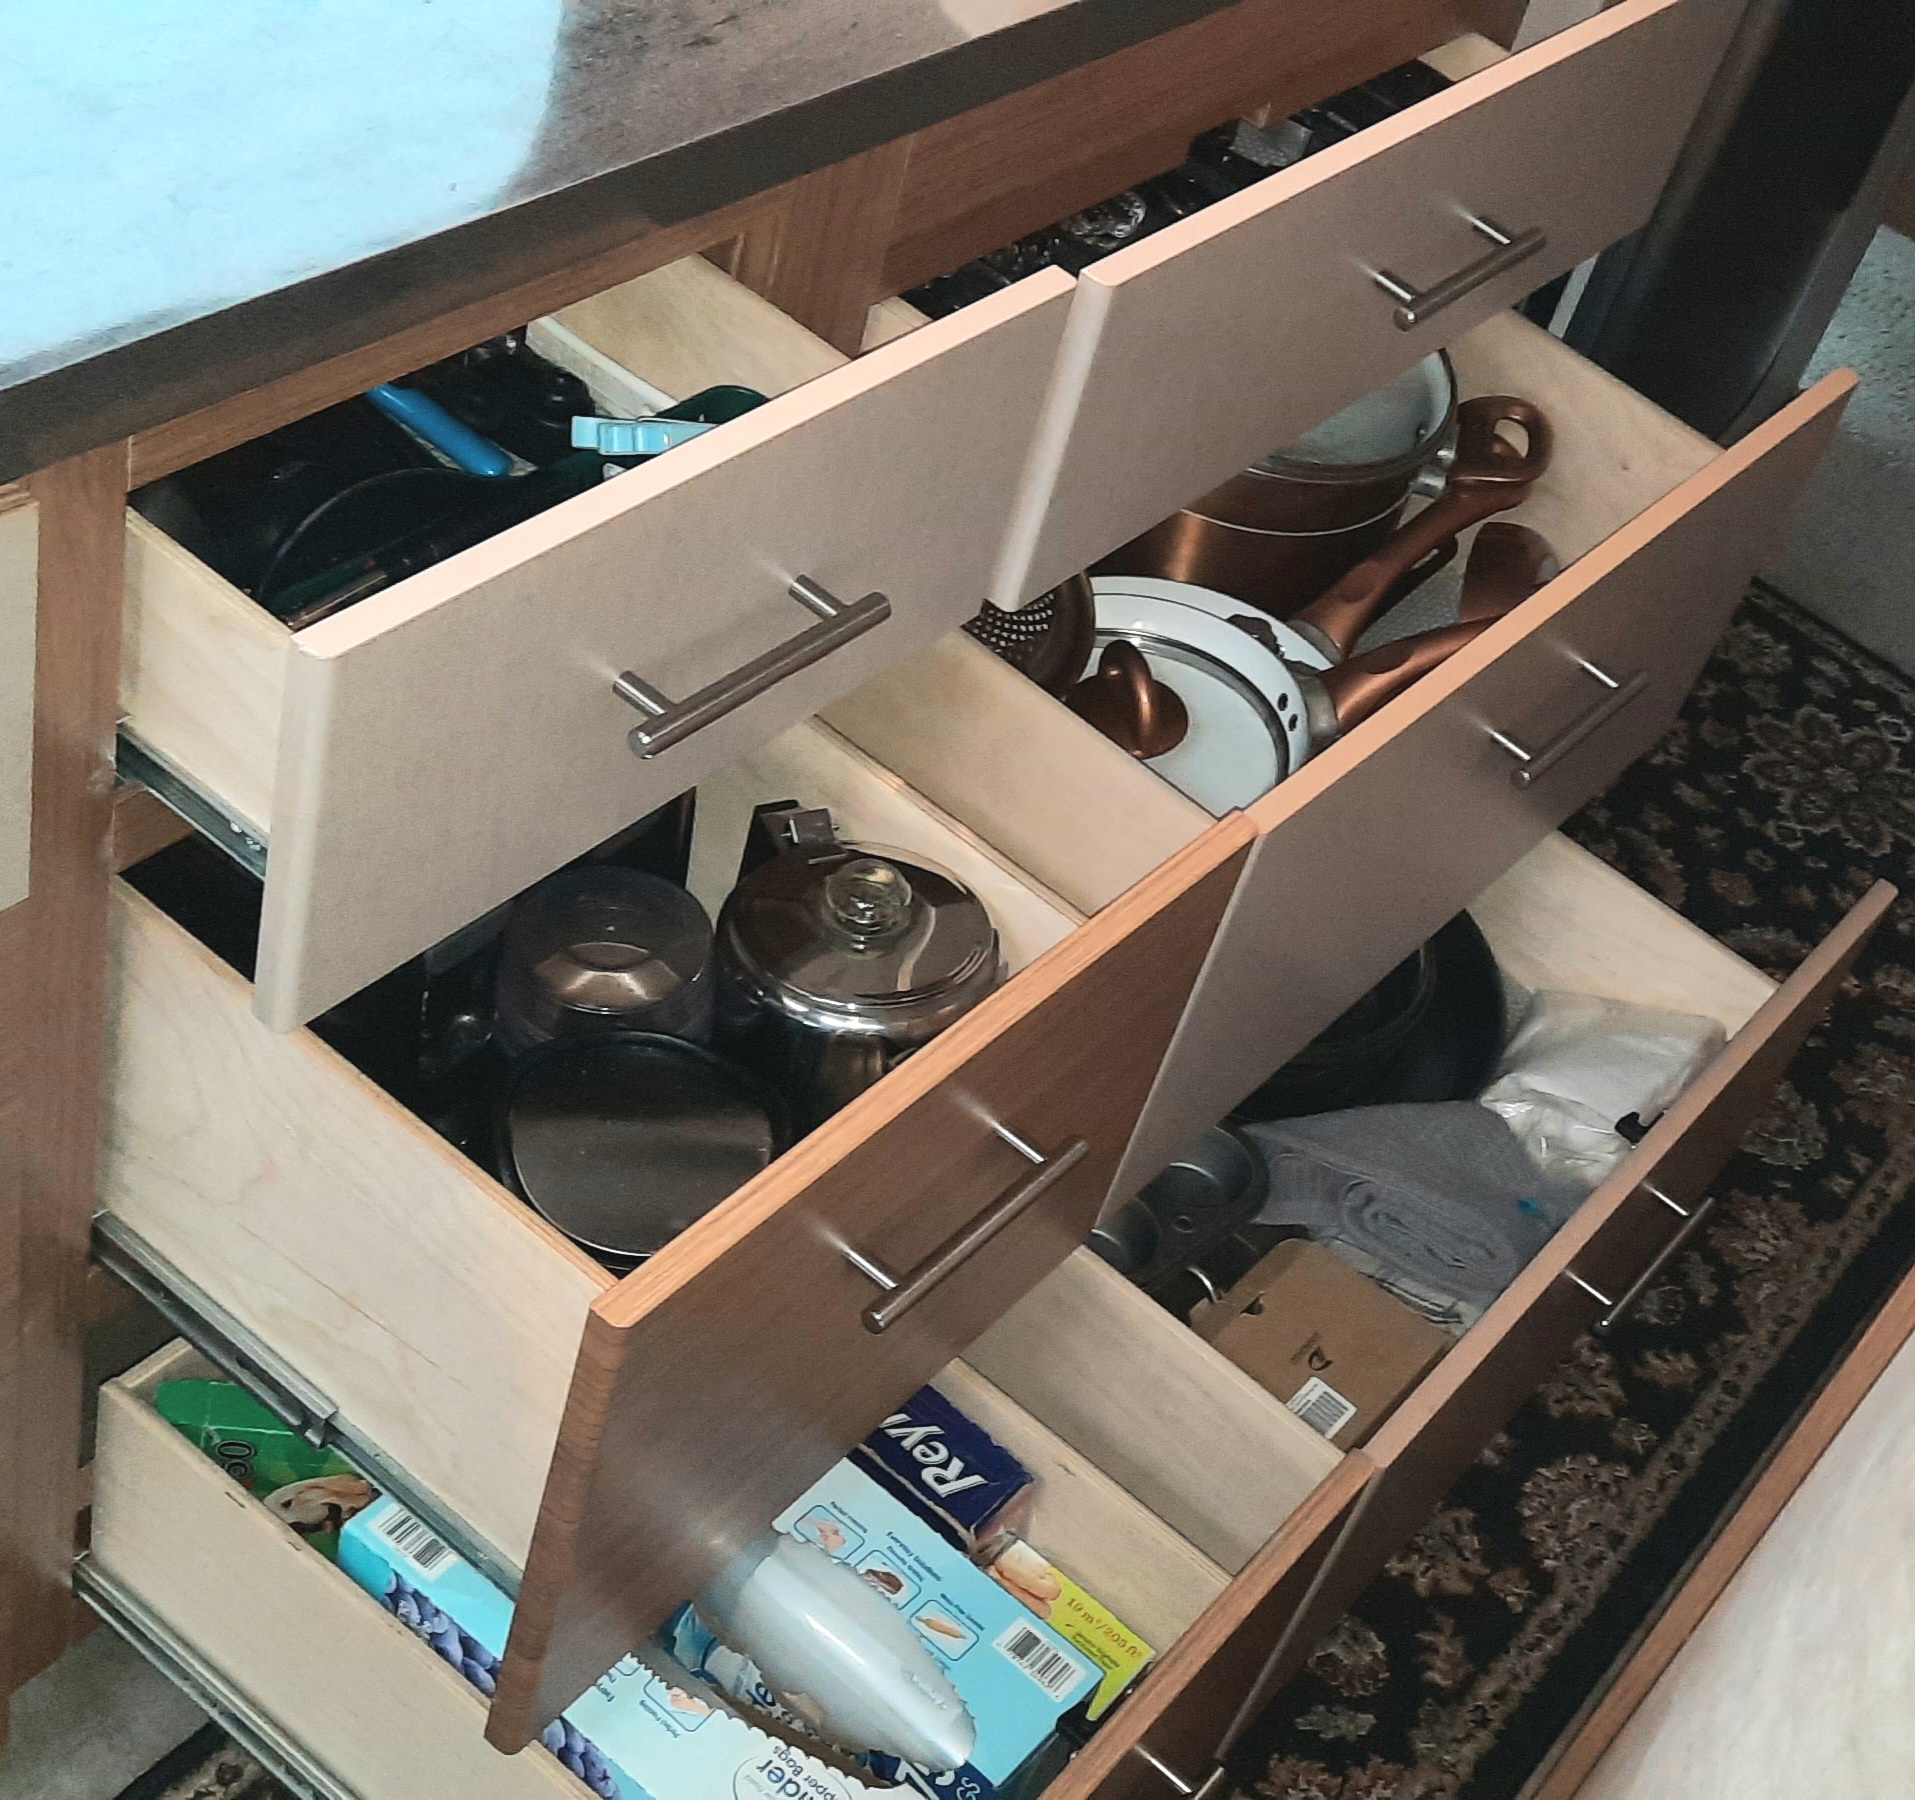
Of course, we started in the kitchen. I was amazed at all of the big deep drawers as well as the full extension slides. They seem to be very sturdy well made fully wooden drawers. No cheap particle board here!
In the second drawer underneath the kitchen stove it was actually big enough to contain all of my pots and pans! We put little pieces of shelf liner or hot pads in between them so they don't rattle or make noise or destroy the ceramic interior of the pots.
This very deep drawer underneath the sink side of the cabinetry conveniently holds our big four slice toaster, our chrome coffee pot and coffee bean grinder. It's also a perfect spot to put this little metal wastebasket that I got from my friend Dee a long time ago. It holds little waste bags and sits right on the counter. Perfect for when prepping food. It's the nicest place to put the little pieces of trash instead of having to reach down underneath the cabinet every time for the big garbage can. Stowing it away in this drawer keeps it from sliding off the counter when driving.
The one shallow drawer under the stove top is perfect for flat ware and knives. BUT... most of the silverware trays in the stores are too thick to fit. It needed to be 1 3/4 " or less. I found a foamy one on Amazon that keeps the stuff from rattling around too!
https://a.co/d/8YYEoUW
These are the rest of the drawers that contain things like cooking utensils, tin foil and zip lock bags, and all of our baking supplies.
It is so nice to have all of these drawers. That is one of the things that attracted us to this model, as well as the longer stretch of countertop than most 25 ft motorhomes.
Next up on the organizing process--- I bought four of these heavy duty stackable shelving units from our local Menards, similar to a Home Depot store. I think they were $6 or $7 each? We measured in advance, so we knew which sizes to get.
We added one to the compartment over the fridge. 2 bins on top will have commonly used tools and office supplies like scissors and tape. Underneath space is for the big black case from Winnebago with the manuals and books for our rig.
These shelves are great. Doubled the space in the over head cabinet in the kitchen! Little plastic pullout bin with the handle has spices in it. One grab and it's down on the counter while cooking, then put it all back in one fell swoop.
I am so excited that I was able to get my Instant Pot and the Insta Pot Air Fryer Lid for it both underneath the sink! Everything fits. The garbage can is a little tall but it easily tips out on an angle to get out from around that drain pipe. I think I will look for one about 4 inches shorter.
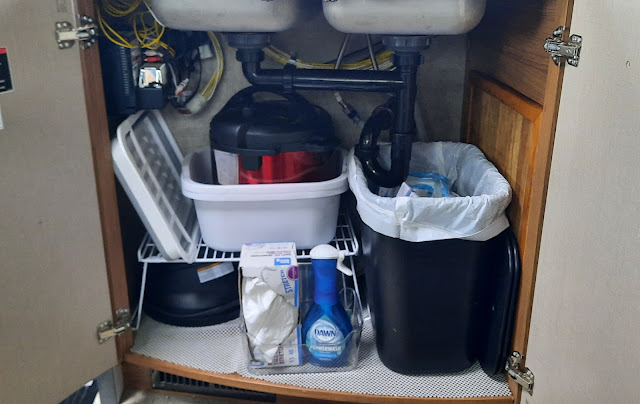
This wire rack spans over the Air Fryer Lid for my Instapot and my husband's disassembled hand-crank popcorn popper that goes on the stove top. The lid for that popper is tucked in behind. On the top of the rack is my collapsible dish strainer rack, along with two white dish pans and my Instapot! I love the Instapot because it can be a pressure cooker, slow cooker type crockpot, or an air fryer with that additional lid attachment.
Alongside of the garbage can is a large wooden tray that also doubles as a big cutting board or I use it to carry items out to the picnic table. My brother-in-law Fuzz made that for me from scrap hardwood flooring. Often we use it to cut things up on the picnic table if we are cooking outside. Tucked in between the tray and the garbage can are the two sink lids. I find with all the counter space in the motorhome, I can keep the lids underneath more than up on the sink.
Our local Mennonite craftsman takes odd leftover pieces of Corian and smooths off the edges. Underneath he puts four little rubber bumpers to keep it up off the surface of the countertop. These make excellent cutting boards and also a hotspot for setting pans or kettles off to the side while cooking. I found a nice speckled grey one.
I found a papertowel holder that fits into the very small corner by stove trim. The bottom has three little metal ball feet that allows it to span over the corner of the metal trim. Otherwise a regular flat base does not fit in that corner. Of course, I move the paper towel holder while cooking.
Yesterday, I got this collapsible dish pan for $16.99 from Amazon.
https://a.co/d/4bLNq80 This is when it's fully set up on the side of the sink with the spout aiming into the sink. It also fits perfectly in the sink too.
The inside of the pan is completely enclosed, but the little white plug can be pulled up to allow water to come out into the sink through that spout. Otherwise it can be used for soaking fruit or vegetables before rinsing them off. It easily collapses down nice and flat for storage. The spout rotates and hides underneath the rack. It stows away in the space between the dish pans to the left in the kitchen cabinet.
Now to some real "modifications" ----
We removed these two clamps that held the ladder into place against the header that surrounds the cab portion.

In their place we put two of these stainless steel coat hooks. We used the original hole and didn't drill a second hole on there. Instead we put a tab of double stick tape behind the coat hook to help keep it from swiveling. That way we can put the brackets back if we ever decide that that was a dumb move!!
We took the ladder and laid it up on the bunk mattress with the center section flipped back over it. We are only going to use the bunk every once in awhile, if a grandkid or two comes along.
In the meantime, we used one of the brackets to carefully attach to the wall in the closet. Perfect spot to snap a broom. All the brooms we saw in the store were too tall. This was a Mr Clean broom that we could remove the top handle and cut the length of pipe down and put the handle back on.
We decided to flip around the mattress on the bed and put the larger piece to the back where it rests in the slide, and the shorter piece down towards the end. Otherwise in the original configuration my hip was landing right in that groove!

Now we just flip the bottom half up like a taco onto the larger piece. (with bedding intact). By flipping it up this allows the bedroom slide to come back in during travel.
We bought a nice 2-inch memory foam mattress on sale for $40 to add to the top of the bed. It came all squooshed up. We carefully cut it apart with a scissors. We let it rise for a couple hours and it was the perfect size. We didn't even have to trim it.
I think it really it more comfortable for sleeping. I covered it with new sheets and one of my handmade quilts. The quilt pattern is called "log cabin". I think it picks up the golds of the woodwork and the creams as well as the rich deep tones on the exterior of our View. We ordered a new mattress pad heater that came over the weekend. Today we will go out and put that on the bed and remake it again.
In the bathroom...
I am sorry, but that little plastic RV toilet seat just wasn't going to cut it. It had a strange overlapping lid that you have to reach underneath with your fingertips to pull it up, just to get the lid up and not raise the seat at the same time.
Thankfully, a traditional household round toilet seat also fits the porcelain base of the toilet.
Steve swapped it out in no time flat. So for a mere $7.98 we have a new toilet seat!
The bathroom has a lot of great storage. But we decided that on the very top of the tall linen cabinet would be a perfect place to store our shampoos and conditioners. These normally are kept in the shower stall but they will fall all over during travel. I found these really nice clear plastic bins at Big lots. We put a piece of double-sided command strip Velcro on the bottom of the container. That way I can take it off if I want to wash it, if there's ever any leaks or spills. From the shower stall it's an easy reach to grab our choice of shampoo, conditioner or Steve's body wash.

Another thing that we found really amazing was that Walmart carries the Oxygenics line of shower heads! We thought we would have to go through an RV dealer or on Amazon to get one. They had the traditional Oxygenics head like we had put in our previous motorhomes. But they also had their new improved "Oxygenics Fury" model. For just a few dollars more than the traditional one, we decided to try it out. We used it over the weekend and it works wonderfully! Oxygenics blends air with water to make it feel like you're getting more of a volume of a spray. That way you can use less water and still feel like you're getting a good full spray. Enough to rinse shampoo or conditioner out of long hair.
We also grabbed a couple of these very sturdy Command hooks. They are made out of metal and have a nice brushed stainless look to them like the rest of the hardware in the motorhome. We managed to find four of these large ones for $4 each at Walmart. The bronze or the brass ones were $12 and some cents? But these were $4 and there were only four left on the shelf. So we grabbed all four. They had kind of Christmas wreaths on the package, maybe they were leftover from Christmas stock? They do say they're good for outdoors...
I put two on my side in the bedroom to hang up my pajamas or maybe a pair of shorts I might wear a second day in a row. Steve hung up one on his side. We are going to put the fourth one maybe in the bathroom. We don't know. But at that price will hang on to it.
A couple blogs back, while we were clearing out the Safari motorhome, I had a dilemma. I really really wanted to keep these wooden hearts. Steve had made them for me when we were first dating. 26 years ago, they didn't have such a thing as Command strips. So I had stuck them up with double-sided sticky tape. I was so worried about ruining the wood underneath when I tried to remove them. I was even willing to let them go to the new buyers. They suggested I try a long piece of dental floss, sawing it back and forth back and forth to work my way through the foamy portion of the middle of the tape. It worked! Then using a little bit of Oops Remover I was able to get off the remaining residue without harming the wood finish.
Steve and I decided we would like to put these back into this camper. They've been in every camper we've owned since we've been together. This time though, we use the wonderful Command strips with the velcro. It will be very easy to remove them if we ever decide to move on to another motor home somewhere down the line.
We looked around and decided
the very best place to put them
would be on each corner
of the slide over our bed.
~~~~~~~
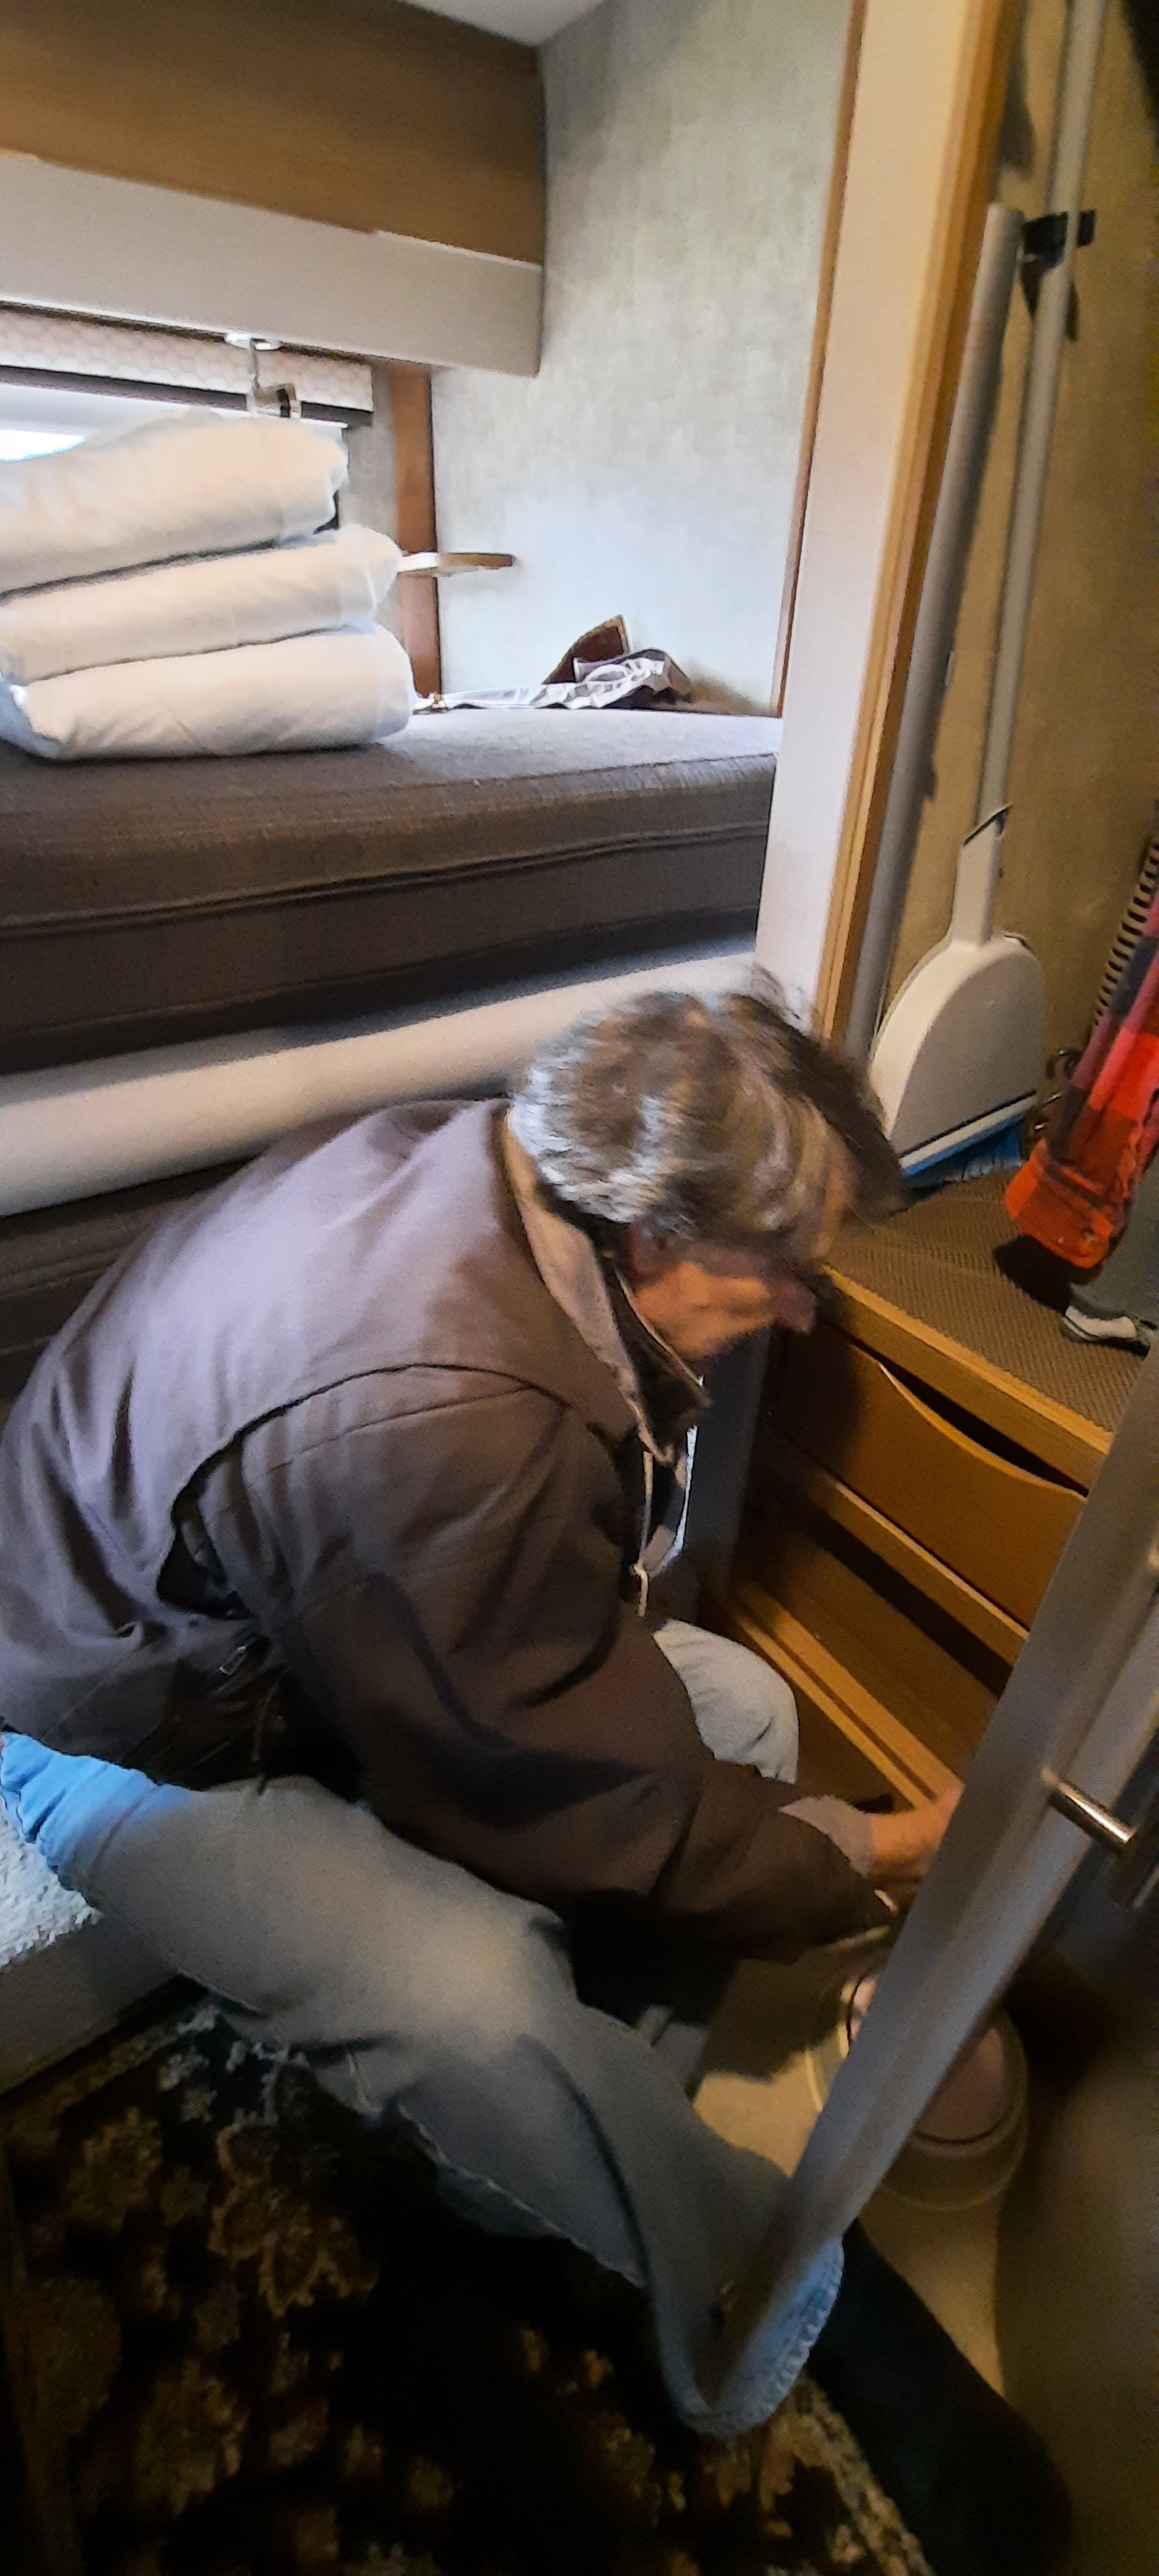
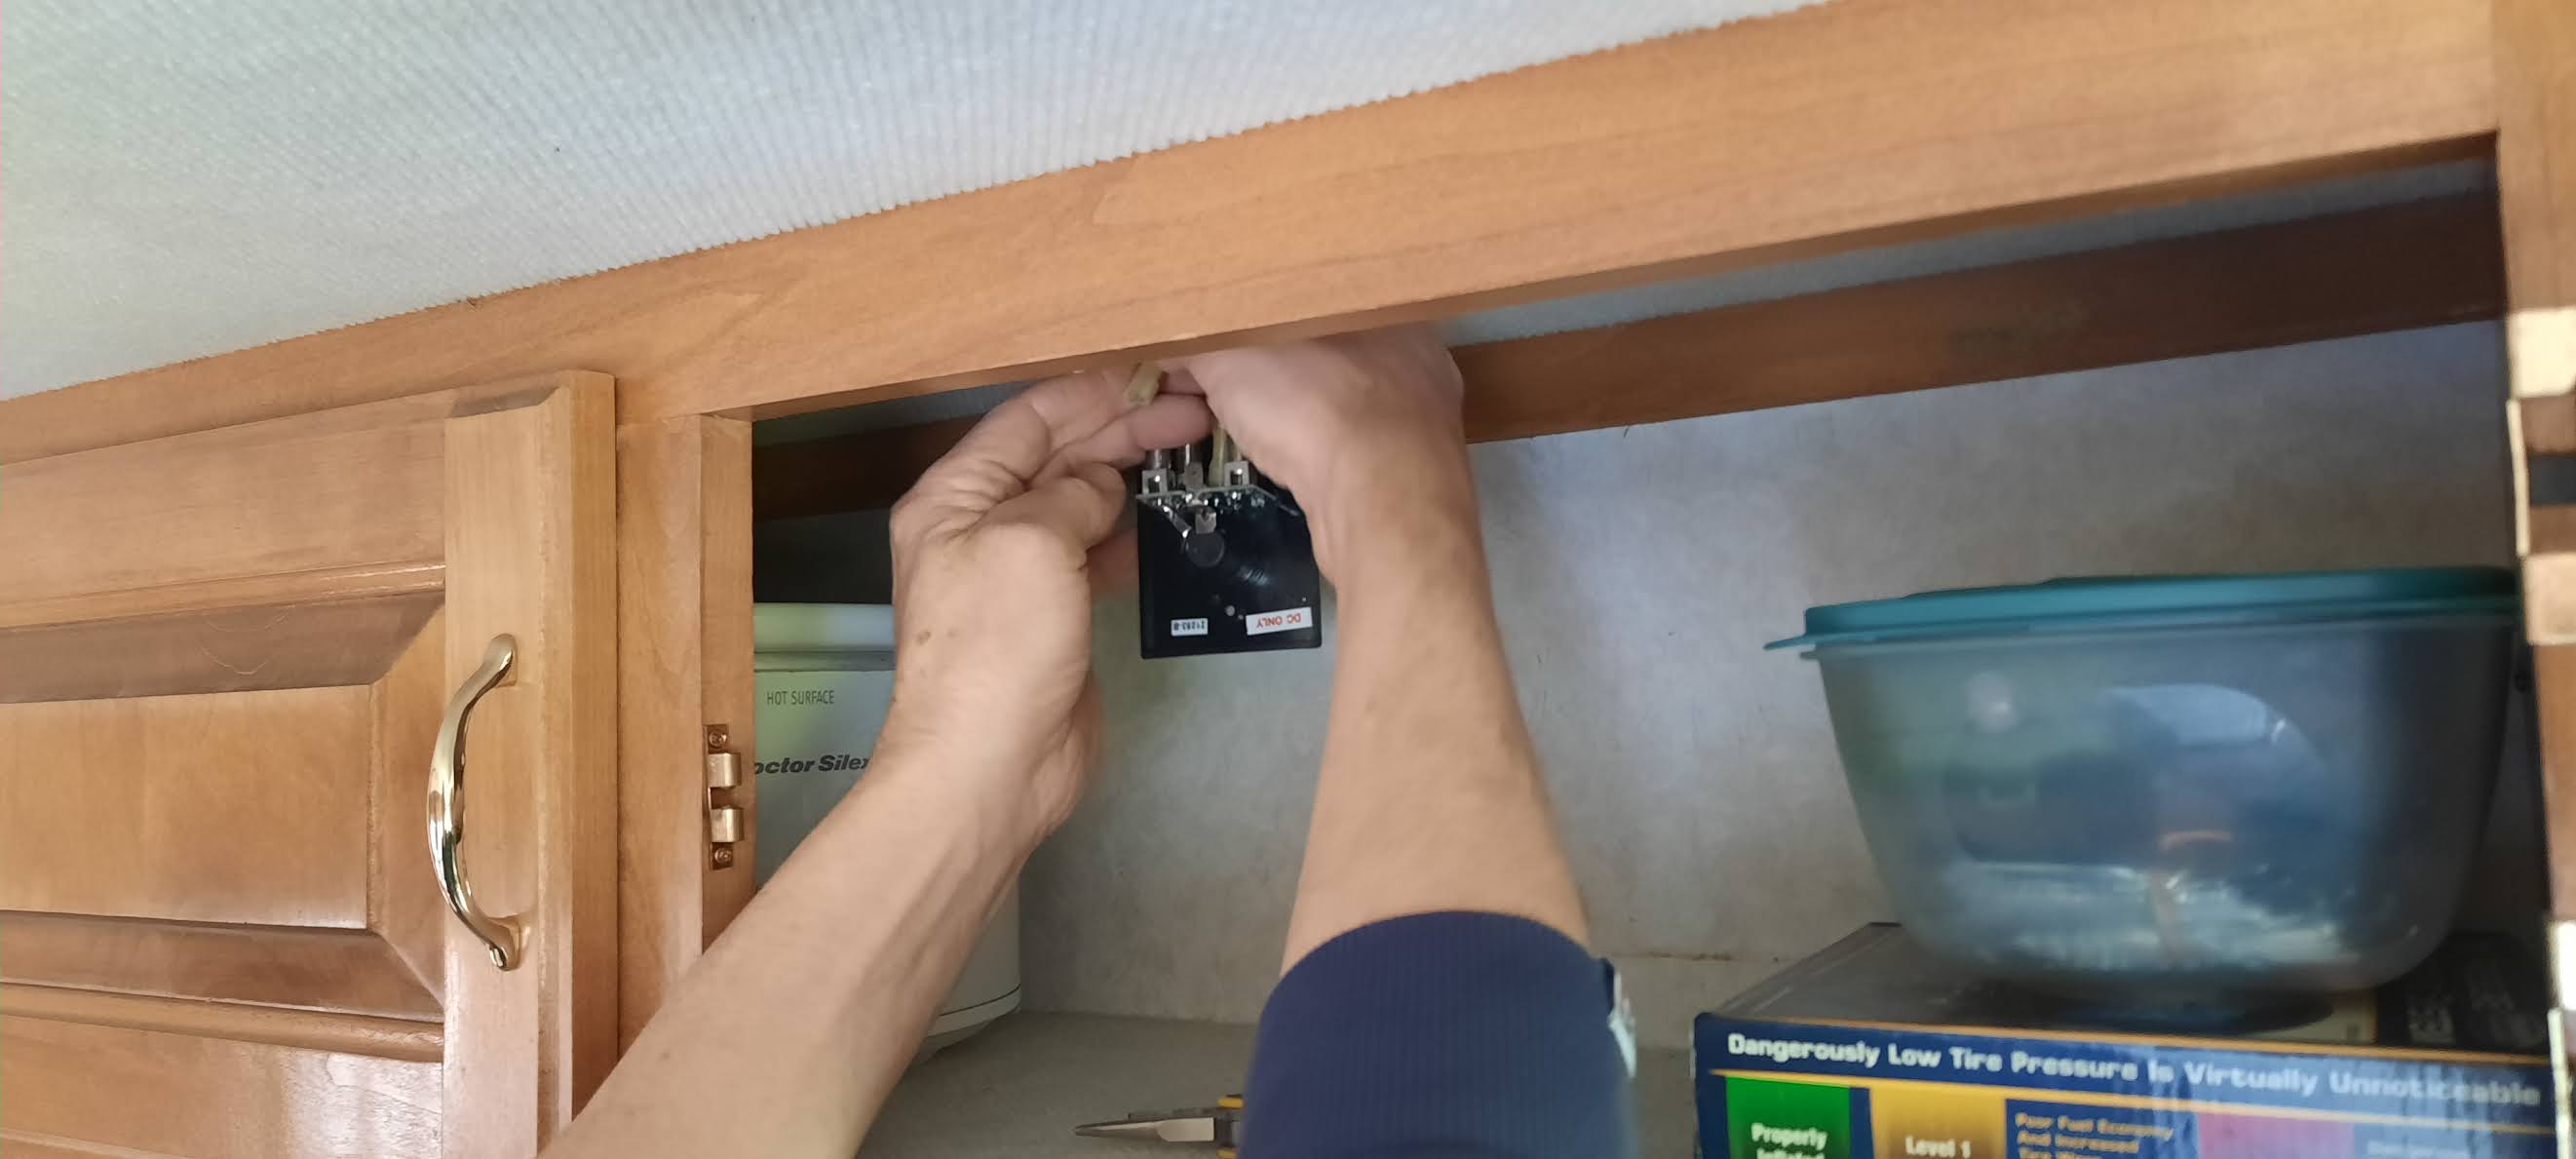
Steve started the de-winterizing. Instead of pulling out the drawer from above to access the valves on the water heater, he removed the wooden false panel in front of the heater instead. It made it easier to reach in and see inside.
Once he had it off, he proceeded to de-winterize so we could use the water over the weekend. Then he adjusted the panel with a little cutout to make it easier to remove in the future. His FIRST modification on this motorhome!
Our next few projects will be:
1. Lubing all of the slides and seals.
2. replacing the Fold and Tumble Flexsteel loveseat with a nice reclining loveseat
3. replacing a few exterior compartment door struts to stay open better
4. thermostatic mixing valve in the shower
5. install 12 volt USB ports scattered around the rig
6. replacing the 2 bowl kitchen sink to a single large sink
and so it goes....
(WHEN IT STOPS RAINING, I WILL DO A TOUR OF THE OUTSIDE BINS)
That's enough blogging for today.
It's a rainy icky sleety icy day today,
So Binney and I are going to take a nap
out in the motor home in the driveway.