Our Wonderful Followers who come back again and again to read about us...

Showing posts with label national folk farmhouse. Show all posts

Sunday, February 19, 2023

What Are We Doing Now?

All right, what is that Pfundtner Guy up to now???

It was such a beautiful day that he decided that we needed to haul sheets of drywall on the flat trailer. It's unusual to be able to do this in the middle of winter without getting them all full of road slush and salt. But because all of our snow melted, and it's a sunshiny day, we were able to haul back 12 sheets of drywall with no problems whatsoever. Of course, he also added four big rolls of insulation into the back of the Saturn at the same time. 


Want to hear something strange? The last four times we have taken this trailer out to haul things, somebody has hit it! Twice it's been hit in the parking lot --- when it's empty, just sitting there attached to our Saturn --- where it's been parked legally on two long parking spaces end to end. People drive around the rows of parked cars, looking for a spot to cut through and don't see the trailer there and they just hit it. Always in a rush. One guy even hit it so hard he dragged it a couple feet to the side. We came out and couldn't figure out why our trailer was moved over. Till we saw the skid marks and realized the tail light was broken right off from where he hit it!

Twice now we have been waiting at stop lights where people have been stopped behind us. They see us and pull up and are stopped too. But then the light turns green and they jump it and get anxious and they drive right into our trailer before we can even pull forward! This happened once before--  and now AGAIN today! The gal behind us knew the trailer was there. She saw it when she pulled up and stopped behind us to wait for the light. But as soon as the light turned green she evidently forgot there was a length of a trailer between us? She drove her front bumper right into this little metal tab sticking out the back of our trailer. 


That little metal tab is for the cross bracket when we put the ramps on the trailer if we're hauling something on wheels. This crazy lady pulled right up and banged into it. She didn't get out or say she was sorry or anything... she just drove away? Plus she must have just bought the vehicle, because it still had dealer plates on it.   Car dealers are closed in Wisconsin on Sundays, so it's not like she was out for a test drive.

And the last guy that hit it had a big fancy pickup truck. We got out that time and he shrugged his shoulders and said "no harm no foul no big deal let it go". And he left!  Who knows? It's just every single time we take this trailer out and somebody hits it!  Jinxed?

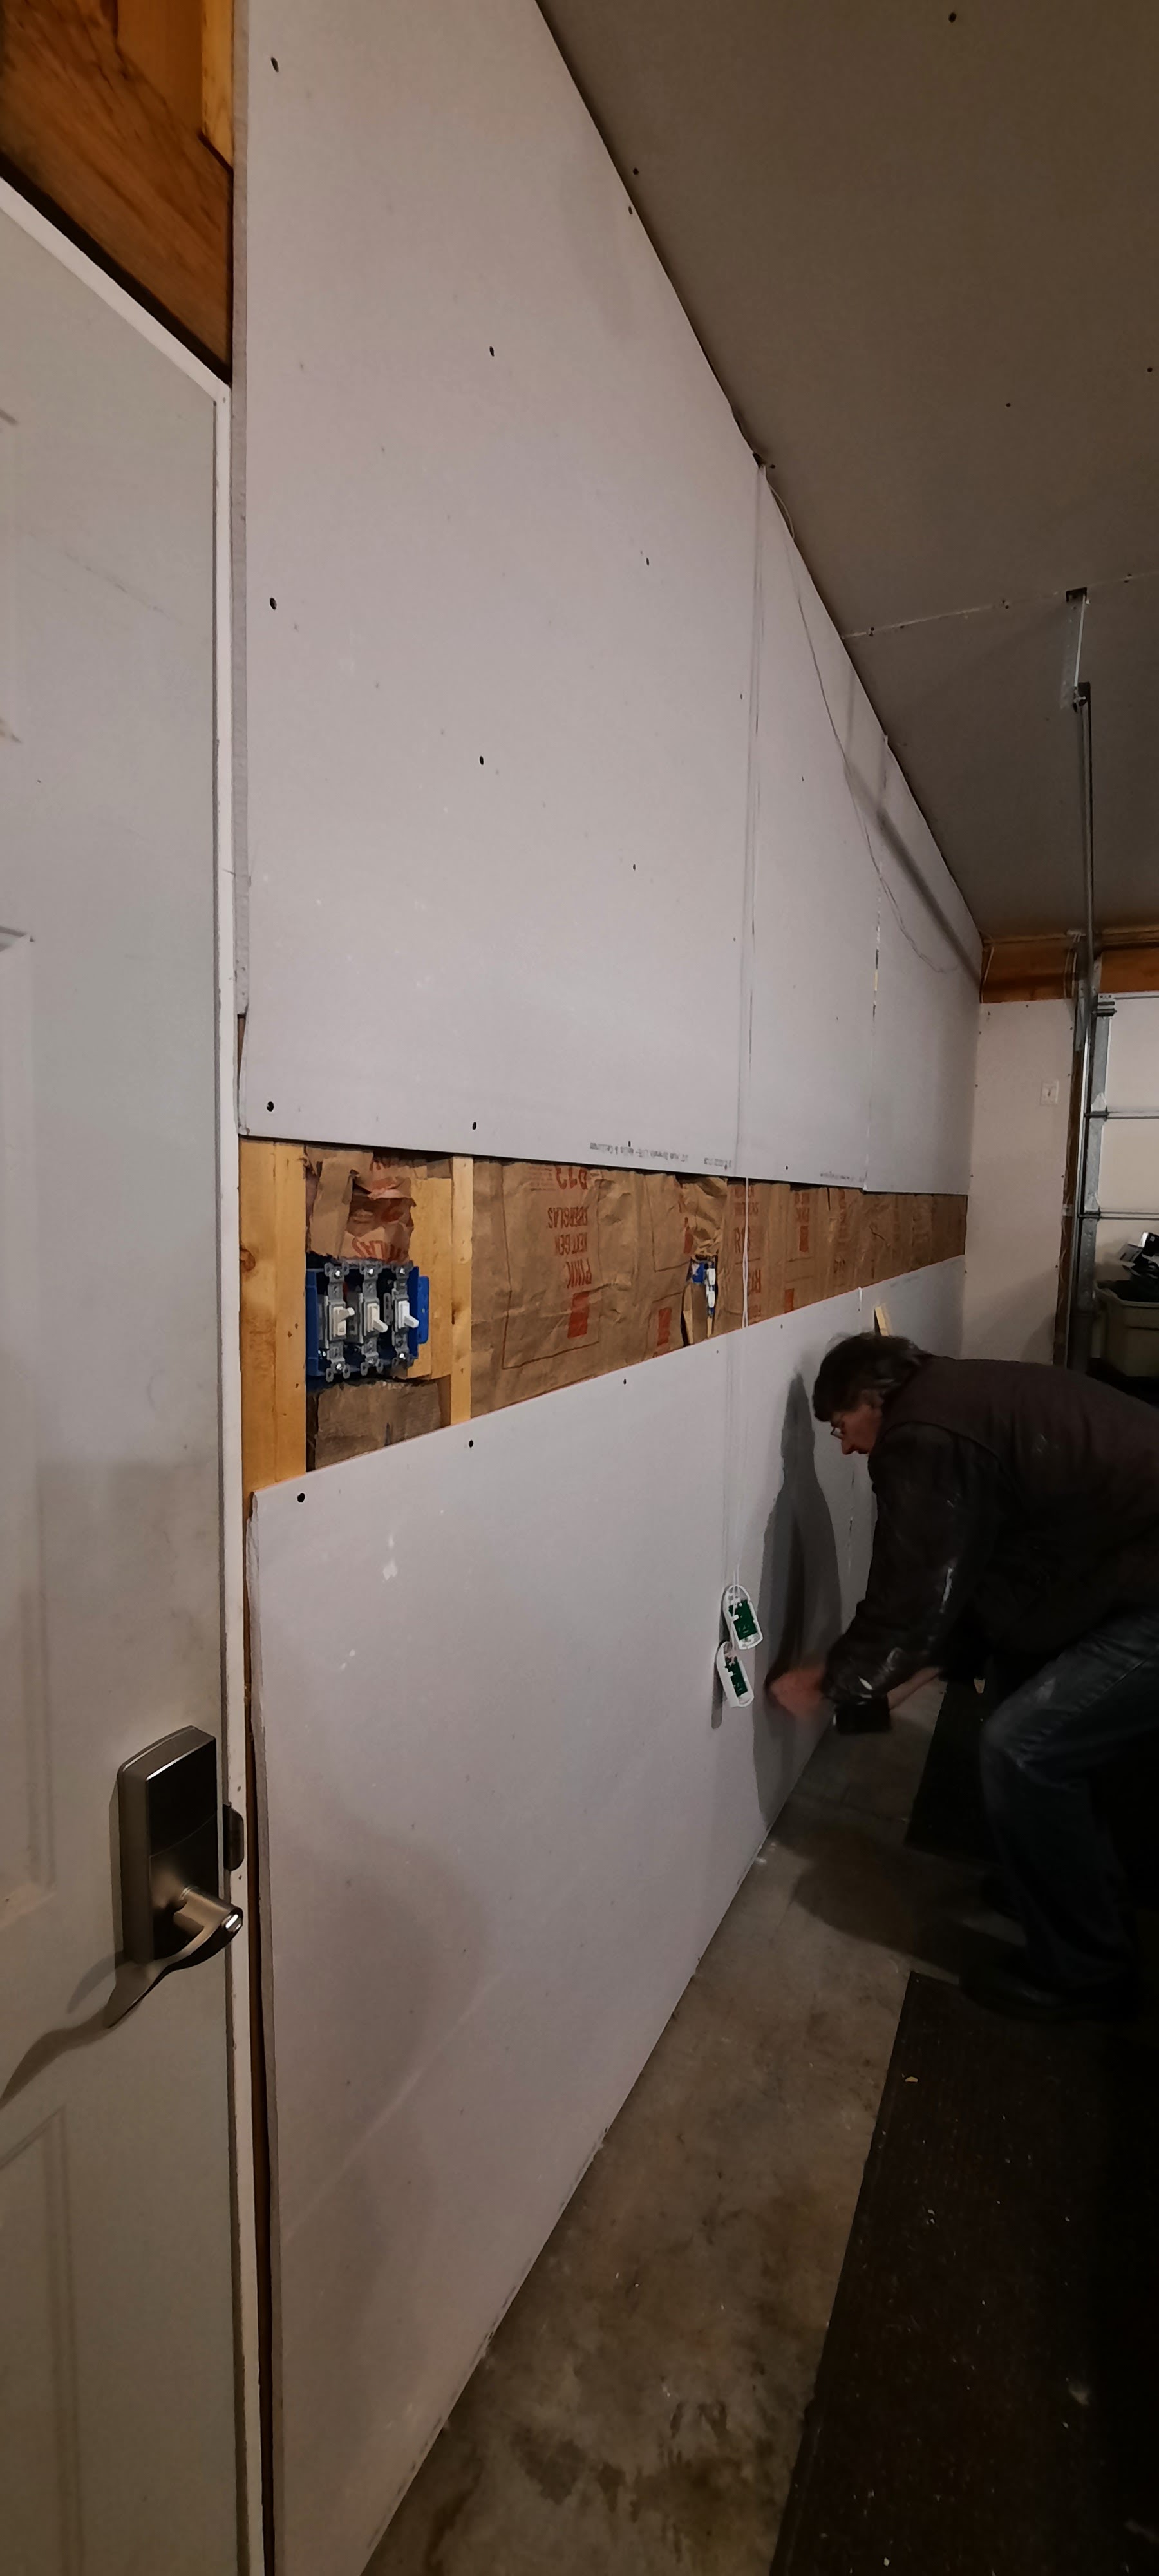
So what did Steve need all of this insulation and drywall for? He decided that he was going to do another section of the garage because the temperatures were up in the 40s today. He has already insulated and drywalled over the entire ceiling of all four stalls worth of the garage. Then he has about 1/3 of the walls done with insulation and drywall. We did that last fall and reorganized a bunch of our gardening tools and his workshop area. So now he wants to get the two walls done on either side of where we park our vehicles.


Right away, he jumped to it and got the insulation all stapled up into place. Then he started lifting up the sheets of drywall before I even knew what he was doing out there. So he got a lot done and there's still more to go. But soon he will have the entire garage insulated and drywalled!

~~~~~~~~~~

While he was doing that, I was taking care of my own thing. Remember in my last blog I had a couple little cans of sample paint trying to decide what to do in our kitchen. I finally made my decision and went with the Misty Meadow. 


This was going to be a complete change from the beige mauve color that is there from the previous owners. It's kind of "blah" and I wanted something fresh and clean.  I started taping off around sections of cabinets and along the edge of the countertop to start in one small section of the kitchen. Just to see what it looked like.  

(this is my wine rack and coffee bar
made from a repurposed old cabinet
turned sideways and a countertop added)


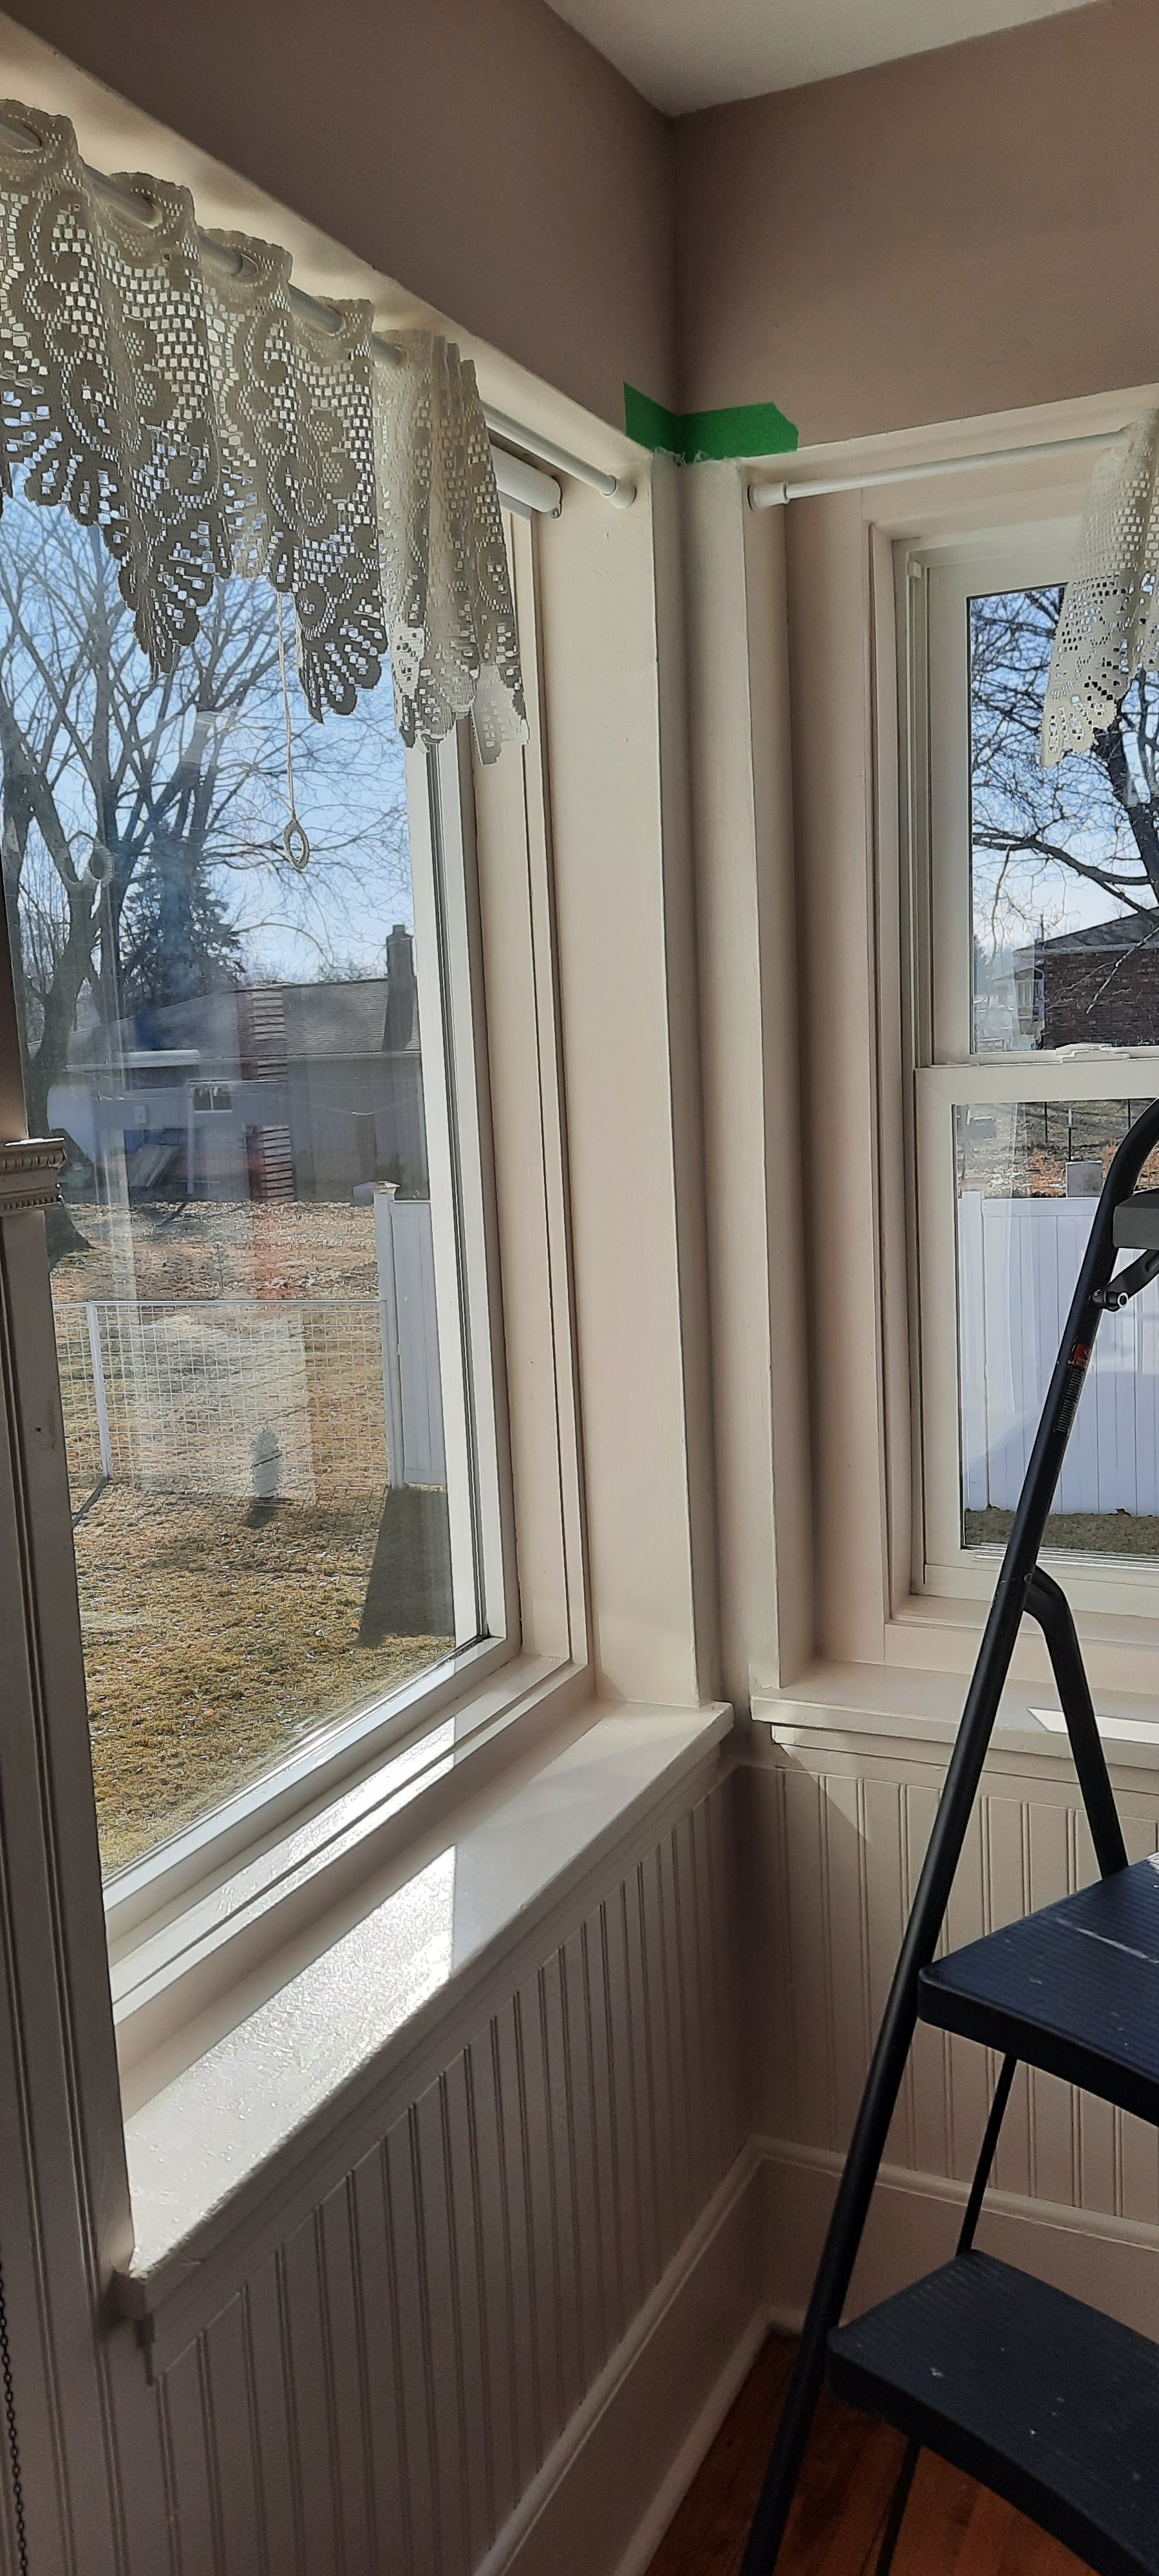
Since I had the trim paint out, I touched up some of the areas around the windows where they meet at the southeast corner of our kitchen. That was an area that needed touch-up for quite some time. 


While I was at it, I added a new coat of paint to the windowsill ledges. This is where I line up all of my little blown glass paperweights.  The sun was out and it felt so good to paint with the sunshine streaming in the windows. 


Now the paint was dry over in that test section. It looked pretty darn good! I gave it a second coat and decided to plow on and keep going. Steve was gone with his brother Pete to help their father with a project.  I could do this on my own. Time for a change! 


I taped around some more of the white bead board and trim. I also laid down some drop cloths--- really old towels to protect the hardwood floors. Bit by bit I went around the room, and when Steve got back, he did some of the cutting in along the top for me. He is color blind so it's really hard to see the difference between the brownish mauve and the soft mossy green. So to him it kind of looks like the same color no matter what. LOL


Steve had to pull the cabinet the big pantry cabinet away from the wall so I could get behind that section too. It wouldn't do any good to paint around and not that part of the wall in case someday we ever removed the cabinet?? 


It's pretty heavy, it serves as a pantry to hold all of our additional canned goods, all of our extra appliances that I don't like cluttering up the countertop, and then big serving trays and platters etc. It was a huge old wooden cabinet we bought from somebody off Facebook Marketplace two years ago. We dressed it up with beadboard on the sides and new handles on the front. Now it serves as our pantry.

Here is the blog post about that:  


While I was waiting for that coat to dry, I didn't feel like getting any supper cooking. I had painting supplies all over the island and didn't feel like cooking. We are lucky to have a new Mexican restaurant in our small town.  https://www.losmagueyesgb.com/

Their food is really good! Plus they happened to have a coupon in the local paper $5 off a $40 meal. Of course, to reach $40 we just have to each order a great big Margarita to get started along with our chips and salsa.


Our food came and it was delicious. Steve ordered a chicken chimichanga that was absolutely great and packed full of chicken.  I ordered the shrimp quesadilla and guacamole salad. There was more shrimp than anything inside the quesadilla and very few tomatoes or onions. They were grilled perfectly and soft and tender.


Plus, they LISTENED when I said no cheese. We've been to other Mexican restaurants that put it on or add a cheese sauce, no matter what, and shrug their shoulders when they give it to you. Even when I complain and try to send it back. I just can't handle digesting cheese anymore. That's a bugger when you're from Wisconsin and you can't eat cheese?

We got back to the house and I rolled the second coat of paint before we settled in to watch some TV for the evening. I couldn't wait until this morning when the sun shone in to see how nice it looked...

~~~~~~~~~~~

Got up this morning and it looked absolutely wonderful. I touched up a little bit here and there. I was able to put everything back into place including all of my little blown glass paperweights

Steve helped me push the pantry cabinet back into place and now this whole section of the kitchen is done.  I really like how it turned out.


Maybe tomorrow we will roll out the refrigerator and do that section of wall behind there? Or maybe we'll take a break. Who knows?
~~~~~~~~~

As for our goofy Wisconsin weather, it's been up to 45 again today. This is the very last snow bank left in our yard. We have absolutely no other snow at all.  We saw a bit in the woods, on the north sides under the pine trees, but that is about it.  We should be about 2 feet deep in snow by this time of year! 


But never fear, we do have some snow forecast for the next 7 days! 
On and off, 
maybe snow 
maybe rain 
maybe sleet 
maybe who knows what. 

But since it was so nice out we did get little Binney out for a walk about the block and stretched our legs. She said no more, she is still in Hibernation Mode.  When spring actually does come, then she will walk again.  


And to continue from my last blog, we are happy to report that after a couple nights on our new Nectar mattress, we are really pleased with it. We filled out the warranty card and registered it and decided we will keep it. There is a trial period that you can actually return it free of charge and they will ship it back for free! 


Wednesday, December 7, 2022

Now What Are We Up To???

"Honey,  I need you!" 

These are common words around our house. It usually means that Steve needs an extra set of hands, or a gopher to run and grab some tool while he's in the middle of doing something. Lol. Such is the case again. Steve needed me to hold the other end of some large panels of beadboard paneling coming through our table saw.  This product is different than the beadboard slats we put on the walls in the bathroom.  These are entire 4x8 sheets of paneling that he wanted to cut up. 

I snapped this pic before he started actually running the saw so you can see why he needed an extra set of hands. As he feeds the wide sheet through the saw, he needs someone on the other end to hold it steady and not let them go crooked.  That's my job. 


After he made the first cut - then the second cut -  then third and fourth pieces were a little more manageable.  He has a set of tall red rollers that can help when doing this too. (you can see one in the foreground).  But he likes having me out there on the catching end of the saw.  It feels good to work in a team effort. 


Soon he had four long pieces cut to just under 15 inches wide. So now what do you think this guy is up to? 

He carried them all down to the basement and laid them across the sawhorses. I guess that means that it's my job to start painting them. They will need to be primed first and then get two coats of paint.


If you read my last few blogs you know that Steve is not happy with the modern looking hollow core MDF whatever PVC whatever doors that were put in various places in our house. They were done by the previous owner during remodeling. Steve has been slowly replacing the doors one at a time.  First the Master bedroom, then the bathroom, and next the grandkids guest room.  He has been restoring old vintage doors that he has been collecting on Facebook Marketplace.  Soon all of the doors will be matching with the originals that were left in the house. 

Soooooo  of course, years ago in the late 1800's, they didn't have bi-fold closet doors. Heck, many houses didn't even have closets, just pegs on the wall to hang your Sunday Best clothes. It is impossible to get vintage bi-fold wooden doors to match what he has been doing. 

Because he doesn't like the look of the modern bifold closet doors, he wants to cover them up. Yes, they look nice the way they are. They are nice and neat and white. But they are fake molded hollow core doors in a more modern design than what our house has throughout.

Here is the one on the she shed:


Here are the ones in the office:

I came up with another idea.  Using the same beadboard paneling we used on walls in the grandkids' guest room, and on the pantry cabinet in the kitchen, we had a few sheets leftover to use to cover up these doors! 

I didn't get a pic of the ones in our Master bedroom, because he already had them disassembled and down in the basement, ready to work on. Speedy Gonzales.  He is going to glue down the new pieces of beadboard panels to the surfaces of the bifold doors. After that, he will securely nail them with the finish nailer and putty up the holes. Then he's going to run his electric router around the edges to trim them up a bit. 

Next I will be able to go down and paint them. We are doing it down in the basement where it is warm enough for the paint to dry. Although the garage is pretty comfortable when the temperatures outside in the 30s the inside of the garage remains up in the 40s or low 50s. He fired up the Mr. Buddy heater yesterday in the garage and it was quite comfortable. But not to run it for hours in between coats of drying paint. 

~~~~~~~~

While he was busy working on the closet doors, I was busy working in my she-shed. I made my little antique Singer Featherweight do a heavy duty job with some thick denim twill fabric. It easily sewed through three and four layers of this fabric like a workhorse!


My neighbor across the street had two of these little wire shopping carts. She needed to have some fabric liner bags made with handles. She needed something secure and heavy duty before she gives them as gifts to some other people at Christmas. They are going to use them for shopping at farmer's and flea markets. I used up some of this really cute pinstriped denim fabric that I had in my stash. I took some measurements and did a few creative cuts. I made some nice heavy duty handles and a double layered bottom surface. The entire bag can be lifted out and be carried separately if needed.


The top edges fold over and the little handles hold it into place. It really worked out better than I expected. The fabric is a lighter blue stripe similar to railroad engineer overalls. 


Here are both of the little carts, ready for gift giving to my neighbor's friends. In return we bartered and she is bringing me some of her wonderfully delicious home canned bread and butter pickles! I sure love a good barter.


~~~~~~~~~~

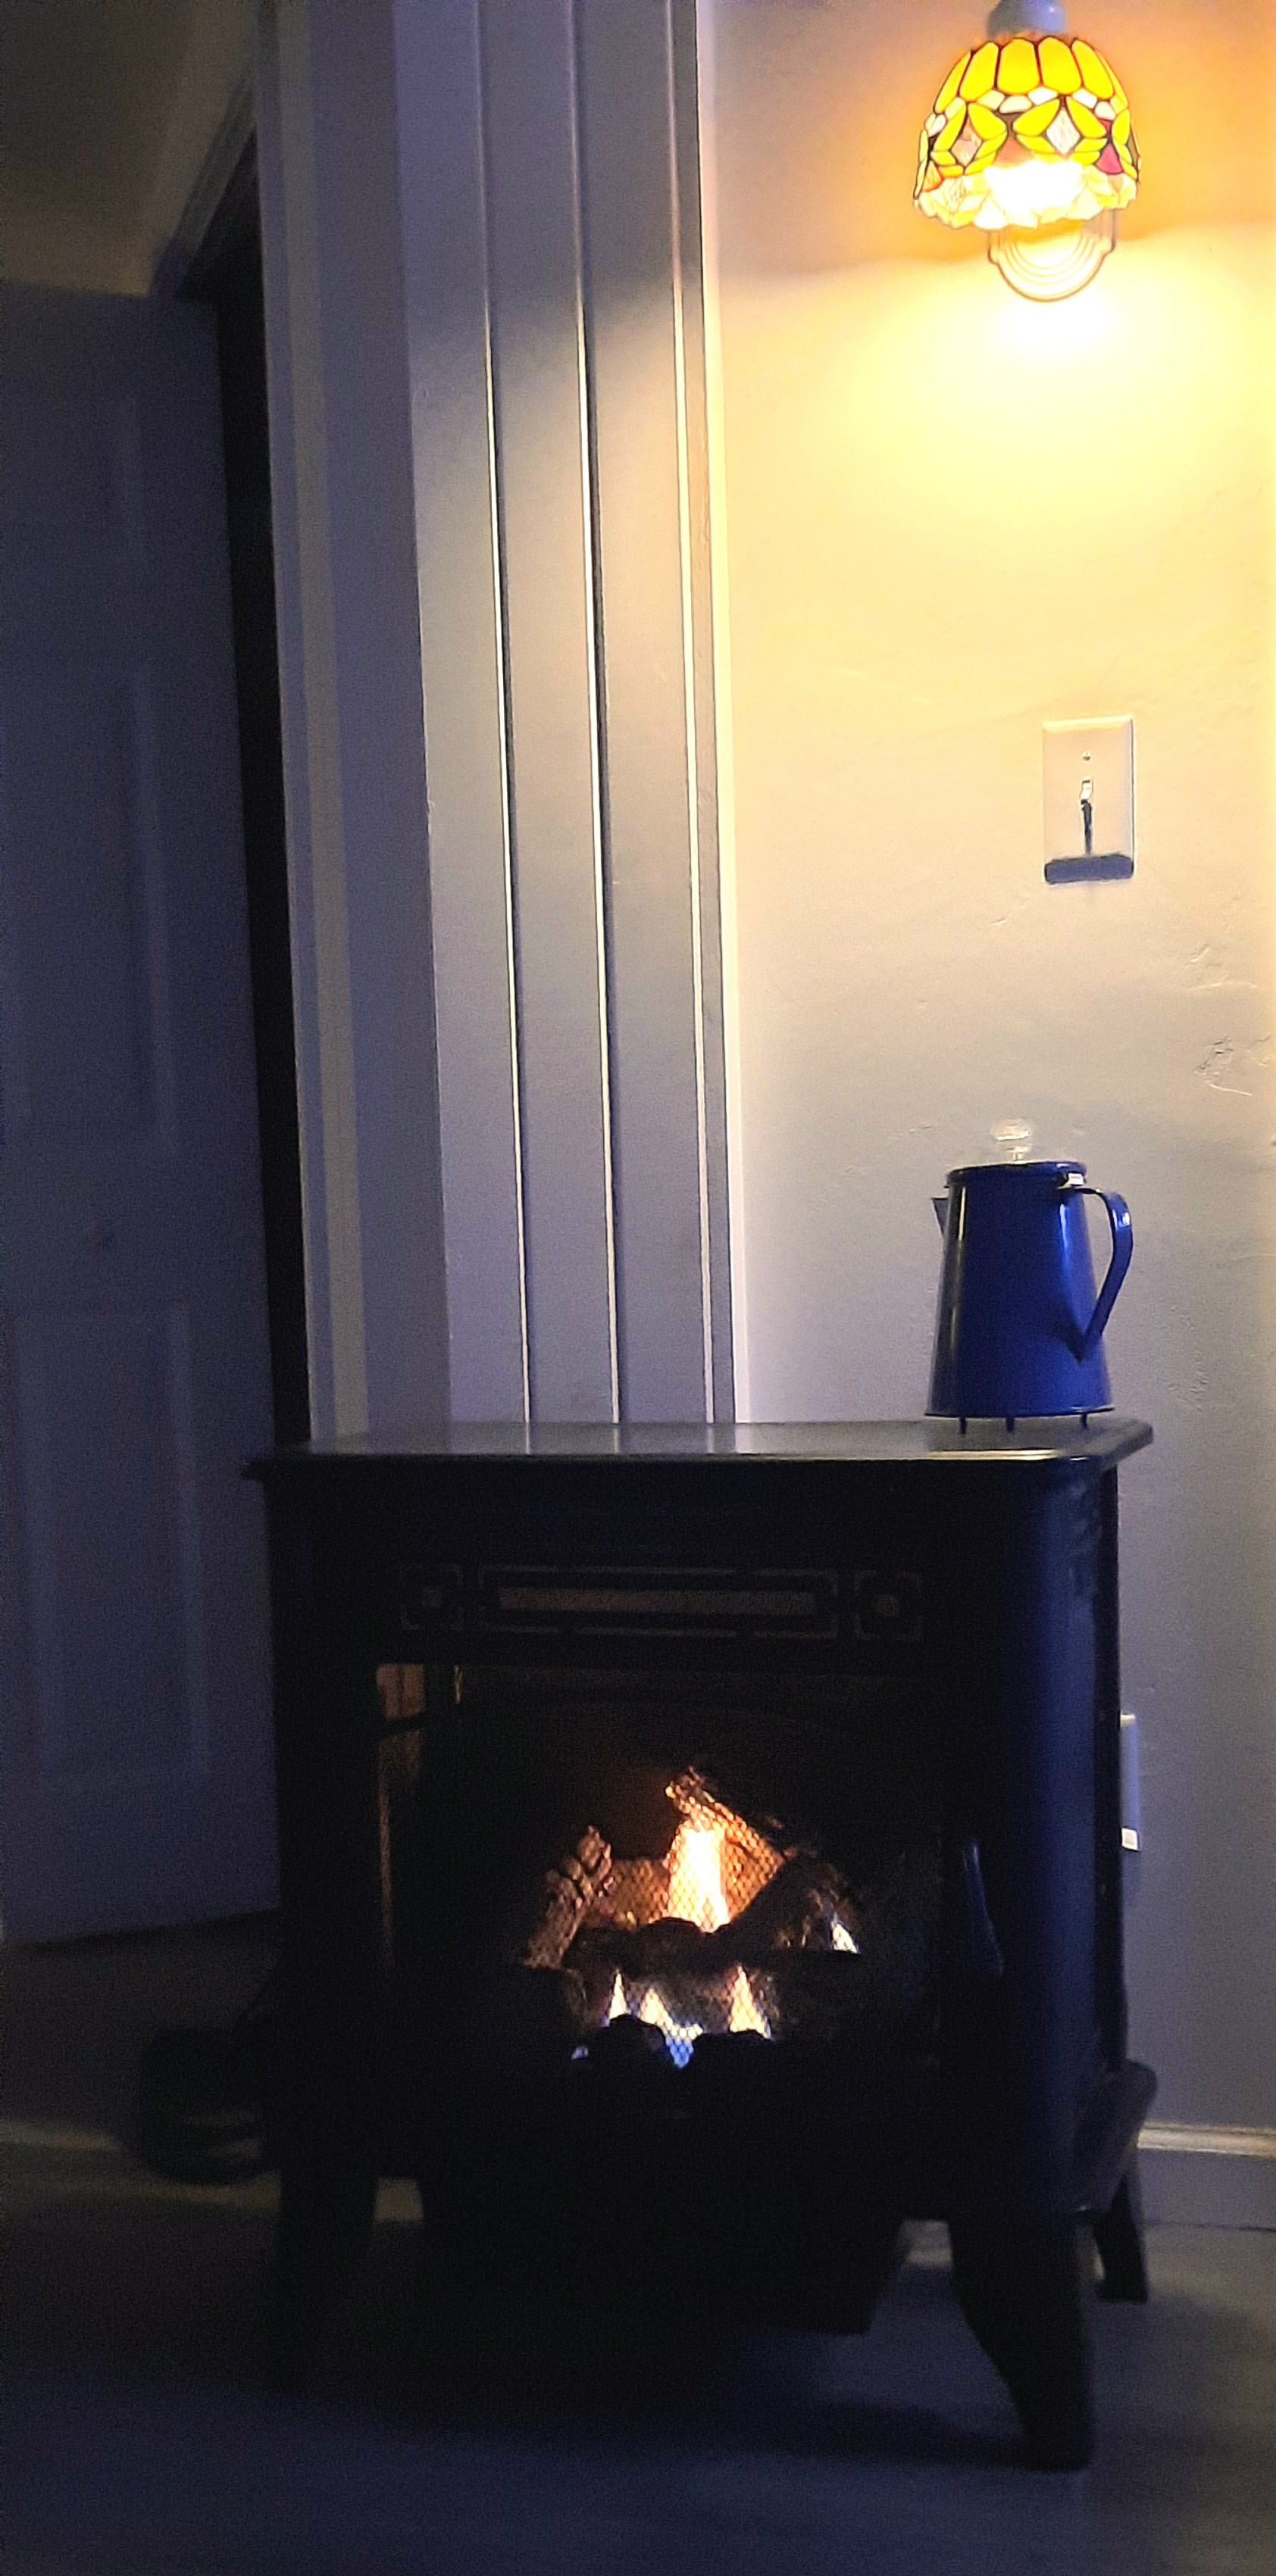
So after our busy day of projects, we curled up in front of the fire last night and watched some HGTV shows. That's where Steve and I get our ideas from you know!  We love Bargain Block, Rehab Addict, Maine Cabin Masters and Home Town.  Ya know, the ones where they REALLY do the work, and restore and reuse as much as they can of the original home. Not those "rip down, make it all new" type shows.  Steve pops a bowl of popcorn and we snuggle in front of the fireplace in the She Shed to watch our shows. 


~~~~~~~

Today, I think I'm going to start doing the quilting the layers of swirling stitching on the frame of my newest quilt. I got it rolled on the big quilting frame two weeks ago, before I got sick. Each layer needs to be carefully rolled on with even tension and no wrinkles. The bottom layer is the backing, then there is the fuzzy cotton batting layer, and lastly, on top, is the carefully pieced quilt block layer. 

Then they need to be pinned evenly to the leader fabric of the back roller before I can start stitching through all three layers.  The big sewing machine glides around the surface, stitching it all together. I guide it with my hands on the downturned handles, held like a bicycle. I move it around, making the stitches as even as possible, not too fast or they are too far spaced apart. Not too slow, or they are crammed together and look ugly.  I do not have a "stitch regulator" like bigger fancier machines.  So it's all just me and my judgement on how and where to guide the stiches, and how fast or slow to go.


Here it is all ready to go. 

Before I start, I service up the machine a little bit give it some fresh oil, take out any lint or fuzz, and put on a brand new needle. It's kind of like taking care of a car, you can't expect it to roll down the highway mile after mile unless you do some service in between at regular intervals.


I just love this pattern --- it's called "Pineapple". I started sewing this one when we were camping this past fall. Once it's finished I will list it for sale in my Etsy store.


I'm finally feeling good enough to get things done, so I'm going to get this one stitched up in the next few days. After it's done getting stitched, then I put the binding around the edges to complete the quilt. It feels so good to do that final process, like completing an artistic creation. I put the tag on the back as a signature and my quilt is done! 

I also have four large quilt blocks that need to be quilted in layers into fabric to make some matching throw pillows. I will finish them up for the previous quilt I finished for on our own bed. 


As I am typing this, I can hear Steve in the basement running his finish nailing gun. Guess that means I better go start painting???

Always a project, and it seems like there's never enough time!  


Monday, September 20, 2021

And It Goes Up Up Up

Steve has determined that today is the day that we will get the three big sheets of drywall mounted up onto the ceiling. 

So he grabbed the covers and flipped me out of bed at 5 a.m. and said it's time to get a move on! LOL 

Not really, I woke up at 5 a.m. with thoughts buzzing through my mind of every step we have to take (or should take) by putting things in order in my brain.

I am really good at doing A B C D E F etc. Steve is sometimes known to fly by the seat of the pants and his alphabet goes P J E L A Z~~~~~ That is why we are good for each other. 


We disassembled our bed and all of the other furniture, to clear the room out and prep. It was necessary to clear it all out to get the sheetrock in and up on the ceiling.  We stacked the mattress and bed frame up against our dining room buffet.


Then we disassembled the bed frame itself with the under-bed drawers and moved them out of the room as well.  They are stuffed all into our dining room and office. We can eat in the kitchen for time being.  That is okay, we are adaptable.


We stuffed our end tables and drawers and the other items all into the guest bedroom. There will be just enough room to crawl in there if we want to sleep. But I think we're just going to sleep out in the motorhome in the driveway for the next couple nights.


We rolled out rosin paper on the floor and taped it down. That way (hopefully) there's no excess mess to clean up. We can just roll up the paper and throw it all away. Once everything is done, we can put the tall mopboard back on the wall under the window.


Next, we spread plastic across the openings to our closet and to the master bathroom. Taping it down securely, we hope this will keep out any excess dust or mess. That was better than completely removing everything from the closet.


Steve carried in the big drywall lift machine piece by piece and assembled it in the room. This is a very handy device that helps raise the whole big 12 foot long sheet of drywall, and hold it flat up to the ceiling. It sure makes life a lot easier getting it up there and screwed into place.


Our wonderful and helpful neighbor, Ed, came over to help Steve lug in the three big long sheets of drywall. I was going to help do it, but it sure was nice for Ed to come over and lend a hand. He and Steve trade favors back and forth to each other. I was very thankful that Ed was willing to help. I was in charge of opening and closing doors. Mainly to keep the air conditioning inside the house. It was getting to be a hot muggy day.


They quickly loaded the piece up on to the lift and had it raised up to the ceiling in the first position nearest the closet and the master bath.


Look how spiffy that works! It's a very heavy board and the lift is holding it up there in the perfect position.  What a helpful piece of equipment.  


They both grabbed handfuls of drywall screws and went to work securing it to the previous wood strips that we mounted on the ceiling yesterday. Zip Zip Zip and soon they had all the screws into place.


In came the second sheet, which they had to measure and cut out the opening for the light fixture. Then the third sheet was up and in place before I could blink my eyes.  


So here is the ceiling, already covered up, in a room that is 11 and 1/2 ft by 13 ft. Tomorrow morning, the young man we hired, Paul, will be here to do the skip trowel plastering for us on the ceiling and the walls.


It will be so very exciting to see the room come about and evolve. Then it will be my job to prime and paint. Steve will recreate the woodwork trim to match the original vintage trim on the other window and the doorway.

 ~~~~~~~~~~

In between all this exciting bedroom stuff that we are doing, I picked another huge amount of tomatoes. I think tonight I will be canning up another four to six quarts during the Packer game. 


~~~~~~~~~~~~

On the sewing machine, I am working on a new quilt. It's called a pineapple block and I'm using a lot of beautiful colorful batik fabrics. These blocks in this photo below are just laid out in no particular order. I have a couple more rows worth of blocks to do yet. I have a nice piano key style border planned for around the edges.


~~~~~~~~~~

And on the Sanna Kangas Finlander Barn Loom, I started a new rug. It's in soft creams and blues and browns. I kind of like this farmhouse style of Hit and Miss rugs. I've been doing quite a few like this lately, and they are very pleasant to work on. 


The nubby texture, as well as the soothing transition from one color tone to another is so harmonious in this style of rug. I like the neutral warp string which doesn't add a lot of detail. The rug is the "Artistry" of itself, with the colors as they undulate from one to the next.


Time to get some supper going here. I tossed some boneless skinless chicken breasts into the pressure cooker with some soup broth mix. I will take out the cooked chicken and shred it up. Some we will use tonight for tacos. The rest I will put in quart ziploc bags and toss them into the freezer. They are very easy to grab out for a quick casserole, chicken salad sandwich, toss into some soup, or just use again another night for chicken tacos. Easy peasy.


Sunday, September 19, 2021

Bedroom Ceiling, Shutters and Pic Nic Table

Even though the rest of the room isn't finished yet, I am thoroughly enjoying waking up each morning to this beautiful view!  


We can now sit in bed with a cup of coffee and languish around a little bit longer, since we have this beautiful sunshine coming in.

But then it was time to get to work. Steve brought in the wood strips to start reinforcing and leveling out the ceiling to add new sheets of drywall.  At first he tossed them RIGHT ON MY HANDMADE QUILT!!!   ACK!!!!


I quickly grabbed a couple wool saddle blankets and took care of the situation.  It was not a good way to start the day, to say the least.


Steve pre-measured and pre-marked the walls and the ceiling to add these wooden strips. They will bring the ceiling surface down a a bit lower.  These are for the sheets of drywall to be screwed to, and cover over the rough areas of the old closet walls and old attic scuttle hole.

Each wooden strip has a thick bead of construction adhesive running the entire length of the strip before it is lifted up to the ceiling.  Then long screws are put through the pre-drilled holes at 16 inch intervals, right into the ceiling joists.


Steve starts on one end, while I stand on the other end holding the wooden strip into place. Instead of going up and down up and down a ladder, Steve made me this handy board with a y-shaped end made of two screws. I can hold it into place exactly on the center mark until he gets everything fastened at his end.


Even though we have 9-foot ceilings, Mr. Tall Man Steveio was able to stand on the bed to reach the middle sections of the room. When we get ready to hang the drywall, we will dismantle the bed and move everything out of the room.


One strip happens to be located in line with where the light fixture is. So, for that one we had to cut it into two pieces. We will remove the light fixture during the drywall phase, and just have a temporary light socket wired in.


Now we are adding extra strips on the other side of the old support boards from the old closets. They were both removed to make this bedroom bigger, and it pushed the wall over into the other bedroom. That smaller bedroom then was made into the master bathroom. This is the ugly stuff that we will be concealing underneath the new ceiling.


At the same time that we are going to hire a young man to plaster the ceiling, he will also replaster all of the walls in the bedroom. The old wall texture is from a blown on splatter gun texture sprayer that the previous owners had done. This surface will all be covered over with new skip troweling. It will be made to appear much neater and cleaner.  


We hired the same young man that had done all the walls and ceiling in the She Shed last year. He is going to come as soon as we get all of the drywall screwed up into place. 

We got all of the supplies ready for him, and we will dismantle the bed and remove everything from in the room. I have a roll of wide rosin paper to cover the hardwood floor. 

As soon as we borrow the neighbor's drywall lift and a little help from our son-in-law, the sheets of 12 foot long drywall will be attached to the ceiling. 


We are just getting too old to do all of that overhead work anymore... plastering and drywall... taping and sanding excetera. 

I think this is one job that we will hire out again this year. He did such a great job for us in the She Shed, we are happy to get him again, on short notice.  Sometimes we have to know our limitations due to age, and eek out the money to pay someone else.  

In between doing this other work, last night I found a local guy selling some shutters. They were just the right size that I needed for on each side of our bedroom window! He even dropped them off right at our front door, how nice is that? He only charged me $10 each and they are the exact size I needed. The only problem, they are BLUE! 


I got out my can of special primer for PVC vinyl or plastic. It's rather stinky. But this gets painted on first and it helps the paint to cling better.  When we bought the house, I gathered and painted the other shutters red too. By painting these to match, it will be nice to complete all the sides of the house, all of the way around.


First thing this morning, before we were working on the bedroom ceiling, I grabbed out my can of Double Decker Bus Red and started to paint the shutters. Do you see my supervisor making sure that I do a good job?


I wanted to get them done as early as possible, we were going to be up in the 80's and very high humidity. It's so pleasant to paint early in the morning but I had to wait until the dew was starting to dry off the grass.

At the same time, I decided to paint the little picnic table and four benches. They had originally been red when I first got them, down in Chilton. I bought them as a fundraiser from the Wisconsin Sheltie Rescue rummage sale. I had painted them blue to match that house. 

Then when we moved up here, I had only painted the tops red before I ran out of paint. So for the last two years they had blue legs and red tops. It was time to make them all back to red again!


After we were done with the ceiling work,  I popped back outside to finish up a second coat. Tah Dahhhh! 


Imagine my shock when I later saw that Binney's nose was bleeding!!!


Nawwwww

She was just being "nosey"

in my red paint.  Lol!