This is the Part 2 followup blog post of the process of replacing our driver side window in the motor home. The two lower portions, one which is a slider, had blown their thermopane seals and were fogged up.
Here's the blog post of where we first attempted to open them up clean them and reseal them:
But because the glass was etched, from the combination of the metallic spacer and some chemical reaction, we needed to have two new pieces made.
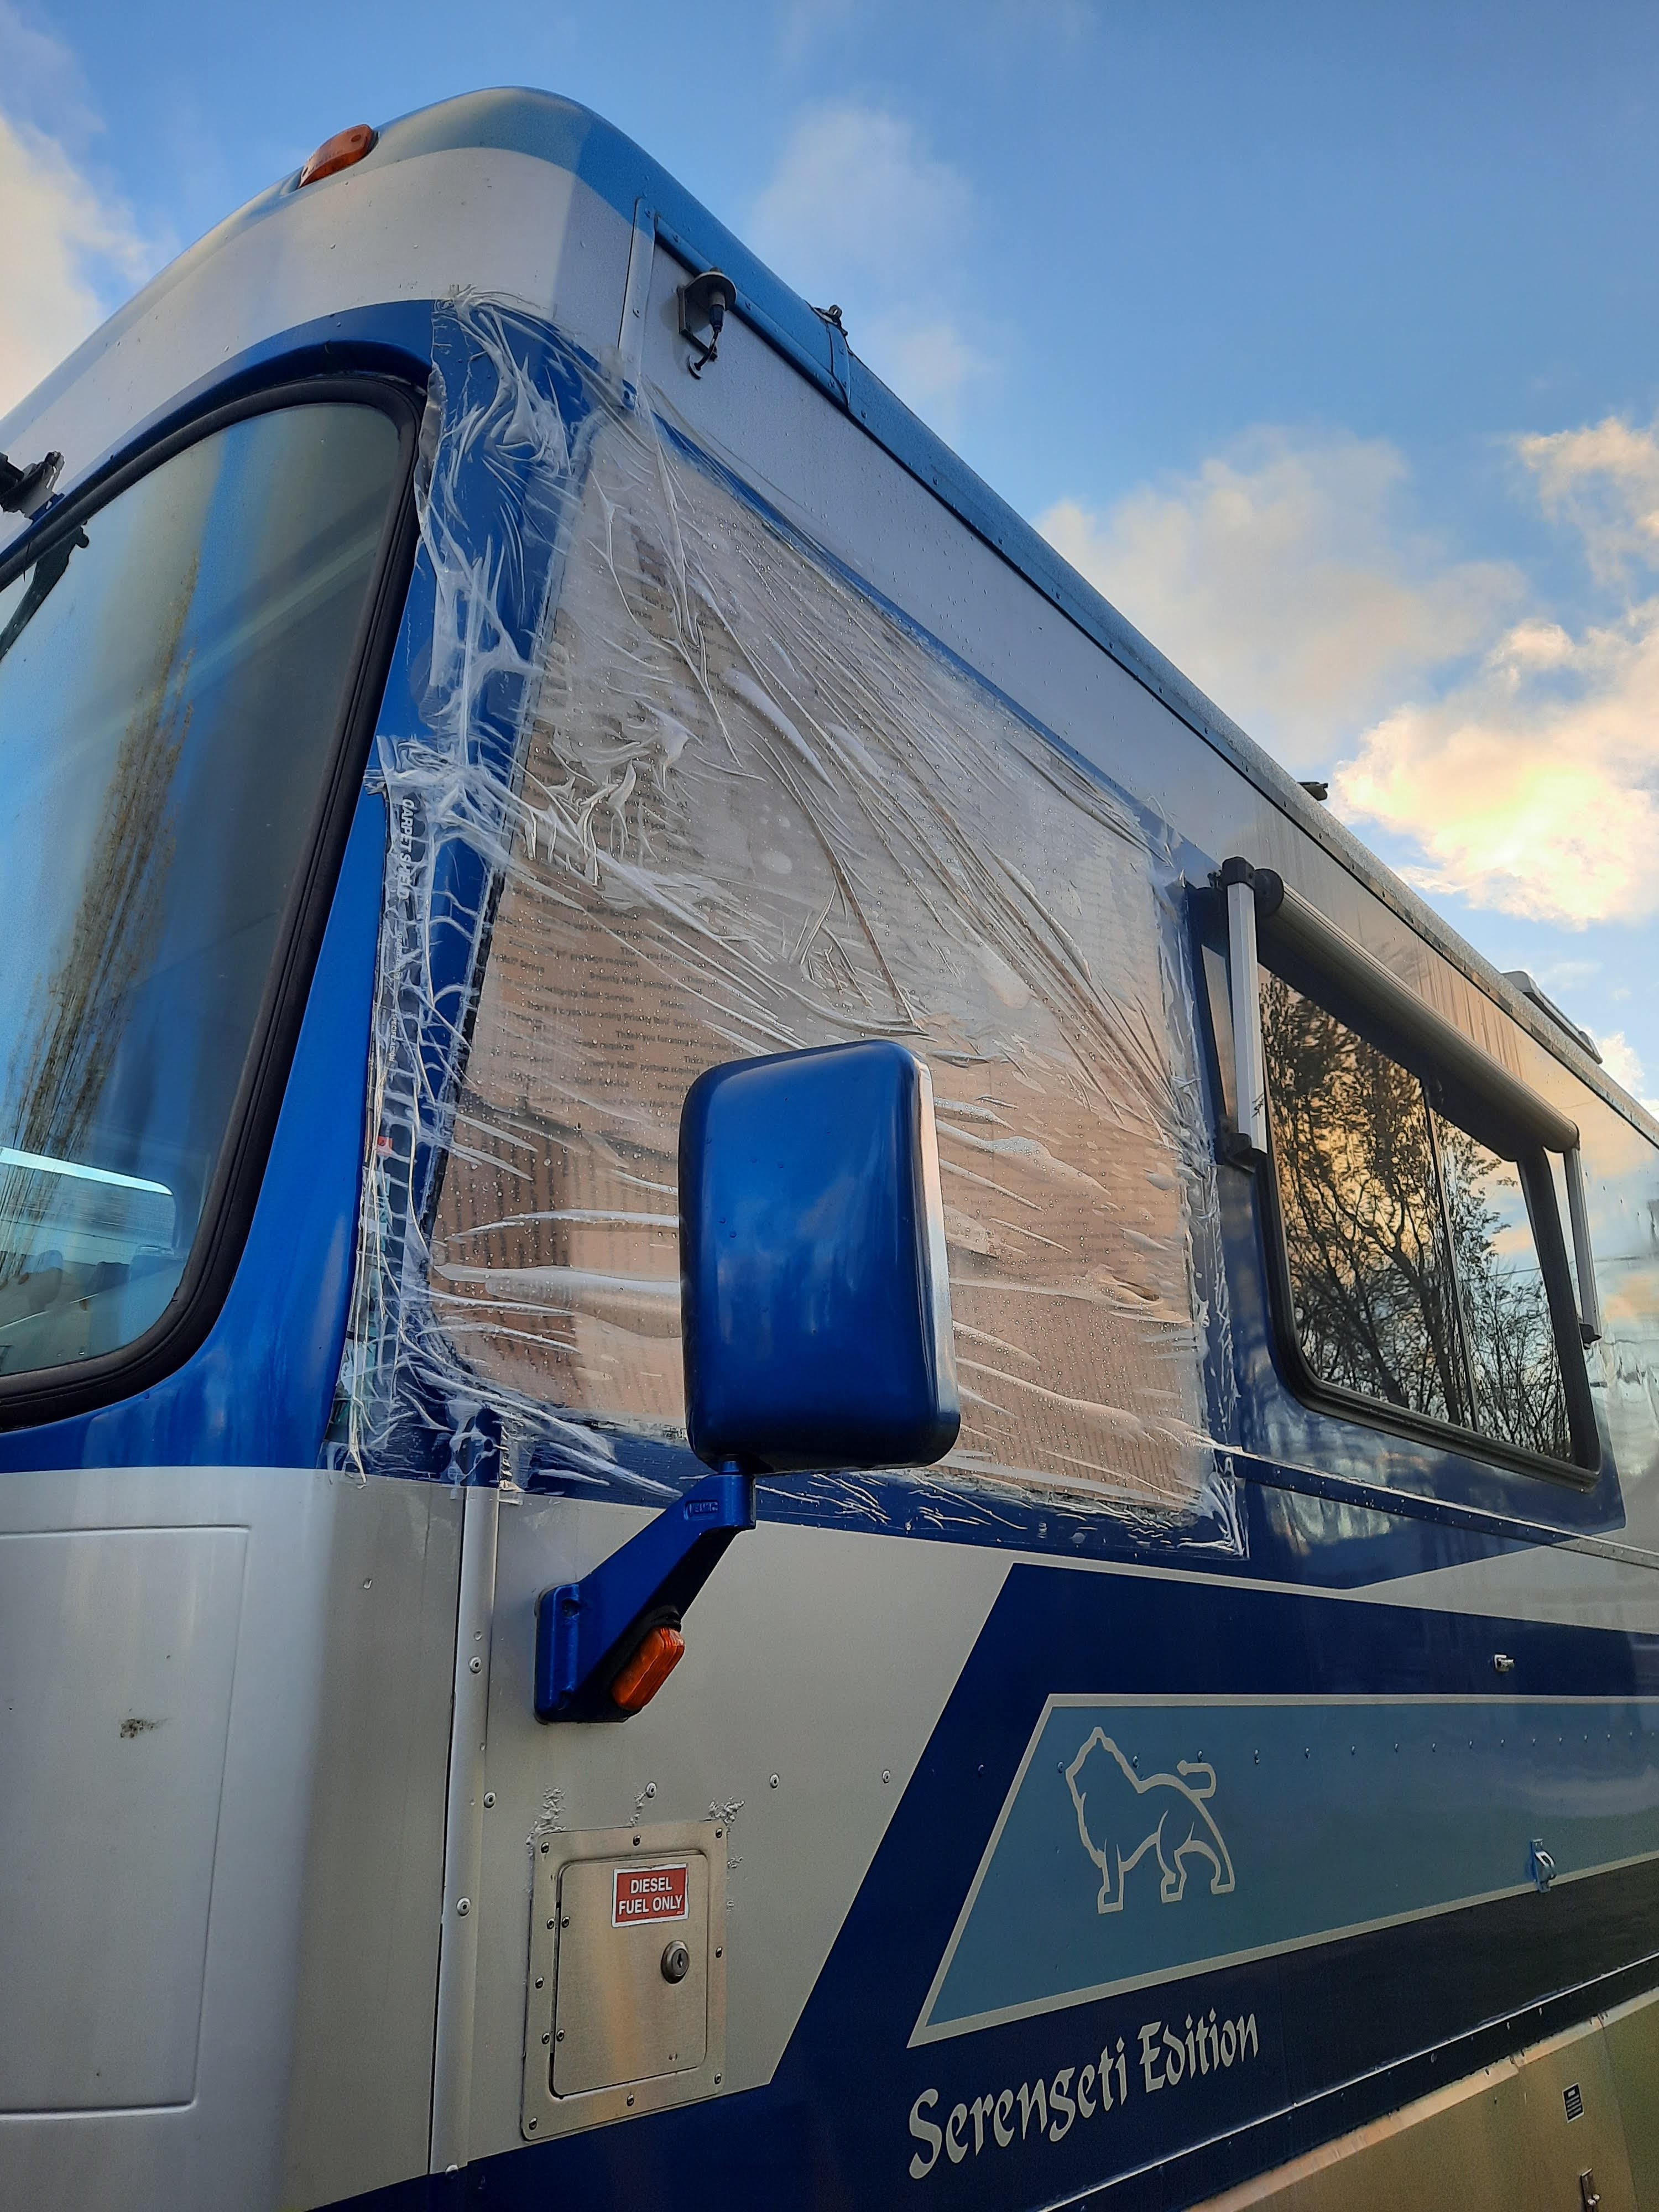
After Steve removed the window and took out the pieces, we had taped it up with a roll of this this carpet film used to protect flooring during open houses. It worked really well to seal off the entire opening of the motorhome window

We put a layer of cardboard from the inside to give it added strength and durability. Originally, we thought it would only be this way for a week or so. It held up well through rain and wind and even some sleet. For how long??? FOR 30 DAYS!

Here are the labels from the windows themselves of what they created for us. We asked them create two thermopane pieces, with tinted glass. It needed to have a radius curve to the glass on one corner, to fit the frame. We gave them our original pieces to make templates from. It is also tempered glass because it is for an RV window.

We were quite pleased with the bill. They had estimated $80 for each section and came through as promised.


After he put the pieces into place, and yes, they fit perfectly, then he had to add the 4 little screws back to where the two pieces of framework joined together. The heads of the screws are covered with silicone to prevent any leaks or any rust and corrosion. This space will be hidden away between the two layers of the interior and exterior walls once the window is in place. But it's just been best to make it as secure as possible and prevent any future problems.

Here is the large window put back together. The two smaller sections are the ones that were rebuilt. One is permanently fixed to the front half and the other one is a slider window. This is important for things like pulling up to toll booths, or opening up to get directions, or hear someone when he is backing into camping spots. Previously they had been so messed up and foggy that it was becoming dangerous to even use them to view his side mirror while driving.

We have done this twice before ourselves, and also had the passenger side window completely redone by in Suncoast Designs in Hudson, FL a few years back. So we know the best products to use.
Now keep in mind, when we first did this we thought we would have warm weather while putting it back together --- because we thought it would only be a week or so. That was back in September. Haha!
Now it's down in the 30-degree range and we have had rain and storm and winds all last night and again today. But we needed to get this window back into place toot sweet.
While in the warmth of the garage, Steve put a layer of the black butyl tape all the way around on the frame of the window before we carried it outside to actually physically put it on to the motorhome.

Carefully making sure to follow the frame with all the way around and not having it overlap to the outside.

Using a heat gun and being sure to carefully not get too close. It was just enough to take the chill off and warm up the entire surface to get the butyl tape to adhere properly. But not let the heat ruin the paint or finish.

We then carried out the large combination window unit and brought it to the side of the motor home. With both of us pushing and hoisting we got it up and into place. Now it was my turn to stand on the outside and hold it tight against the exterior the motorhome while Steve went to the inside to start screwing down the inner frame to clamp it together into place.

I was able to grab the phone out of my pocket and take a little selfie with one hand while he was inside working around the whole frame with I don't know maybe 30 or 40 little screws.

(you can see our kids motorhome
parked in front of ours
for winter storage)

While he was doing that on the inside, I was on the outside, standing on the ladder. (in the cold) I was carefully going around and around the entire outside of the frame with the heat gun, this was keeping the window frame on the exterior side warm enough so the butyl tape would seal snugly. On the inside Steve kept tightening all the little screws alternating in various spots all the way around to pull the two pieces together evenly. The inside frame and the outside frame needed to meet perfectly to clamp the window into the opening.

Around and around he went, giving each one a bit of additional tightening until each screw with snugged into space. I took a break and came inside to warm up. The temperature dropped down to 36 degrees and it was getting quite blustery and windy out there. Plus we were losing daylight. Steve had the inside job I had the cold outside job!

I went back out to give it one more round of heat applied to the outside frame. Everything was snugging in well and it appears to have seated correctly in the open space.

Then Steve came out and took one final picture of me doing my job. It's not often that I get pictures of myself doing the work. So often people think Steve is the only one that does these projects, because he's the only one in the pictures. Well? That's because I'M the one usually taking the pictures!

But we do work together as a good team. And the window is in place. Darkness fell and we decided it was time to go in the house and get warmed up and eat some supper.
Tomorrow Steve will add one additional row of exterior clear UV silicone along the top edge of the window frame for an additional protection.
Also, stay tuned for our next project.
It will be the S. O. M. D.


Good job! And excellent documentation for the next guy that has to tend to this. (me, probably) Thanks for sharing.
ReplyDeleteIt seems that what one of us does with their Safari, everyone has either already done it, or has to do it soon. That is why I like sharing our projects. We love to read about other folks and the things they have fixed as well. We pick up tips and tricks that way.
DeleteI rebuilt my dual pane with a kit sold online. It was so difficult Because I had to raise my complete dash to access the window trim screws. What a “pane” that was!
ReplyDeleteHaha love your pun. We tried to rebuild them and clean them good, even ordered the new spacer stuff and proper sealant. But the glass was too chemically etched to clean up. We will save the other supplies for two of the livingroom windows perhaps next summer. That is enough for this year!
DeleteDefinitely can't afford to have those Mirror Windows fogging up. Well documented project.
ReplyDeleteNothing is ever easy but another advantage of doing it yourself is the Money you save.
You are right the photographer seldom is seen in the pictures.
Be Safe and Enjoy!
It's about time.
Yep, the last few times we were out and about, that fogged up side window was getting worse and worse. Dangerous. Steve drove with an open window one day to see better. Hope to do a few more next year, but none were as bad as this pair was.
Delete