Steve is calling this project "Inexpensive LED Lighting"
I call it "Converting all of our fluorescent lights in our RV For Under $40".
Yes, it's time for another motor home modification post. Steve has recently been working on upgrading all of our lighting to LED in the motorhome. Here is a post I did a couple weeks ago about changing over all of the halogen puck lights plus installing a few more under the cabinets.
here is that post:
MOTORHOME MODIFICATION - Changing Old 12 Volt Lights to New LED Puck Lights
Now his newest project is to take all of the fluorescent Thin Lite fixtures, remove the fluorescent guts and ballast, and add 12 volt LED strip lighting to each one. He ordered up a couple rolls of the 12 volt strip lights as well as a pack of these little end connectors with wires to be able to wire into the original switches. Total cost was under $40. We definitely wanted the warm light spectrum, 3000k and not the bright or daylight which is in the higher range.
LEDMY Flexible Led Strip Lights
Warm White 3000K DC 12V
24W SMD3528 300LEDs IP20
Low voltage, Safe and stable. DC12V, 24W, 0.5A one pcs. Size: 196.8x0.3x0.1 Inches(L*W*H)
Super bright with high lumens. SMD3528, 300LEDs/pcs.
1250Lumens/pcs. Warm white, 3000K. CRI>80, Lifespan >50000 Hours
here are the links from Amazon of the items he purchased
This is what it looks like up close. It's just a tape of little LED lights that can be cut to size. You have to be very careful to only cut where the scissors marks are between those four copper colored looking dots.
Steve let me film him step-by-step from beginning to end of a how he is removing the guts from the RV 12 volt thin light fluorescent light fixture and making it into a 12 volt LED light fixture. This method lets him re-use the same fixture housing, the same lens, and the same switch.
So this is your plain normal everyday average Thin Lite 12-volt fluorescent fixture found in many RVs. If you have read my blog for any length of time, you will know that I hate fluorescent lighting. So I am all for him making these changes!
The first step is to remove the clear plastic lens cover. It just unsnaps and drops down with a little squeeze from each side with your fingertips. These are the fluorescent light bulbs that are currently inside the fixture.
Steve carefully removed the bulbs from the plastic socket pieces and set them aside. They will need to be disposed of properly, or if anybody would like to buy them from me for the price of shipping, email me at
pfundt@gmail.com I have five sets of the shorter 15" ones and three sets of the longer 18" ones. Keep in mind, these are the 12 volt fluorescent bulbs.
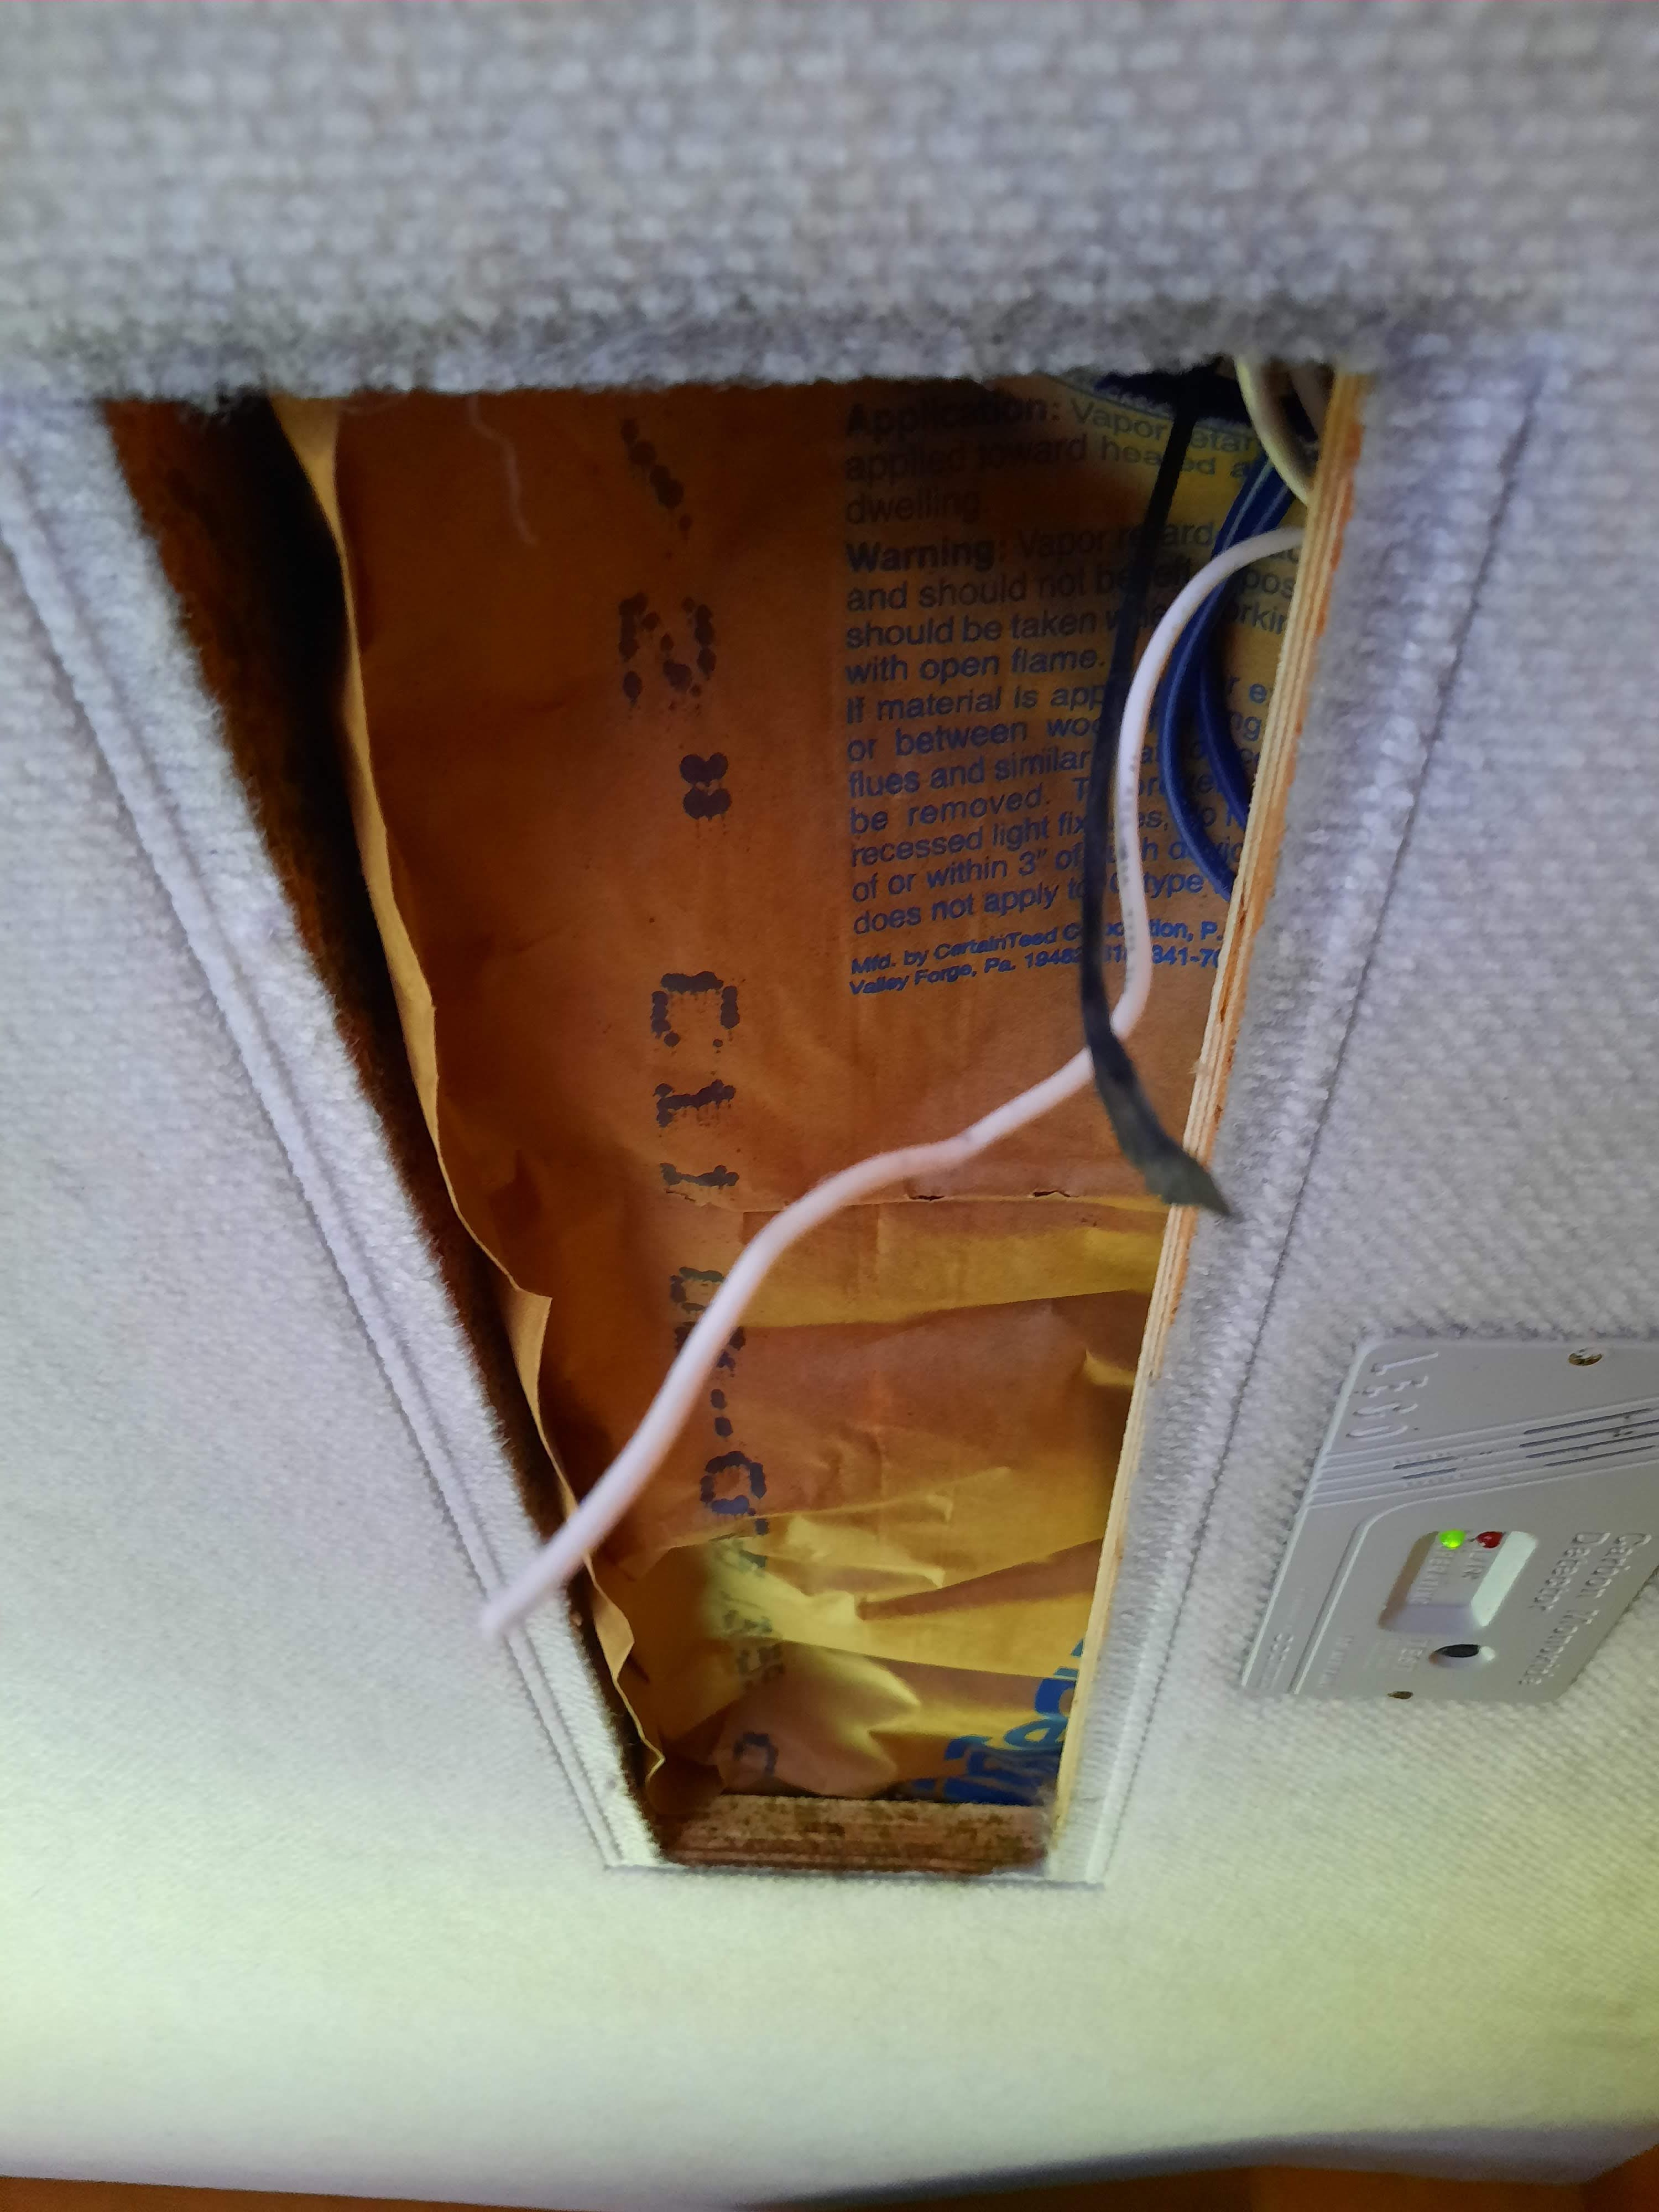
Now he popped off the center cover that contains the additional wiring for the fluorescent fixture. This is where it gets a little technical, so if you are uncomfortable with handling 12 volt electricity, you could pull the appropriate fuses to disconnect your fluorescent fixtures. Steve chose to be careful and left the 12 volt power on.
Steve then cut the hot switch wire and the ground wire that originally went to the ballast. These are the black and white wires hanging down in the photo below. Next- see where my finger is pointing to a third black wire? This is the hot wire from the coach going to the switch that has a little female spade connector on it. Steve carefully reaches in with a needle nose and pulls that female spade connector off the light switch male spade terminal. He needs that hot female spade connector to reconnect back again later to the switch once he removes the housing from around it.
He carefully folded a piece of black electrical tape over the female spade connector. It's a hot wire. Not only does that prevent it from touching anything and arcing out, but also he uses that little bit of tape later as a trick to help him guide that back onto the male spade terminal on the switch.
Now he can remove the rest of the light housing by unscrewing all of the screws around the edges and let it drop down from the ceiling.
He cautiously slides the wires that he had snipped off, through the little hole in the housing, to let them remain hanging out of the ceiling cavity. The rest of the fixture he can take into the garage to do a little bit of surgery!
Off to the garage we go. Now he needs to get out the drill to drill out 6 little rivets on the underside of this fixture housing. See these little rivets? They are just little lightweight aluminum ones that need to be touched on with the tip of a fat drill bit to cut them loose and remove them.
Buzz buzz buzz
and soon he had them all done---
Now all of the guts can be removed and discarded from the rest of the housing. None of it is needed any more.
All he needs now is the housing
and the switch
to be able to proceed with the next step.
Okayyyyy back into the motorhome we go. Now he measures and cuts the new lengths of the LED strip lighting. Again, be careful to cut only where the little scissors marks are between the four copper dots.
On this particular fixture he is doing two strips:
On the end of each strip he needs to put on the little wiring connector. When attaching the little wire connectors, take caution to look closely so you know which side is positive and which is the ground, which is marked on the tape, to correspond with the wires of the connector. DON'T reverse them!
Each strip of lights will be wired with a connector on each strip. Separate strips is better than leaving it in one long strip, and trying to bend it in a curve around to go up the sides of the light fixture. Peel off the back of the adhesive tape on the back side of each strip and securely fasten it to the housing. It sticks really good the first time so don't try to pull it off and reposition it.
Each LED light strip now has two wires coming off of it. One is a black positive and the other is a red ground/neutral.
Now Steve carefully puts the housing back up into the cavity in the ceiling. He gently pulls through the wires so they are now within the open space of the fixture.
Now for Steve's trick with the little tab with the female spade connector to get it onto the male spade terminal ----
He very very carefully uses the tip of his knife to cut a tiny split in the tape surrounding the female spade end. Now he can use the tip of the knife in the split in the tape. He can carefully guide that connector wire end up onto the male spade terminal on the switch!
It is the easiest way he found to get that little connector thing back onto the terminal of the switch in that tiny space. Now the power is at the switch, but keep it in the OFF position.
Connect the two positive wires to the hot lead and connect the two negative wires to the neutral/ground lead. The pic below shows him testing the connections. Use wire nuts to twist the wires together tightly, and then tape over them securely to prevent them from ever vibrating loose.
Tuck the wires back up out of the way.
When the lens cover is put back on, it diffuses the light and spreads it around. It's a nice warm glowing light and not an intense sharp LED light. Just what I wanted!
We decided that two strips of the LED light tape was sufficient in most of the fixtures. But in the fixture over the medicine cabinet, I decided that three might be better. Again, it's the same process but this time you are joining three sets of wires instead of two.
Tah Dahhh!
Again, with the lens on,
it looks nice.
In the largest kitchen cavity, we had previously removed the 120vAC fixture and swapped it over to 12 volt fluorescent DC quite a while back. But now we decided to remove the 12-volt DC fluorescent fixtures and add four strips of this light tape for sufficient Illumination in the kitchen.
Once the panel of diffused lens material
is put back into place, it spreads it out nicely,
Here is the fixture in the kitchen which I think is illuminated up quite well. In addition to the new puck lighting underneath the cabinets, there's more than enough light in this kitchen for our cooking and dishwashing tasks.
Well, that is enough posting for today. I'm not feeling the best I think I'm going to go curl up for a nice long afternoon nap.
ON EDIT : oops forgot to hit "publish" before my nap. Now here is the blog, had a nice nap and now going to get supper going. Have a nice evening, folks!


We live in La Conner, Washington, and have recently bought a 1997 3354 Safari Sahara. I thoroughly enjoy your blog. It is the most entertaining and informative. The LED lighting is the way to go and thanks to you and Steve for making it easy, we will be doing the same thing.
ReplyDeleteWe used to be boaters for about 25 years here in the San Juans and the Salish Sea (Puget Sound) and the wife said it was time to go land yachting.
Thanks! If you view my blog using the web version with the green background and the links down the right-hand side of the blog post, you can access past blogs. Any one that deals with motorhome modifications or repairs I usually put it right in the title in capital letters. That makes it easier to search back and look for particular post. I also have a search this blog box on in the right-hand column as well if there's something in particular you want to look up to see if we already fixed it ourselves. It seems like these motorhomes are never-ending projects, but we really enjoy them. Some people have hobby cars or hobby motorcycles, Steve has a hobby motor home!
DeleteThanks for sharing your blog, we are really enjoying your posts. The lighting is a great idea, well now we have another project. Have a great weekend.
ReplyDelete