Steveio has been working on his "A-Door-able Door". He finally got all of the varnish and old layers of paint removed. He's making quite a job of it. Honestly, if I had been doing the door I would have just sanded it lightly enough to get off the loose stuff, spackled up the few deep gouges, holes and dings, and then gave it some new coats of paint. But, in fairness, it did gum up the sanding belts pretty thick and was hard to removed that many layers. So the heat gun did the job much nicer.
Yes, we are going to paint the door. All of the other doors in the house are painted and we have no varnished woodwork other than the hardwood floors. So sadly, yes, after all this work it will get painted again. But Steve had wanted to remove all of the layers of paint and varnish that were on there to begin with. That's why he is going through all these extra steps. Like I said, he's making a job of it rather than a quick project or a hobby. That's my Steveio!
If you recall from a couple blogs back, this is the door in it's original shape. He was able to negotiate it for $20 and it is the perfect size to replace the modern one that is currently on our bedroom doorway.
Here below is the modern one on our bedroom doorway. This is actually a whole new doorway that was created when the bedrooms were shifted around to make a master bath. The previous owners did this work, and put in the new door. Originally this section of wall had a big floor to ceiling bookcase. Once the bedrooms were moved around, this doorway was added. It's just a cheap hollow core modern looking door. It almost feels plastic in it's own way. I don't even know what it's made of. MDF? Steve says it really bothers him and he has always wanted to change to an old wooden door that matches the rest.
Here are the original doors--- this one that leads into the bathroom from the master bedroom. That's why he was so excited to see this newest one on Marketplace because it exactly matches our other doors. It was taken out of an old home about 5 miles away that was being torn down to build a new home.
This morning, Steve wanted to carry in the door to do a trial run fit before he does anything else. Of course being an old house, nothing is ever square!!!
I am the "door holder" and "tool getter" and "pencil sharpener" and any other task he needs my assistance on. Even something as little as holding open and closing the front door to the outside as he goes in and out is helpful too.
The door fits into the space but needs a little bit of shifting and shoving around to try and get it even. It's pretty much a close fit, but Steve is making much more of a job of it and is going to make it fit perfectly (of course). Oh well, gives him something to do today.
He shimmed it up to the correct height underneath and I came from the living room side to help hold it into place. This is going to work out quite well. We will need to move the striker plate and latching bore hole up a little higher and patch in the old one on the jamb. This old door has a higher knob then the other one. That's kind of strange, I thought in the old days that people were shorter and knobs were lower? No idea.
He marked the areas that he needs to cut a little bit off. Not a lot. Just a teeny bit on one side. Then he will bring it back in again and we can mark the hinges where he will have to mortise router out the space for the hinges on the door itself. Luckily he can leave the original hinges from the old doorway in place on the frame.
He only had to chisel out a tiny bit,
and now the hinges will fit back into the doorjamb.
tap tap tap
And there we have it!!! (Steve is fond of that saying) The pretty glass knobs we have throughout the house now fit onto the door and cover up the markings and cuts from the older 1970's brass knob. Steve put it all on for now to get things lined up, but he will remove it before we take the door back out to the garage to paint.
Yes, we do need to paint it.
It's only a pine door.
These are some of the flaws unearthed
after all the paint removal.
They will all be wood puttied up, and then sanded. Finally I will get out my paint and roller and brush and give it a good couple of coats with our trim color, so it will match everything else. Now that Steve has the garage insulated, I can paint out there while it is laying flat on the sawhorses. Much easier than painting it erect in the doorway in the house. Less runs and drips and the paint will lay more evenly on the wood.
~~~~~~~~~
While he was busy with the door, in between my tasks I started a big ole pot of chicken veggie soup this morning. I chopped up the vegetables (yes, I chop the leaves on the celery for added flavor to the soup) and get everything ready to dump in the soup pot.
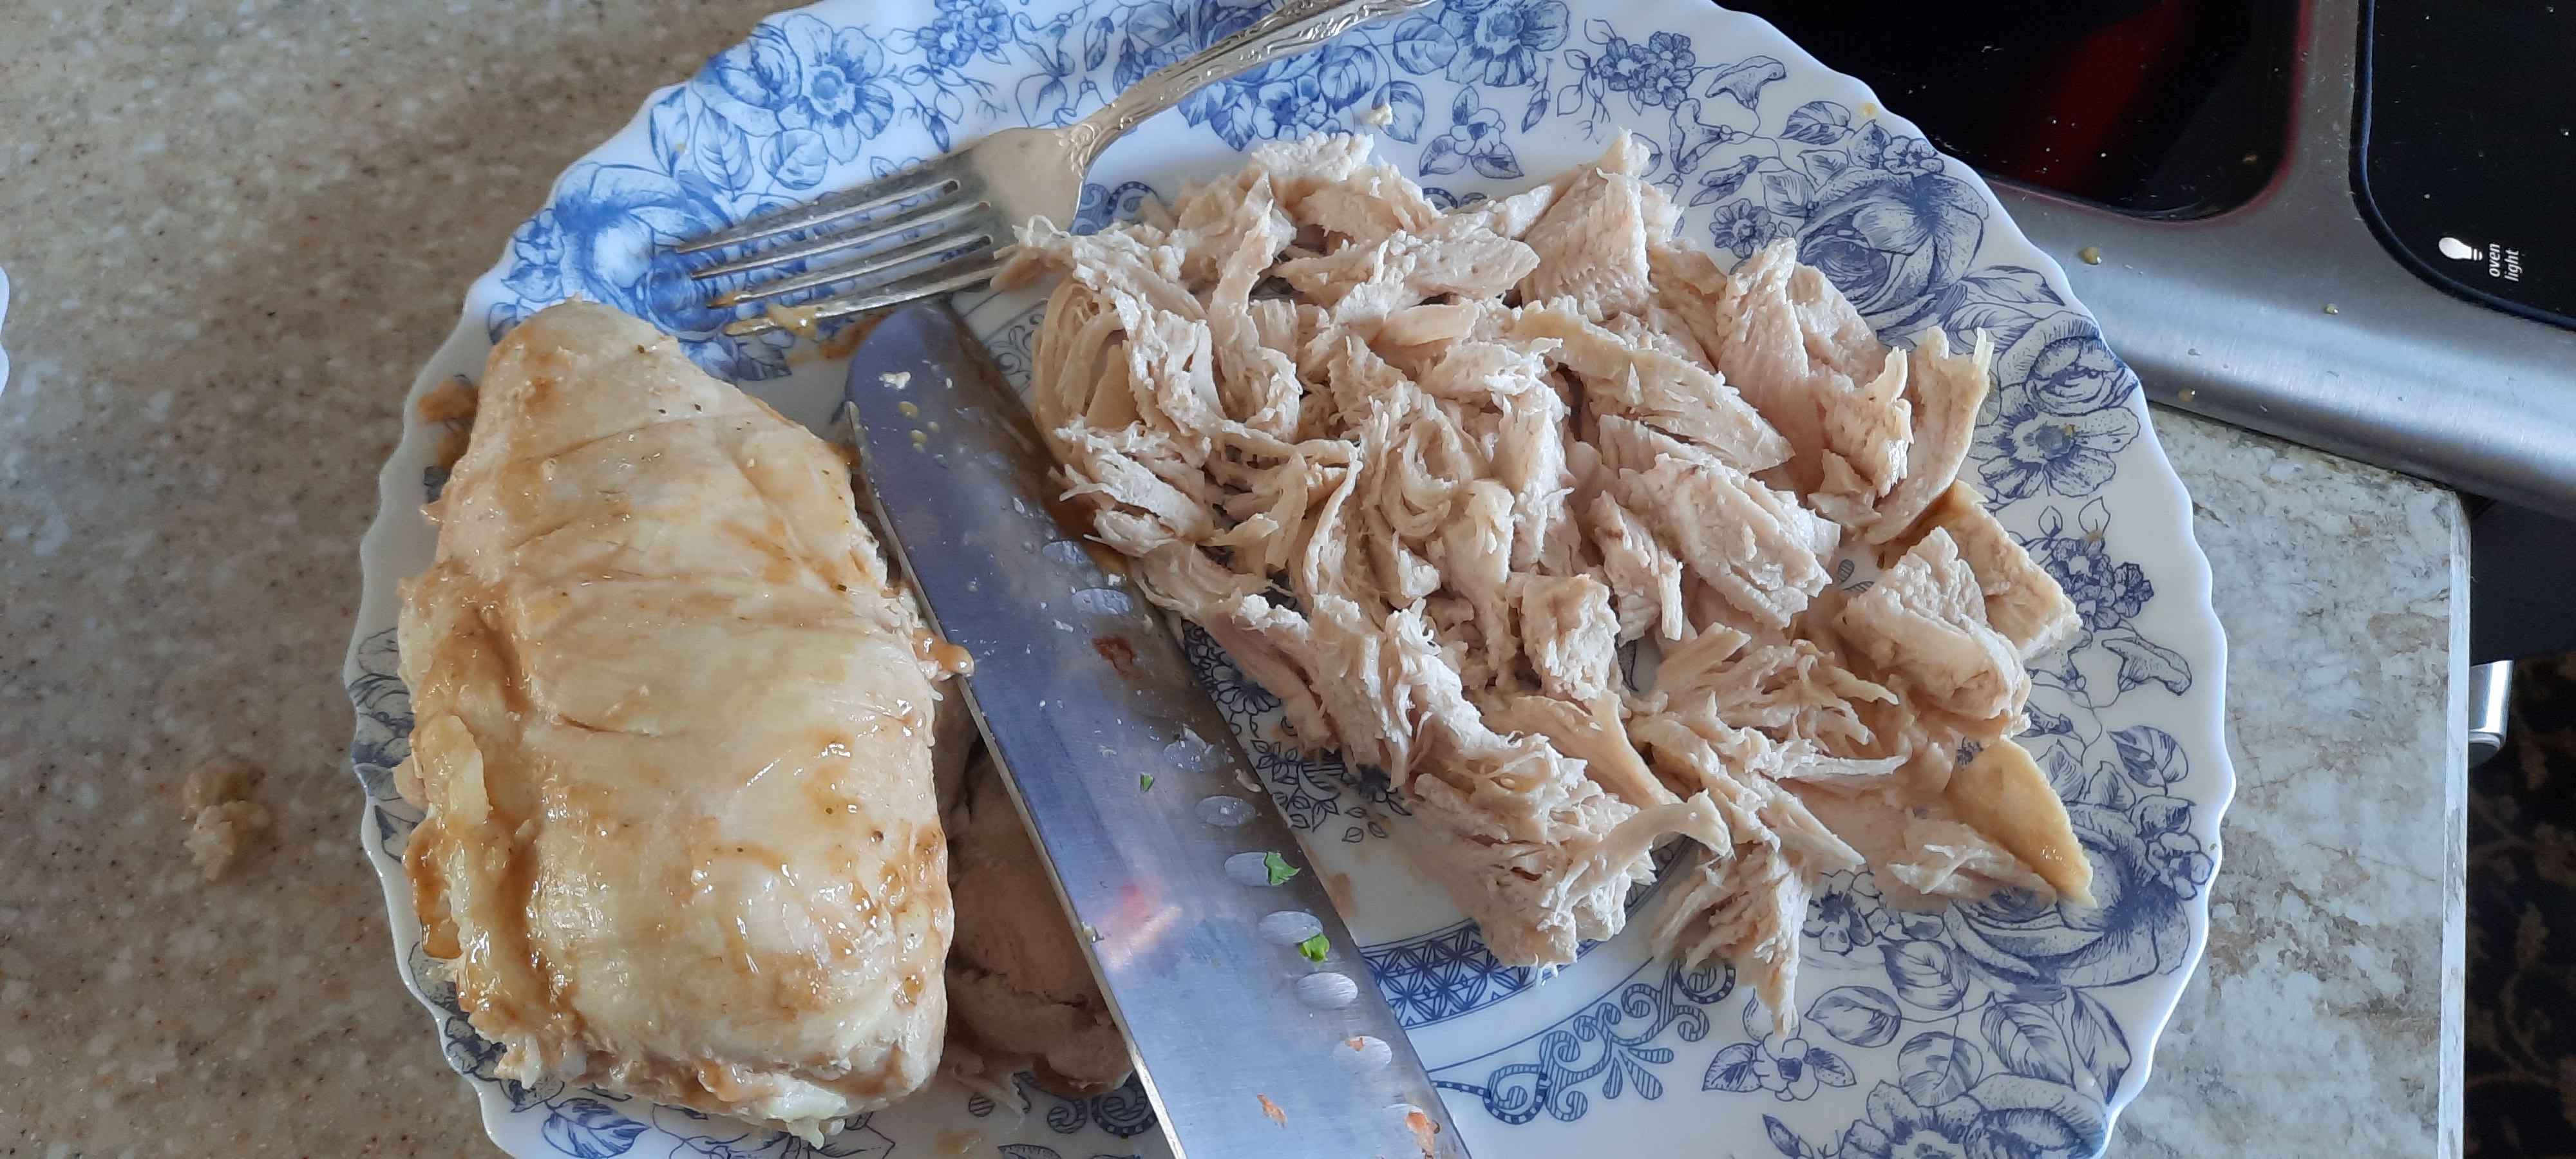
I had two frozen chicken breasts to cook up, so I popped them into the pressure cooker with some water and Knorr's soup broth powder. In 20 minutes they are ready to fall apart and soooo tender.
I shredded the chicken up with a fork and knife, and dumped it into the soup pot where the vegetables were starting to simmer. I also dumped in the broth (after straining it) from the pressure cooker for added flavor.
Our local store carries these big jars of bulk spices they buy from the Nutmeg Spice Company. https://www.nutmegspice.co/ They are re-packaged and labeled from our local store, but can also be ordered directly online. I love the mixed dried vegetables that I can add to soups for more flavor and a bit of color. They are pieces of red and green peppers, spinach, dried tomatoes and also the same carrots, celery and onions that I already have in the pot.
Oh my.... the house smells so good!!! I love simmering soup in the middle of the day for lunch. It's one of Steve's favorite lunches. After all of his hard work on the door, he deserves it.
~~~~~~
It's still another cold day in Wisconsin, but we've escaped the snow that has fallen to the north of us and to the south of us. The sun is out today, only kind of halfway cloudy. It does look like the weekend may warm up into the low 70s!
I am scheming to get the motorhome loaded up on Friday morning so we can take off for one more camping trip before winter comes. Steve already winterized the water lines on the motorhome, but they can easily be dewinterized for one more weekend. Tomorrow he and his brother Pete are going to spend the day helping their father get things settled in for winter in his garage and haul in firewood etc. So I will send up the rest of the soup for those hard-working guys!
I am sooo attracted to stained glass. Around the house I have a complete set of matching stained glass light fixtures. And honestly, I mean in every single room! It's a line of stained glass that is carried locally at Menards called "Belle" shale glass. I grab a shade or two of this line every chance I get, whether it's in a thrift shop, rummage sale, or just on clearance at the store.
I have three pretty lamps like this one pictured below. One is in the living room and two of them in the bedroom on each side of the bed. That is the reason why I started this Stained Glass Quilt! ... to match the lamps on the each side of the bed.
Also, over our bed, centered in the room, is a light fixture with the same stained glass motif. I also have one like this in the office. The two brass fixtures came from Goodwill for $5 each, and I added the shades I found on clearance for $9 each. So for $14 X 2, I have two complete ceiling light fixtures for $28 total.
All around the house I have the same light fixture shades in a smaller version. A couple reading lamps, some wall sconces, a pendant lamp over the kitchen sink, and even a five shaded light fixture over the table in the kitchen. I found that on Facebook Marketplace the day we moved into the house.
Here they are not lit and then lit up.
Either way, I just love the colors.
I guess I'm just a sucker for stained glass. Some people might think it's overkill. But on the other hand, why not surround yourself with things that you love? Some people collect baseball cards, some collect cats, some collect beer cans. I even saw someone on tv last night who collected wine cork screws and had them all over the walls of their kitchen. I collect "Belle" lights.
This past spring, after we redid the ceiling, added a big window and painted the walls in the bedroom, I decided that I needed a new quilt. The beautiful blue and white one I had made was nice, but it just didn't seem to go with the room anymore. I passed that one on to my sister in Michigan, where she is enjoying it this winter, all cozy and warm on her bed. In the meantime, I am using the quilt from the guest bedroom on our bed while I am working on this one.
It took me a while to gather just the right fabrics to go along with the stained glass light fixtures. A little here, a little there. I'm not one to just walk into a fancy quilt shop and spend a couple hundred dollars on a matching coordinating set of fabrics. I just keep looking here and there. Sometimes at thrift stores. Sometimes at rummage sales. Sometimes I'll spot the exact right fabric in a quilt shop and buy a half of a yard. Soon I had enough to get started. Figuring out the fabric needed for a king size quilt can be daunting. So I just collect more than enough. Any extra I can use to cover a couple throw pillows to go on the bed as well.
It takes a while to pre-wash all of the fabric in individual batches so the colors don't run. I use Color Catcher sheets from Carbona in each batch that I wash. That prevents any excess stray dye from settling on other fabrics. I pre-wash my fabric in zippered mesh lingerie bags so they don't get too tangled up, especially when it's a lot of small half yard or quarter yard pieces.
The next step, of course, is to starch and iron all of the fabric nice and flat. That way I can precisely cut them into the sizes that are needed. It is a long process, but satisfying to smooth out the wrinkles under the pressing of the steam iron. It is all of the prep work that's needed before I can even start the fun stuff.
The youngest granddaughters, Whitney and Claire, really enjoy helping out as I started creating the blocks of this quilt. They enjoy choosing the colors and helping me decide which to sew together into pairs. Here is Claire, telling me exactly which color she wants joined to which color.
Once I get the little blocks paired together, then I have to start assembling them. It's very important to make sure no two colors touch each other. We have to flip things this way and that way to make sure. And again, each little pair gets pressed smooth and evenly trimmed to match up to the next pair to make 4 squares together, called a Four Patch.
Of course, the granddaughters are right there to help me. Assembling this quilt took a couple months, so various times when either of them would come to visit, they would ask to help me rearrange some more of the blocks.
Whitney insisted that even though they are two different fabrics, this one had two greens and it shouldn't be that way. She insisted that I tear it apart and sew it over. Yes, I did. She also liked the bright blue squares the best, and always wanted me to use that color in EVERY block!
I did assemble one complete block with the cream colored larger X portion sections so they could really see where we were going with this. It is on the back of the loveseat. I think they helped me for about 2 hours on this particular day. They were very proud to accomplish all of the matchups and pairings for the rest of the blocks.
Once I had a few of the blocks partially assembled, Claire was having fun trying to figure out their placement. Now it gets a little more complicated. We have to flip and flop and twist each one around until we make sure that no two colors are matching. It's kind of like a big puzzle! Sometimes a piece will line up on two of the sides but not on the third side. Sometimes it will line up on three of the sides, but not on the fourth side!
Each big block takes 52 little pieces of fabric.
Then multiply that by 36 blocks.
Add in 12 more pieces for borders.
That is 1,884 little pieces of fabric!
I always keep an eye out for a special coupons from Jo-Ann's. They have a very soft all cotton flannel in the store that I like to use as a backing on a quilt. Then it doesn't slide around and makes the underside of the quilt just a little bit more cozy. I can't use cheap polyester flannel because it gets fuzzball-y and pills up. The color is like a variegated blotchy all different cream tones with no definite pattern. It means I can piece it together with no visible spots for the seams, and no particular direction of joining the fabric. Even though it's the back side of the quilt, I still want it to look nice. Once this good flannel goes on sale, plus my coupon, I go and get a big bolt of nine yards worth of it to complete the entire back of a king size quilt. (do you like my helper with her pink squeaky toy?)
That backing fabric is an investment of normally $10 a yard is $90. By the time I'm done with my coupons, I get it for about $40.
A king size cotton batting for in between the layers is normally $65, again I wait for the sales and use my coupon and pay about $30.
The fabric for piecing the top of the quilt can run anywhere from $75 to $150, depending on what I buy and where I buy it.
Even with bargain shopping, I am around $200 just to start the quilt. That doesn't cover the thread, wear and tear on the machines, or my time and skill in making it.
And people wonder why homemade quilts cost so much?
Finally, last month I got the entire quilt top fully pieced and assembled! Is a very generous king with a long drop on each side and a big tuck for around our pillows. Our king size bed frame is a little higher off the floor with drawers underneath.
Here is just the top of the quilt not yet layered with the batting or the backing. I hung it up where I normally hang my sale quilts to photograph them to put in my Etsy shop. I just wanted to see what it looked like from far enough away. I absolutely love the arrangement of the blocks and I really think it will coordinate well with our stained glass lamps.
(do you see any 2 blocks of the same color touching???)
Now I just have to take it back down and roll it onto the frame to get the quilting portion done. I set it aside for a while so we could get some camping time in. Plus all of the house painting and yard trenching and tomato canning I have in the last few blog posts. LOL
~~~~~~~~~~
Wednesday was a very dark dreary heavy day. The sky got even darker as the morning went on. It became so dark that I needed to turn on the lights in the She Shed. It was a very good day to stay home and work on a quilt.
The first step to loading it up onto the frame is that I have to measure out and figure out what I'm doing. The quilt is going to measure 124 inches wide, but my quilting frame is only 120 inches.
It turns out because this quilt is extra wide I needed to remove the two borders down each side of the quilt to get it all to fit on my frame. I can attach the borders back on later and just free motion quilt those sections after the fact.
The reason is that I need a little room on each side of the frame to be able to access the underside of the sewing machine to reach in and change the bobbins as they run out.
So my first step was to roll on the batting. I need to carefully lay it out, attach it to the roller, and roll it up slowly a little at a time making sure it's all even and flat with no wrinkles. I roll it on by hand, a few inches at a time, walk back and forth smoothing it down, then another few inches... etc. etc.
Now the next much more labor intensive step is to take the quilt top and completely iron and starch it so it's smooth and flat with no wrinkles at all. I do that on my big ironing desk platform and try to not let any of the quilt touch the floor.
Once it is all pressed, I also attach that to another roller on the frame and carefully wind it up a little at a time. Smoothing it out and making sure that it's even and level and no wrinkles. This involves a lot of walking back and forth, back and forth, smoothing it down and making sure it is perfect. Because if I have a wrinkle here, it will show up as an imperfection on the quilt and make a funny looking fold in the fabric underneath my quilting stitches. I strive to make it as neat as possible.
The third thing to get rolled on the quilt frame is the backing fabric. This needs to get rolled on upside down because of course, it will be on the underside of the quilt. So this is the beautiful cream-colored blotchy flannel but you only see the underside which is more just solid cream. Again, this needs to be perfectly flat and smooth. Even more so, because you can't see underneath when you are sewing and there better not be any wrinkles! Way back when I first started quilting on a frame, I had a big wrinkle that went across almost the entire length of the quilt and I had to rip out about 3 feet worth of tiny quilting stitches all the way across the whole width of the quilt, just to get that wrinkle out. Never again. Live and learn.
Now the final step of getting the quilt prepped on the frame is to bring up each layer and smooth it out over the flat sewing work surface. So first there's the reversed backing material with the good side down, then I pull up the batting and smooth that out into place. Then over the top of that, I now pull up the actual quilt top and that gets smoothed and pinned into place. There! I am finally ready to start quilting.
This is somewhat of an all-day process. I take breaks in between and I want to make sure that it's done right and I don't want to rush.
I didn't even start doing the actual quilt stitching until last night. First, I have to oil up, clean and test the machine. I always start with a new needle. Then I have to wind the underside bobbins with the same beautiful variegated thread that I'm using on the top. I run a couple test sections along the edge to make sure it's perfect and stitching correctly.
Last night after dinner, I ran one 5 inch wide row of free motion stitching across the first portion of the quilt!
I call this pattern "Hooks and Swirls". I move the machine around on a roller tray with handlebars, similar to a bicycle. I create the stitches wherever I move it. If I move too slow, the stitches are too close together. If I move too fast, they are too far apart. Nothing is computerized and nothing is automatic like the big fancy Long Arm machines. This is what's called free motion quilting. The slightest bump or flinch can make the stitching go crooked or ruin the free flowing movement of what I wish to accomplish.
Here is a video clip of how I do it,
from on another quilt I completed this past winter:
It takes a lot of concentration and attention to get the stitches right and to watch the machine and make sure nothing's going awry. I like to do this with soft music playing and usually during the good light of the daytime. But I was anxious to get going so I was doing it at night with limited visibility. Although I have bright LED lights and overhead task lighting, these almost 62-year-old eyes aren't the best. So I prefer to do this type of work in the daytime.
Here is the flannel backing fabric with the beautiful "Hooks and Swirls" that are more prominent in some sections over the others because of the variegated thread. I just love the way this looks.
I kind of petered out after one swatch across. Yesterday both Steve and I had our shingles booster shots. We were told we could experience some fatigue, headache, grogginess etc. Boy, they were right. So instead of more sewing, we curled up in front of the TV and watched HGTV home fix it shows for the rest of the evening.
~~~~~~~~~~
While I was working on the quilt, Mr Steveio was out in his newly insulated garage. Even though it was a cold icky damp day, he was warm and cozy inside. He was working again on the "a-door-able" door! If you read the post from two days back, you will see that he picked up a vintage door that matches the other doors in our home. He wants to replace the modern cheap hollow core door on our master bedroom.
He started with just cleaning it up, brushing it off and removing the 1970s era brass door knob. We have a beautiful vintage crystal door knob that will go in it's place when he is done.
Then he took out a heat gun to help remove the old paint. The door had originally been varnished, then it appears to have been painted with oil paint, and then over the top it appears to have been painted with a couple layers of latex. The heat gun gets all the way down through all the layers of paint to the varnish and allows him to scrape it off.
Here's a little video clip that I shot of him working out in the garage. My good friend Juanita says Steve reminds her of a younger version of Norm Abram from PBS This Old House! I think she is right!!!
Steve is pretty pleased with the insulation that he has done so far in the garage. There's one more section to do behind some shelving on the other side but it's going to take a little more reorganization to get over there. But he has basically three quarters of the walls now insulated and we need to do another run to Menards to get some more sheetrock on the trailer before snow flies. It's much better to haul the sheets on the open trailer while driving on dry pavement roads than on mushy slushy wet ones.
He looks so happy here in his nice neat organized garage.
I have my She Shed,
He has his He Shed!
Today again it is cold and may even snow later on. So I guess that is out of the question to haul sheetrock today. Instead, he is going to winterize the motorhome because the temperatures the next week are going to be down in the twenties! I am not sure we are even going to get in any more fall camping. We will see.
~~~~~~~~~
My harvested tomatoes are ripening on the counter, and I am canning up a few quarts every other day. I am almost to the end! I think this is about 3 or 4 more jars worth. Then I am done for the season.
I only have room for 3 more quarts on the shelves...







 Posts
Posts

