Our Wonderful Followers who come back again and again to read about us...

Showing posts with label beadboard cabinet panels. Show all posts

Friday, July 16, 2021

Beadboard Cabinet Pantry Space


I guess Steve isn't the only one that can find a bargain on Facebook Marketplace. The other day, I just happened to be glancing through a few of the posts and this one popped up in front of my eyes. It sure was an interesting hunk of cabinetry, and the asking price was right. $100. 


It had beadboard interior, but the outside was pretty rough and rugged looking. 


Ahhh look at all of that storage room!  I could easily see a use for this at our house. 


I felt I was in need of a few more cabinets worth of storage and pantry space. We did reduce the original full-size pantry down to just an open pantry bookshelf type unit to make more room in the she shed.

I could use a bit more kitchen storage, especially since I just got a new taller mixmaster and it doesn't fit in any of my cabinets. It's been regulated to the laundry room cabinets, but I would prefer to have it in the kitchen. My biggest crock pot doesn't fit since I got the electric pressure cooker. I really want the option of having both. Sometimes, if we stock up on a good sale of canned or dry goods, the overflow ends up in bins down on the bottom of the open pantry.  This just seems to fit the bill?

I figured I could dress this old cabinet up.  A while back we dressed up the rest of the cabinets in our kitchen with a fresh coat of paint and some panels of beadboard in strategic places as well as a beadboard backsplash. 


We do have a long open wall in our kitchen opposite of the island and cabinet area. Currently we have a set of barrister bookcases that are full of knick knacks and memorabilia.


That bookcase really didn't need to stay in the kitchen at all. Toot sweet, we had it apart and moved into the living room on the wall between the two bedroom doors. It looks much nicer there and was more appropriate to the living room furniture.


We contacted the seller and arranged the time to go down and look at the cabinet with our trailer in tow behind the Saturn. 

It was exactly what we wanted. It was scarred up and dinged up and it showed it's years of wear. It was just a garage cabinet in a newer house. They didn't know where it came from. So there was no history involved with it. One of the latches was missing and a piece of the corner trim had been knocked off. So she dropped the price to $80. Score! It came home with us.

I love a project like this. I knew I was going to be painting it and Steve would be dressing it up with some beadboard panels. Some purists may be shocked and offended that I was going to paint it. But it was only a pine cabinet it was not beautiful old oak or rich walnut or anything of stellar antique value. It needed to be loved and used, instead of sitting out in a garage. That's what I plan to do with this facelift.

I began with the cabinet doors, sanding them down so the paint would adhere, and filling in the worst of the gouges and nicks and holes with wood putty. 


I gave the front face of the cabinet a new look with it's first coat of primer. By filling in all of the holes and gouges made it really appear to be a pretty nice cabinet after all.


It was a beautiful day, so I was working on the cabinet doors outside, with the soft breezes blowing. Soon the putty was dry and I could sand everything down.


The first coat of paint went on well after the primer dried. I didn't need to paint the center panels of the doors because that's where we would be affixing new pieces of beadboard paneling. I also didn't want the paint around the edges of the doors, just the front surface.  Otherwise new paint would make it sticky to open and shut because they were recessed doors and not front face cabinets. 


I kind of took over some space in Steve's garage to work on this project. But then once the doors would be ready, he gets to take over to do the next step.


We had some big panels of beadboard material that he was able to carefully measure and cut. He had to make sure each panel would be centered with the stripes and match the door pieces above and below it. Using a little bit of math, and a little bit of skill, he was quickly able to make up 10 new panels for me.


Each side of the tall cabinet was going to be dressed up with beadboard as well. We did that same technique to the side panels on the original kitchen cabinets, as well as the sides of the island.


Our son-in-law Waylen stopped by, and was just in time to help carry in the big unit to the kitchen. I think Steve and I could have managed it ourselves, after all, we did load it onto the trailer, and then off the trailer into the garage by just ourselves. Having our son-in-law here though with his extra brawn made it an easy project for me. All I had to do was hold the door open. Thank you Waylen!


Once the unit was in the house, Steve attached the beadboard panels to each side of the cabinet. He used construction adhesive and small tiny finishing nails with the airnailer to hold each panel into place.


He also attached the extra piece of trim that had come loose. I'm glad that she still had it laying on top of the cabinet. It would be really hard to match something that old. Otherwise he would have had to take off all the top trim and put on something new.


He also nailed on some L shaped trim along the rough edges of the beadboard sides to hide that and blend it all together. I gave it a final coat of paint now that it was in the kitchen and on the wall where it belongs. I think that it really made a transformation by adding the beadboard panels to the sides.  He trimmed up around the extended lip edge too. Nice and neat.


Out in the garage, I rolled a layer of contact cement on the back of each of the beadboard panels, as well as on the center of each of the recessed panels of the doors. It doesn't take long for this contact cement to dry. 


Steve carefully lined up each panel and dropped it into place. Then he caulked around the edges of each one so it would join up with the recessed ridge around each area. There you go, it looks like they were made this way. It's the same thing we did to the island in the kitchen. It really dresses up the plain jane doors.

I just gave them all a fresh coat of paint. The last step is for Steve to attach the matching handles. 

Luckily, we were able to grab four more handles from the store that match the rest of our cabinets. They've been discontinued and are being clearanced out. We also grabbed two more handles to keep for the future. You never know, just in case. If they get marked down any lower I might grab a couple more?


After dinner this evening, Steve assembled the handles on to the cabinet doors. With careful measuring he made sure the handles were level and even.


We got them mounted into place with a little bit of struggling. But the cabinet is now finished!


Steve is going to make some new shelves for inside and I am picking up some extra pieces of pretty lacy shelf liner like I have in the rest of the cabinets, if I can find it again!


Once the new shelves and shelf liner is in place, then I can start arranging and figuring out what needs to go in here. I have about 10 choices already of things and I think it will fit.


ON EDIT : this morning I finished loading it up and arranging all of the things that needed to go in the pantry cabinet. They sure made organization a lot better in the rest of our kitchen cabinets as well as where we had overflow things crammed in the laundry room cabinets.


~~~~~~~~

While I had my paintbrush out, I took care of painting up this panel of my ironing and cutting bar in my sewing area of the she shed. We had reversed this bar around in the opposite direction when we did our big She Shed re-arrangement last week. The old screw holes and bracket marks were still on the surface of panel. Steve had filled them in and sanded them down for me.


One quick coat of paint and it was dressed right back up again. This is the main entryway into the she shed and I wanted it to look nice.  He put the base trim on the bottom and we were done! 


Another little thing that we obtained while we were picking up the cabinet was four big pieces of pegboard panels. The gal had them out in the trash pile ready for pickup. They were perfectly good and in unpainted original condition. I used to have a full wall of pegboard in the garage in Chilton and I really liked arranging all of my gardening tools on it. So we plopped all four pieces flat on the trailer before we had even loaded up the cabinet.

Now it was time to get organzied.  Steve pulled everything away from the wall and screwed three of the panels into place.


Now it was my time to organize and let my OCD take over to arrange everything in order of what gets used, how often, excetera and how to space it out. It sure came out pretty nice.


Steve hung the 4th piece of pegboard over in his tool workshop area of the garage. From there, he was able to hang and arrange all of his tools in his preferred manner. So four pieces of discarded pegboard helped us organize our garage and make it easier and more accessible for grabbing something when we are working on a project.  And it kept them out of the landfill. 


Speaking of projects, my big old Finlander Barn loom (the Sanna Kangas Loom) is up and running. I wove off two more rugs this week.  They are both for sale in my Etsy shop:  https://kareninthewoods.etsy.com/


I also got a whole packet of information in the mail about Sanna Kangus, the original owner of the loom. I will do a complete blog post about that in a little bit. But for now, I am sure she is happily smiling down from heaven, knowing that her beloved rug loom is being used once again.


Wednesday, February 12, 2020

Beadboard Doors - HCE - and Chandelier Facelift

I think my National Folk Farmhouse Kitchen is done?

Now that all of the ends of the cabinets are covered with the beadboard panels, there was a little bit left.  From the remaining sheet of beadboard, Steve was able to cut out five more smaller panels. He had to really carefully plan the cuts, so the beadboard pattern would be equally balanced and centered on each side where it sets into the door. These were then glued to each cabinet door of the island, using contact cement. 


He utilized my rolling pin to help make sure that each piece of beadboard was firmly pressed down onto the door panel.


Once they were in place, he went around the edges with a bead of caulk to finish in the joint all around.  After the caulk was dry, I gave each of the cabinet doors two coats of paint. I was very pleased with the final result. It looks like they were originally made that way with beadboard.


The first thing this morning, before he even had his second cup of coffee, Steve got the doors all mounted back onto the island. He made sure they were level and each one shut perfectly and was correctly lined up.


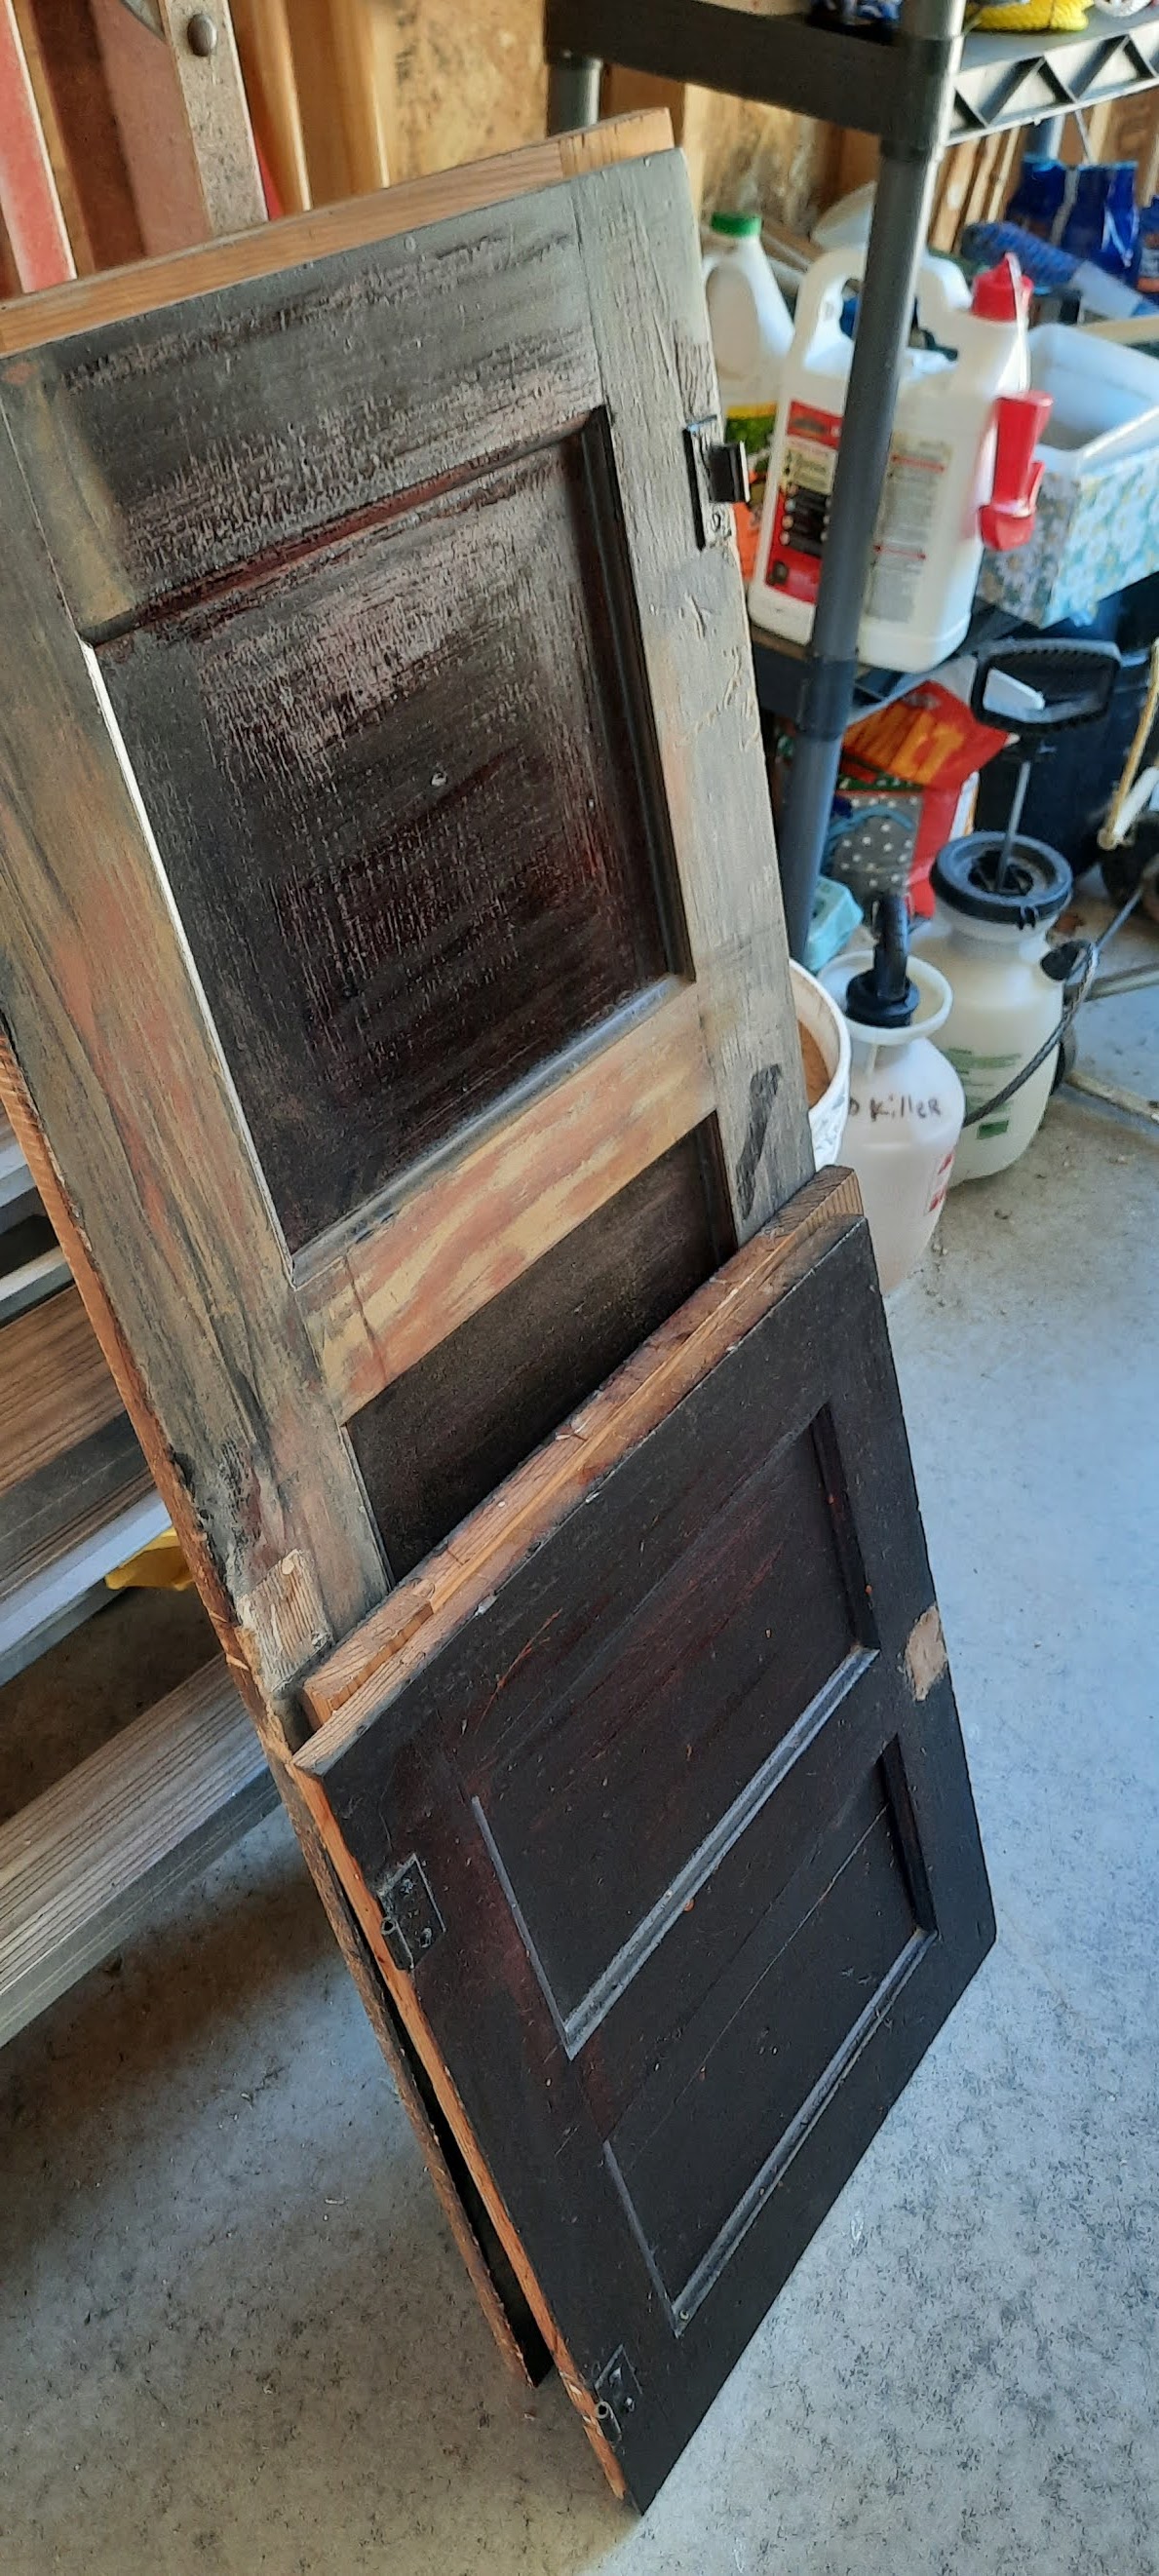
These two smaller ones were just regular cabinet doors on each side of the island stove. A while back, we added pull out Rev-A-Shelf kits to make one a trash bin and the other one a recycling bin.


This is the back side of the island that faces the sink.


I'm really glad we did this. It was a lot of work. I wasn't sure if I wanted a white kitchen, because this was Steve's idea.  But now it looks so bright and cheery, I smile when I walk into the room. 


My Oh My, 
this really dressed up our 
National Folk Farmhouse Kitchen!  


I also repotted a couple clumps of ivy that I had rooting in water. I found the perfect shade of red flower pots in our newest store in Oconto, a Dollar Tree. So for a dollar apiece I got these pretty little flower pots that look so nice in the window over the kitchen sink.


~~~~~~~~

Tuesday was pretty busy for me. Since we've moved back to Oconto, I rejoined with my HCE Homemakers group. HCE stands for Home and Community Education. I jokingly say it's kind of like 4-H for Old Farm ladies! LOL


Various times throughout the year we meet with other HCE groups from around the county and work on volunteer projects. We call it "Stitches of Love". 

The two main projects we worked on this time were making fleece tied blankets that go to cancer chemo patients and other hospice related recipients. Also we sew little fabric book bags for a program called Books R4U that gives four-year-old Head Start children in our county story books, coloring books, crayons, pencils etc and a nice little fabric book bag to keep them in.


The day was filled with laughter and fun, and especially a nice feeling because we were doing something for someone else. Donors furnish us with the funds for the nicer quality fleece fabric as well as donations and sponsors for the supplies and fabric for the book bags. It's so nice to be back with my familiar ladies again. I had been a member of this group for 13 years before we moved away in 2012.


~~~~~~~~

We spent the rest of the evening assisting a family member in the hospital. It was a long evening and we didn't get home until after 11 p.m. Prayers are still greatly appreciated!

~~~~~~~~

This afternoon I had a little project of my own to work on. While Steve is still finishing up some of the electrical ceiling boxes with the new wiring, I felt it was time to give a little face-lift to the beautiful crystal chandelier that hangs in our bathroom. Today was the day, because he was going to be putting it back up soon. So if I was going to do anything to it, I better get my own butt in gear.

The chandelier is beautiful, and it's actually newer, but it is made to look old. I did not care for the aged distressed look on the surface of the metal. So my plan was to dress it up with a spray can of chrome metallic paint.


Before I started removing any of the crystals, I took very close photographs of which ones were located from which little hole in what part of the light fixture. There are six different configurations and shapes of crystals... some had three beads above the main crystal and other ones only had one bead above the main crystal. The crystals were three different shapes and three different sizes as well. I wanted to be sure that I was going to put it back together the same way that it came apart.

(wow... those crystals were dirty!)

There were 25 various strands hanging from the framework, and if you count even each little crystal bead of each strand, that means that there were 75 individual crystals in total. I didn't want to mess anything up.

My plan was to remove the crystals and then paint the frameworks silver. Everything else in our bathroom is silver and chrome. The legs on the clawfoot tub, the faucets on the sink, the other light fixture over the sink and the metal trim on the shower are all silver.

One hint I learned long ago, is that after you remove any of the glass shades (or crystals in this case), cover up the light sockets with pieces of tin foil crumpled up around them to make sure that none of the spray paint gets down inside of the light socket.


It didn't take me long to spritz spritz spritz and I had it covered from all directions with silver paint. I did that work down in the basement, away from anything that could get overspray on it.


While that was drying, I was able to clean all of the crystals in a vinegar and water solution and rinse them off after a little soak in Dawn dish soap as well. They came out gleaming, and I wiped each one to a pretty glistening finish.


The other part of the face-lift that I performed was on these 4 yellowish plastic faux candle sleeves that go over the sockets. They were an interesting vintagey looking color, but they were more yellow than what all of the trim in the bathroom. So out came my little paintbrush and dip-dab-dip-dab I had them all spruced up as well. Now they will harmonize a little better and look good against the silvery light fixture and glittery crystals.


Steve was working hard to finish installing the last few ceiling fixture boxes so the lights could be securely attached in proper fashion according to code. Of course, the old wiring was just two old wires stuck through the plaster ceiling. That is all non-functioning and safely removed.


Once the main chandelier fixture frame was dry, I carefully put back each little strand of crystals. Following my photographs from earlier, I was able to put everything back in place. Each little strand of crystals is attached by a thin fine keyring type circular metal band. They're very fine and tiny and you cannot pull too hard or they would bend out of shape. Soon the fixture was back together and Steve was on standby, anxiously waiting for me to hand it to him. As I held the chandelier up from below, he was up on the ladder above doing the proper connections. Soon it was back to its former glory, but with a nice face lift of glittering silver instead of the rusty and vintage distressed frame of before.


I think it made a nice improvement and looks much more feminine and elegant for my master bathroom!


~~~~~~~~

We are due for more snow again tonight. It started to snow right before supper. We made up a nice hot supper of chicken vegetable soup and crackers. Perfect for a snowy evening. It is even sticking to the windows. 


It's starting to get blustery and blowing and really coming down out there. They said only a few inches, but we will see what is what by morning.


Time now to settle in while he watches an old western or two, and I am going to sew on my quilt...  or soak in my tub and gaze up at my face-lifted chandelier!