Our Wonderful Followers who come back again and again to read about us...

Showing posts with label screen door installation. Show all posts

Friday, April 17, 2020

Day 38 - Front Porch Projects - Brake Caliper


We are at day 38 now.  Steve is feeling better so we decided we wanted to work on a couple projects.

As I mentioned in my previous blog, I've been thinking about a swing for the front porch. We were debating about building one, and then purchasing the assorted chains, lag bolts, and eyelet rings to mount it to the porch ceiling.

That would have to be done online or with curbside pickup at a big-box store. Steve was thinking about a few alternatives.

Steve was perusing the Facebook Marketplace, and he managed to locate a very interesting porch swing. Most of them are only 48 inches wide but this one was 60" wide!

It looked really interesting because it was made of cypress wood and seemed to have a nice higher back to it. But it had an added feature that I think is really neat. There is a flip-down center section that can be used as a cup holder and a little tray area to set a cell phone or my MP3 player and speakers.

We contacted the sellers and it turns out they have four of them to sell.  It was part of a six-sided swing set deal built around a fire pit in their yard. They had 5 swings and the 6th section was a bar. It was already there when they bought the house, and they really didn't care for it. The swings were located too far back from the fire pit to get any warmth. They decided to disassemble it and sell off the swings one at a time. They are already sold one by the time we got there.


We had hooked up the little trailer on the back of the Tracker and asked ahead of time for social distancing. When we got there they stood well far away from us and we all had on our masks. We had our choice of the four swings still hanging. They were all identical and in beautiful condition. After we took down the one swing we chose, we transferred the cash in a plastic Ziploc set down at a distance for them to retrieve and count out the money. They were asking $200 but we settled on $175.  This included all of the chains, the eyelet lag screws, and the spring suspension devices, all heavy duty.


Their silly little dog JinJin 
decided she wanted to stay on the swing 
and go with us!! Lol


Since we already had the trailer hooked on the back of the Tracker, there was something else I wanted from the Home Depot in Green Bay. It's not often we have the trailer down in the Green Bay area. I had called ahead for a curbside pickup to get a wooden screen door.

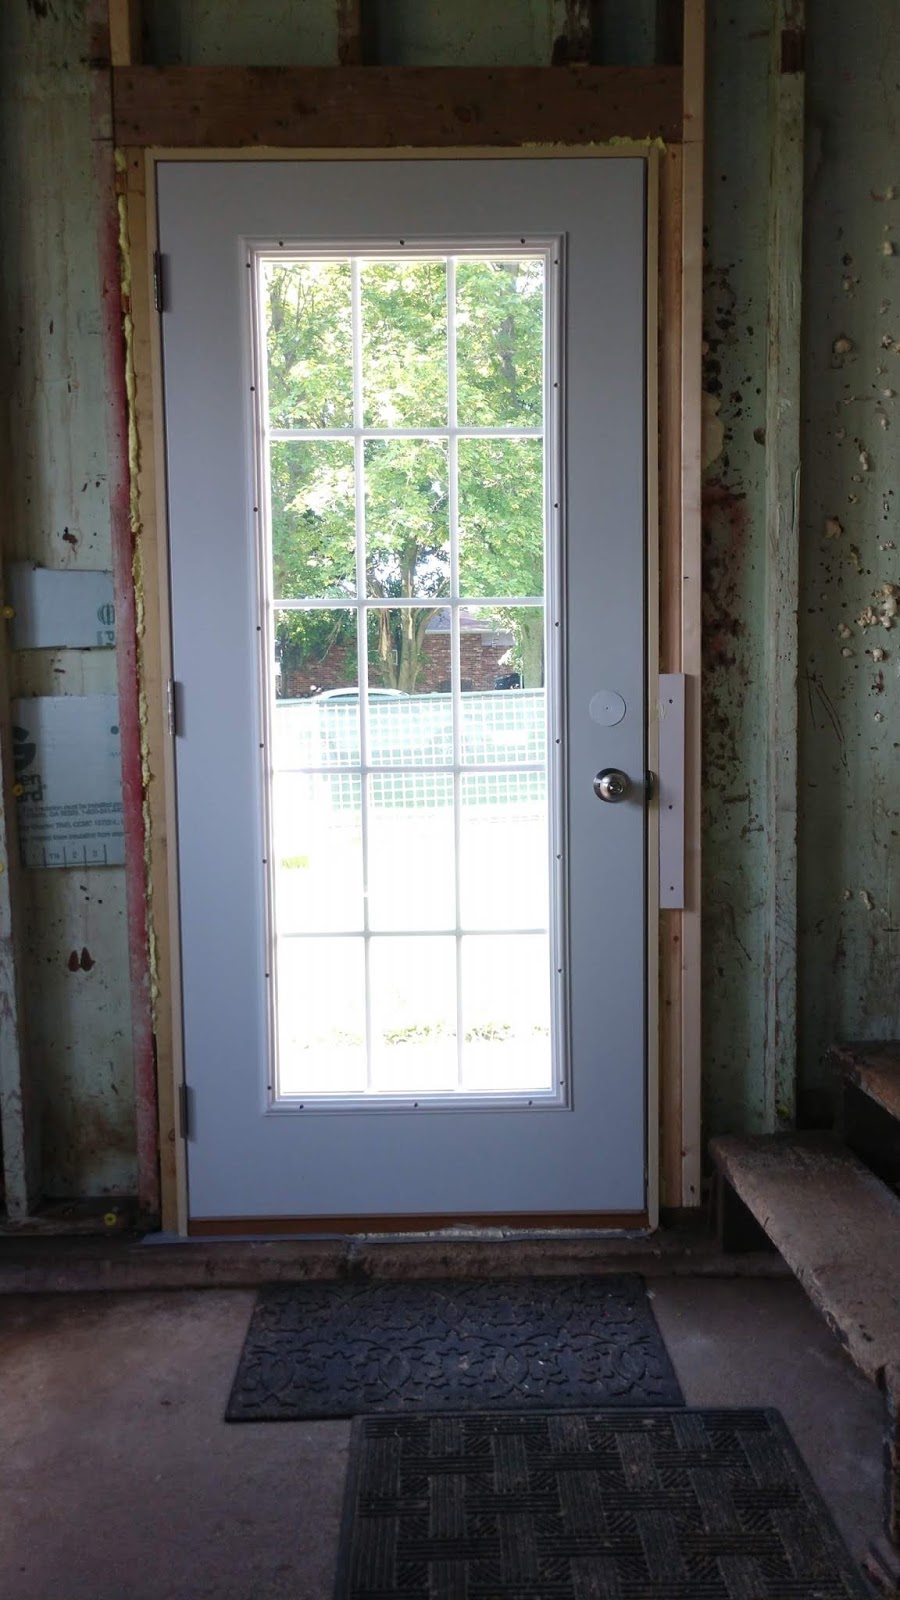
I had an idea of buying one to dress up the front screen/storm door combination on our house. We already had one on the the she shed leading out to the doggy potty yard. I ordered from Ebay online these decorative scroll pieces to dress up both doors. They will arrive tomorrow.


We were able to pull up to a designated curbside pickup spot, well marked, at Home Depot. You call inside and there is a gal who takes your order number from online and within one minute flat she had our order on her cart. She wheeled it out to our vehicle. We showed her our ID through the window and told her to leave the cart right where it is. Once she was gone, we were able to get out and load our screen door and strap it down ourselves. Steve also bought a couple extra rolls of screening material to redo the screens on our basement windows.


We headed on home and I got Steve to help me put the porch swing onto the sawhorses in the garage. We removed all of the chains and I got out my handy-dandy little paint roller and a can of exterior primer and semi gloss paint.   See the little flip down section for the cupholders?  What a neato idea. 


Steve removed the screen material from the wooden door frame. That got two good coats of primer and paint as well.  Once the little scrollwork brackets get here, I will paint those up and Steve can drill them into place. It will really dress up the frame I think and make it look adorable.


~~~~~~~~

I really enjoy these type of projects, and Steve hates painting. So while I was doing my thing, he started his own project in the yard:

Our neighbor pointed out to him that there was a little drain hole that leads out to our curb from some kind of drainage pipe that is buried underground in our yard. The hole is plugged up and nothing has been coming out. He said every time he looks at that hole, it bugs him! Lol... I know his wife reads this blog, so she can tell him I am posting about him. No names attached.

So he came over with a long pole and crammed it in that little drainage outlet and determined that it's all plugged up with mud.


Next, Steveio got his handy dandy shovel and started digging in the yard all along our fence line looking for the other end of that pipe.  Gosh I love that man!


Making various holes as he went along, each time still finding the big PVC drainage pipe, but not the end. He kept going at various intervals, it was easy digging because the ground is so soft.


After digging all the way back to a hundred feet he found the end of the drainage pipe! Yay!


There he found a recessed open chamber buried under the ground that he could put a sump pump into! Wonder of wonders, the previous sellers had left this old sump pump in our garage along with some other pieces of drainage hose. I bet he would sink that pump down in that chamber, and run that extra hose from the big excess water ponds backed up in our yard from spring runoff and heavy rains. Then it gets pumped out to the curb to drain north down our road into the swamp.
(Not into any storm sewer, 
we don't have any of that 
in our section of this road)

Now that Steve is on a mission, he is going to try and force the rest of the mud out of that drain pipe. First he will try our pressure washer. If that doesn't do it then maybe he will try a plumbing snake or a Roto-Rooter device. If that doesn't do it maybe he will have to blast it out with a rented pressurized water jet system??? Who knows. Now he is on a mission to open that pipe up.  LOL

It kind of reminds me of a little boy trying to channel a stream, or build a little sluice or waterway. You know, playing in the mud puddle in a yard, or along the curb. He is determined now to get it figured out, and he is out there right now as I type this.

~~~~~~~~

We completed another big project the other day. Over the last few weeks Steve has been picking up various broken pieces of brick and broken block from in our woods. It's scattered all throughout the woods. At one time there had been a 30 by 12 building back there which we were told housed a large chicken coop. The cement slab is still there, which our kids used to park their motorhome home on over the winter. Steve figured it was best to haul out all of these bricks and blocks before all of the shrubbery started greening up and leafing out. He collected quite a pile and set them on the slab.

Now to access that part of the yard, our neighbors to the south of us have kindly allowed us to use their driveway to get back there. That way we don't damage a large portion of our own lawn driving around with our Tracker to get in that area.


While all of their vehicles were out of their driveway, one day, it gave us a clear shot to get these blocks and bricks loaded up onto the trailer and haul them to the municipal refuse lot.


Our city has a specific section to bring rubble, block and bricks with no charge. Steve and I loaded up two different loads on our trailer so we didn't overburden it with weight. Each time we pulled in at the city waste yard we unloaded them into the designated section. It sure felt good to get that job done!


~~~~~~~~

One more job Steve is working on, but waiting for it to warm up a little more, is replacing the one brake caliper on the driver's rear side of the motor home. We had already redone all the brake pads, it's just this one caliper that is hanging up. At the same time he is also going to replace one more brake line that we had an extra made up a while back while we were in New Mexico. He's been meaning to put on that brake line, so now is the perfect time.

He used a new tool to get off the nuts on our semi truck style dual rims. Here is the info from the blog post when he first bought the tool. This is the first time he's had to use it and he said it works really really neat:


I would never deny him the joy of getting more tools. For all of the great work he does on our motorhome and around the house, the more tools the better as far as I am concerned. Look at that happy man!


It's called a Torque Multiplier Tool.  This is used to remove really tight lug nuts that are difficult to remove by road-side efforts in an emergency. Fellow Safari owner Joe Burch suggested Steve get one to keep on board. He also suggested to get the one with an additional Budd Wheel known as a "nut buddy" for removing a specific square nut for dual wheels on our Magnum Chassis built by Safari. Your dual wheel configuration may be different.


Here are close up shots of the box
w/ free shipping from Stark Tools via Walmart online


Once he's all done with the caliper, he will torque the nuts back on as tight as his torque wrench can go. Then we will drive it over nearby one mile to the truck repair place, which happens to be the husband of the realtor who sold us this house.  Then he will get them torqued up properly before we go on the road with it.

Well, I better get outside now and see if he is still digging in the mud.  Maybe I can get him to help me hang the porch swing?  We have to find the proper position to screw in the big lag bolts to hold us up and make our front porch even prettier!


Monday, July 22, 2019

When A Door Closes - We Just Add More!


We've made it through that miserable stretch of hot humid weather. Today is a gorgeous summer day in Wisconsin with temperatures only into the low-to-mid 70s. The humidity has dropped. And things are starting to feel normal again.

In between family commitments this weekend, we were able to cut out an old rickety door that leads to the doggie potty yard to the South.   We ordered a second door that matches the one we put on the north side of the She Shed. It is insulated and has a 15 pane grid between themopane sealed glass panels. It will let in a lot of light, but has low E glass to help protect the items inside, since it is facing South. 

Steve cut out the old framework and added a new header to make sure everything was up to code.  It might not be required on a non-loadbearing wall, but he put one in just to be safe.


In no time flat he had the new door plum-d and shimmed and into place.  This one went quite easy, and he will trim out around the outside once the sun moves to the west and he can work in shade.


Now that we have the new door on the South wall installed, we also put up an old fashioned screen door. We bought the wooden screen door and I painted it up so it would look ever so cute on this National Folk Farmhouse. I will add some curlicue bric-a-brac pieces to the corners when I find them somewhere. 


We installed the screen door into place and then we added a nice old fashioned noisy spring so it makes that obligatory sproinging sound and the big "whap" as it slams shut.  Nothing says "SUMMERTIME" as well as the sound of the banging of a screen door. We had one similar to this on our log house out on the river years ago. I just love it. We also added a door sweep to the bottom to keep the bugs out. It's just one more step to making my She Shed a pleasant place to hang out.


This afternoon, Steve has started building the temporary wall along the east set of windows. The temporary wall will hold the roof up, level and even while he works on the window opening. He will be adding a big header beam, up to code, and then we will install two insulated floor to ceiling French door panels to act as windows.


It's going to be exciting to say the least.

I keep looking out these rough and rugged single pane garage door windows at the beautiful view outdoor in our backyard facing to the East. I can't wait until someday when they are the full complete floor-to-ceiling windows to enjoy the entire view.


~~~~~~~~~

Now to catch up my blog on some of our past projects we have done on the house during my hiatus of not blogging for over a month.  We were busy!

This is one of the projects we worked on:

Many people who work in construction know that nowadays new dimensional lumber when it's called a two-by-four is really only 1 and 1/2 inches by 3 and 1/2 inches. It's not really 2 inches by 4 inches anymore. Why do they do that? It's still called a two-by-four??

Since our home was built way back in the old days, when boards were really two inches, the spindles on our front porch are also made from two inch lumber. They are a sturdy 2 inches by 2 inches.

When we bought the house there were a number of missing spindles. We moved a few around to make it at least visually symmetrically balanced but we had big gaps. We decided it was a good idea to finish filling in the gaps for now. Somewhere down the line when we replace the entire porch railing, it will have to be newly created up to code and made taller. For now it's grandfathered in for the height it is at.

When Steve removed all of the framework of the west She Shed wall, he was removing the single garage door, he saved all of the original two-by-four wood around the opening. Some of the bracing for the shelving up above the door was also made from real two-by-four wood.

Re-purposing!

Now we were able to cut spindles that were actually 2 inches by 2 inches by running these old boards through the table saw.  Steve cut them up and I got out my little saw horses and my paint roller and went to work. Everything got two coats of paint on all four sides.


Soon we were able to fill in all of the gaps. 
Using a little spacer, 
we placed them in as symmetrically as we could.


Ahhhh that looks so much better now!! 

Almost done in this pic. 
Just a few more to do on the side
 by the new little trellis.


The added benefit is that there is no chance of some sassy little dogs deciding to dive off the front porch from in between the missing spindles.  They get a little excited when people walk by, or bikes riding past the house...  so we keep leashes on them while sitting out there, to grab them just in case.


Finnegan kind of looks like a 
cow in a stanchion. 

Got Milk?


So that was it for the newest projects to the front of the house. Since we are not allowed to move the front steps over to line up with the front door (per a new city ordinance that won't let them be constructed within 25 feet of the road)... now I will paint the steps where they are, and just leave them for now.


The front side of the house should pretty much be done.


In the backyard we did a little something too.  We have this white portable metal fence set up from seven mesh display panels. We got them from a grocery store that was going out of business back in Chilton. The panels are wire tied together to make a portable play yard. There are no fence posts into the ground. It just sits there and we can move it around a little bit in either direction to mow the lawn that grows up around the edges. Our dogs don't jump on it and don't lean on it, so it just kind of sits there in a big semi circle. Each of the ends just kind of butt up to the corners of the house. It makes a great way to surround a small area of our back door for a potty yard.

We discovered one problem though. Our very nice neighbors have two dogs. One who is a very large Great Dane named Oliver who is just under a year old. The problem is that if our dogs are out in their little potty yard, and one of their teenage daughters attempts to bring out the Great Dane Oliver on his leash for a potty break, our dogs bark bark bark at him!

Oliver then proceeds to rush over into our yard to the fence to get nose-to-nose (in a friendly manner) with our dogs. The problem is that he is dragging their teenage daughters, literally, on their bellies, across the lawn from their yard to our yard. Dog Surfing!!!

We feel so very bad about that! We tried to notice as soon as they are coming out to let out their dogs in their yard on leash, we try to get ours corralled up and rushed into our house quickly. But that doesn't always happen. I feel so bad that the two daughters who are getting the rough end of the deal. We've apologized to them and try to make our best effort to keep our dogs from barking, which is enticing their dog to drag them over here.

Finally we came up with this next best idea. We bought a roll of four foot high screening that we found in the fencing department at the local home improvement store.


The grandkids were over and helped us roll it around the outer perimeter of the paneled in fenced area. We wire tied it down onto the mesh and it really seems to be working.

Our dogs are less inclined to bark if they don't see what's going on next door. We all have very large yards so ours don't really hear them --- it's only when ours see the dogs that they start barking.

It's been up for a week now and I really think it has helped.


Our sassy puppy hounds don't get as distracted now when they are out doing their thing. For now this will work. Maybe later we will consider putting up a permanent privacy fence in a small area. We could never afford to fence in our entire yard which is 2 1/2 acres. But this might be a good alternative for now.


Here is a big backyard shot from the south side of our property. 
So you can get a good idea of the layout.
Then it extends to the east for another 600 ft or so to the right of this photo.


Ahhhhhhh
this is our Big Backyard!


I think it's time to get this blog done and get some supper cooking. It's so beautiful out I think we are going to do barbecued ribs on the grill. We stopped at the local truck farmer who sells vegetables on the corner and stocked up on good Farm Fresh veggies. I ordered a bushel of beets to pick up tomorrow.  I can maybe make some pickled beets in my canning setup if the weather stays cool.