These blog posts are catching up on the past two months of work on the She Shed.
Three days had passed for the fresh plaster to cure. Now it was time to get started with the painting!
On one of our little forays up to the ReStore in Marinette, we happened upon a big 5 gallon bucket of really nice all white Sherwin-Williams contractor grade paint. There was about four gallons left in the bucket. We got the entire bucket for $30, which about what it would cost for 1 gallon of good paint.
I looked up this particular brand and type of paint up online and it's $77 a gallon! That makes this bucket worth about $300.00! I only wanted bright white, no other colors. My goal is to re-create the feeling of the front porch at our last home in Chilton.
Our old front porch -
Light Bright and Airy.
I eagerly got out my paint roller, extended telescoping handle, and my favorite paint tray. I like this tray because I can take a break, and snap the lid on with the roller in place, and it keeps the paint fresh without skinning over or drying out.
We started with a coat of primer that soaked right in. It was almost dry on the first wall by the time I finished the last wall.
Steve does not enjoy painting, to say the least. But he did go around on the ladder and do the cutting in for me ahead of my rolling. He takes a wide brush and makes sure he gets into every corner and then about the first four to five inches down each wall and across each ceiling surface.
Because we don't have trim up yet, we can run the paint right up to the edges of the plaster around the windows. The trim will come later.
I put on my MP3 player of soft Celtic music and set myself to work... I do enjoy painting. A lot. And now that the new paints don't have strong fumes like they used to, this one is especially nice because it is no VOC. It doesn't bother my lungs and I can paint away till my heart's content.
The room transformed itself from the raw plaster over to a beautiful white solid surface with primer and two coats of paint. We will wrap the beam and cover the entryway ceiling later with tongue and groove cardsiding.
It gave us a really good feeling to see the room become more and more finished with each stroke of the roller. A
t the very end of the second coat on the ceiling, we had to run and buy one more single gallon of that paint! The guy at the Sherwin Williams store said the retail price was $79 for the single gallon. ACK! Since I had the matching contractor bucket, he dropped it down to the contractor price. $37.00! That was more than the entire big bucket I had gotten from the ReStore, but I needed that last gallon to finish the job. Oh well.
Here I am doing the very last section of the ceiling.
Once the paint was dry, we could start attaching all of the light fixtures and putting on the covers to the switches and wall outlets.
This was really exciting, because now we could see how our light fixtures were going to look. I had mentioned in a couple blogs back about finding these wall sconces at the local hardware store on clearance. They were in three different finishes, one was black, one was rubbed oil bronze, and one was silver. I had spray-painted them all white. Then I had found a lady on Facebook marketplace selling matching stained glass lamp shades that match the rest of the fixtures in my house.
We put them up as Steve connected all of the wires, and then I to had to decide if we wanted the lights to aim up or aim down??
Two sconces are on each side of the french windows facing east, and a third one near the entrance from the big garage. Here I tried aiming them up. (Finnegan on guard dog duty now that the windows in the doors are low enough for him to see out of).
I finally I put pictures of both ways on my Facebook page and asked my friends to help me vote. The majority voted "down" so the majority rules. But we can change them at any time if we want, because there's only one central nut holding the fixture on to the wall.
Steve had figured out a way of how to mount my two articulating arm lights over the working area for my 12 foot quilting frame. He adapted them so they could be wired directly and mounted tight to the wall. I can swing them out or in any direction to use them but push them back out of the way when not in use.
We added LED flood lights to brightly illuminate the area.
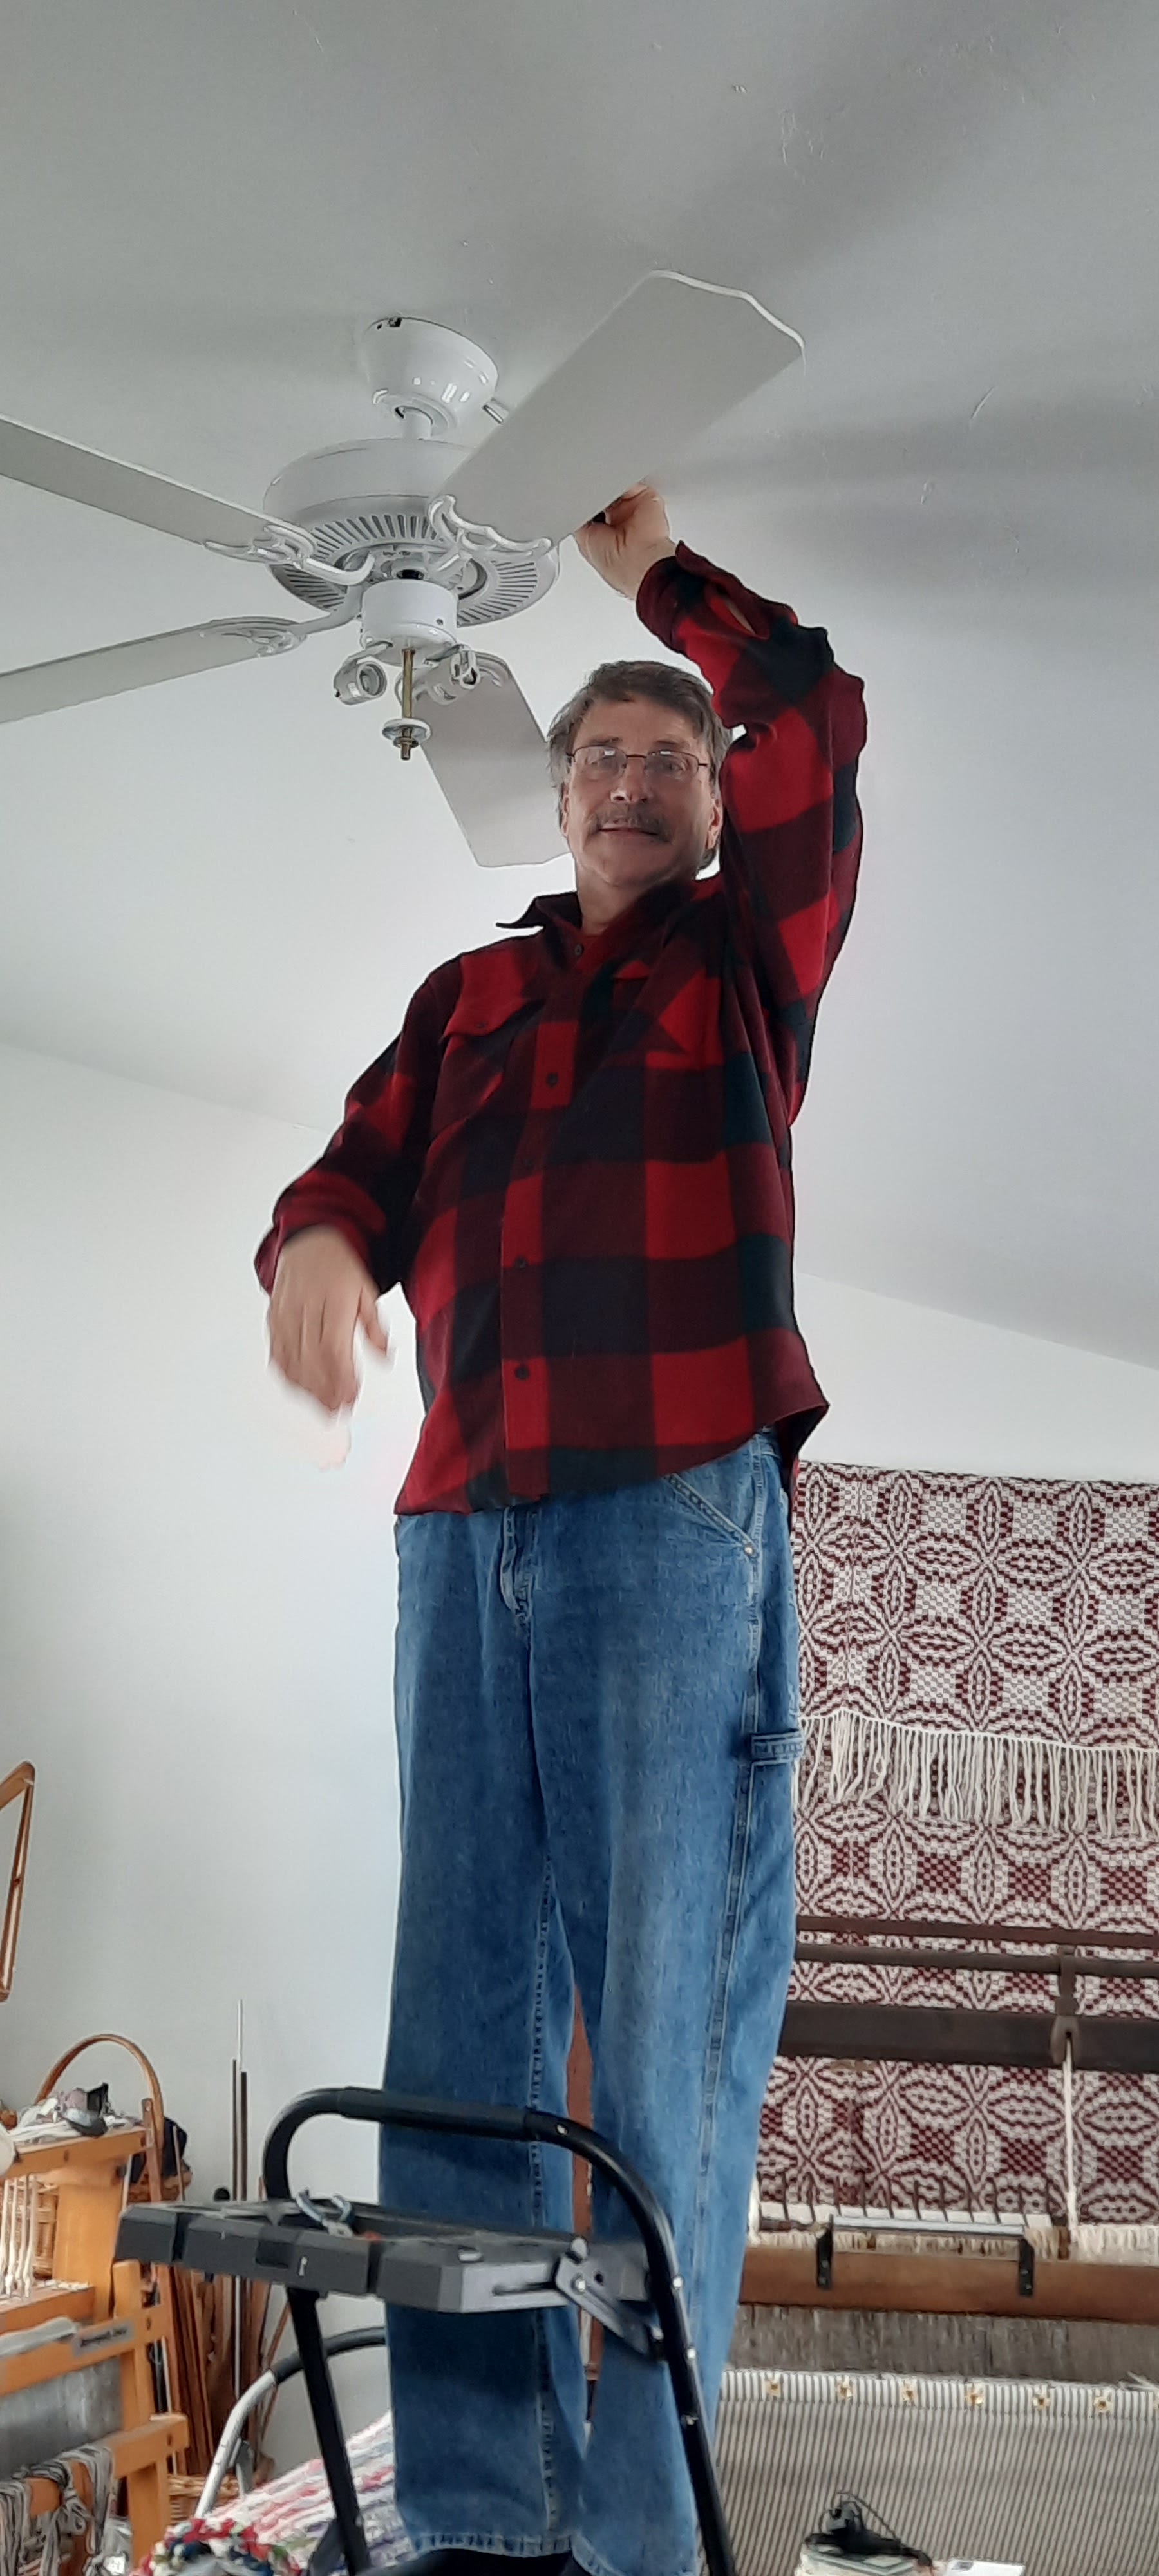
Next thing, Steve mounted the ceiling fan up high on the sloped 11 foot tall ceiling. It's a commercial version of a fan, and goes very fast with speeds of one to five. A number five feels like you are standing underneath a helicopter! But it's very whisper-quiet down on setting one or two which is where we will keep it. Even on speed one it moves the air quite extensively around the room.
It was a really good bargain on sale for only $45. I like it because it's white and simple and plain and doesn't draw a lot of attention to it up there on the ceiling. I think big clunky ceiling fans with dark blades bother my eyes and give me a vertigo feeling. So this one will do the trick.
With all of the light fixtures in place and operational, we can dim down the wall sconces or brighten them up as we wish. Steve has 3 switches to operate all three at one time. He placed them by the entry door, the kitchen door and in the middle of the south wall in the room.
He also got all of the wiring for the exterior lights and exterior outlet functioning as well.
Steve got the TV mounted up on the bracket and hooked up to the antenna and power line, as well as adding his soundbar. We took the bigger TV from the living room to keep as our main TV down here. We shuffled some other smaller TVs around to take it's place in the living room.
Steve figures he will be spending more time down here in the she shed than up in our living room. I think he is right. Haha!
He got the TV done just in time for the Packer game that afternoon. He set up his lawn chair in front of it and made himself at home. A beer, a bowl of chips and some salsa. He was all set.
Granddaughter Claire decided to try it out
and watch some cartoons
from the comfort on top of
Grandma in the lawn chair!
I think my next blog will be about the process in which we leveled the cement floor and added the grey plank flooring.
Stay tuned!







 Posts
Posts

