While the plastering guy Paul was here, we had to work on other projects and stay out of his way. Then we had to wait three days for the plaster to cure and dry before we could prime it and paint it!
During those days, we worked on two projects, here is the first one:
Remember back when we first bought the house, Steve closed up the doorway to the laundry room from the dining room?
He created a new doorway leading from the kitchen into the laundry room. While he was doing that process, he had to remove a piece of kitchen cabinetry that was horizontally across that section of the wall. This was the original piece of horizontal cabinet that would have went over a stove.
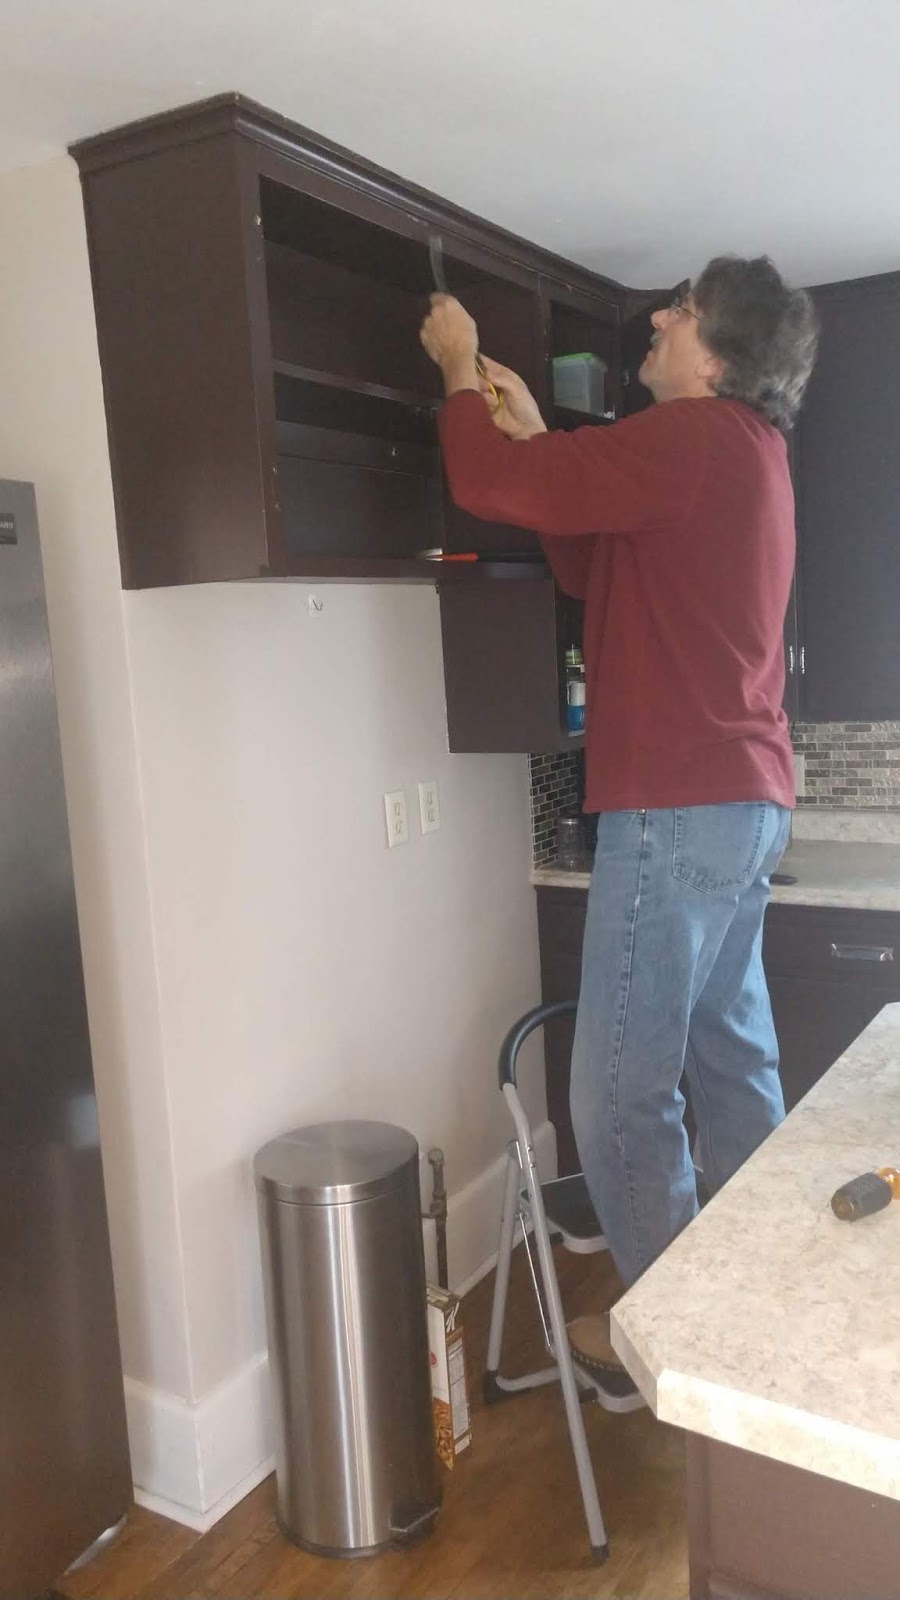
Now that we had a couple days to twiddle our thumbs, I suggested it was time we try it out.
We took that piece of horizontal cabinetry, and actually turned it into a piece of vertical cabinetry!
Steve moved the center shelf over to the left about 8 in and secured it firmly back into place. I had some matching paint mixed up at the local hardware store after bringing in a little leftover piece of shelving to do a color match. So I am able to touch up any of the evidence of the shelf being moved over once it gets installed to the wall.

Why did we move the shelf over? Because I had this creative idea of making this portion of the cabinet into a tall wine rack!
I had originally owned three of these wrought iron wine racks. Since I had this idea in my mind, I have kept my eyes out for buying some more at various thrift shops or rummage sales. I know I could buy them brand new at Target for $24 a pair, but I would rather pick them up here and there for a buck or two. I am always The Bargain Hunter! Finally I had accumulated seven of them, which was just the right amount for what I planned to fill this whole space.


Now here's where the project was going to go.
On the opposite wall of our kitchen there was an awkward space on the wall where a refrigerator may have originally been. But we now have a large 2-door stainless steel refrigerator that's located in another spot of the kitchen on the other side of the island. So this awkward space needed something, anything, to not make it look so funny with the overhead cabinet and a blank wall underneath.

Lo and behold, this became the new location for the vertical piece of cabinetry. We mounted it tight to the wall after cutting away a little bit of the baseboard and trim.
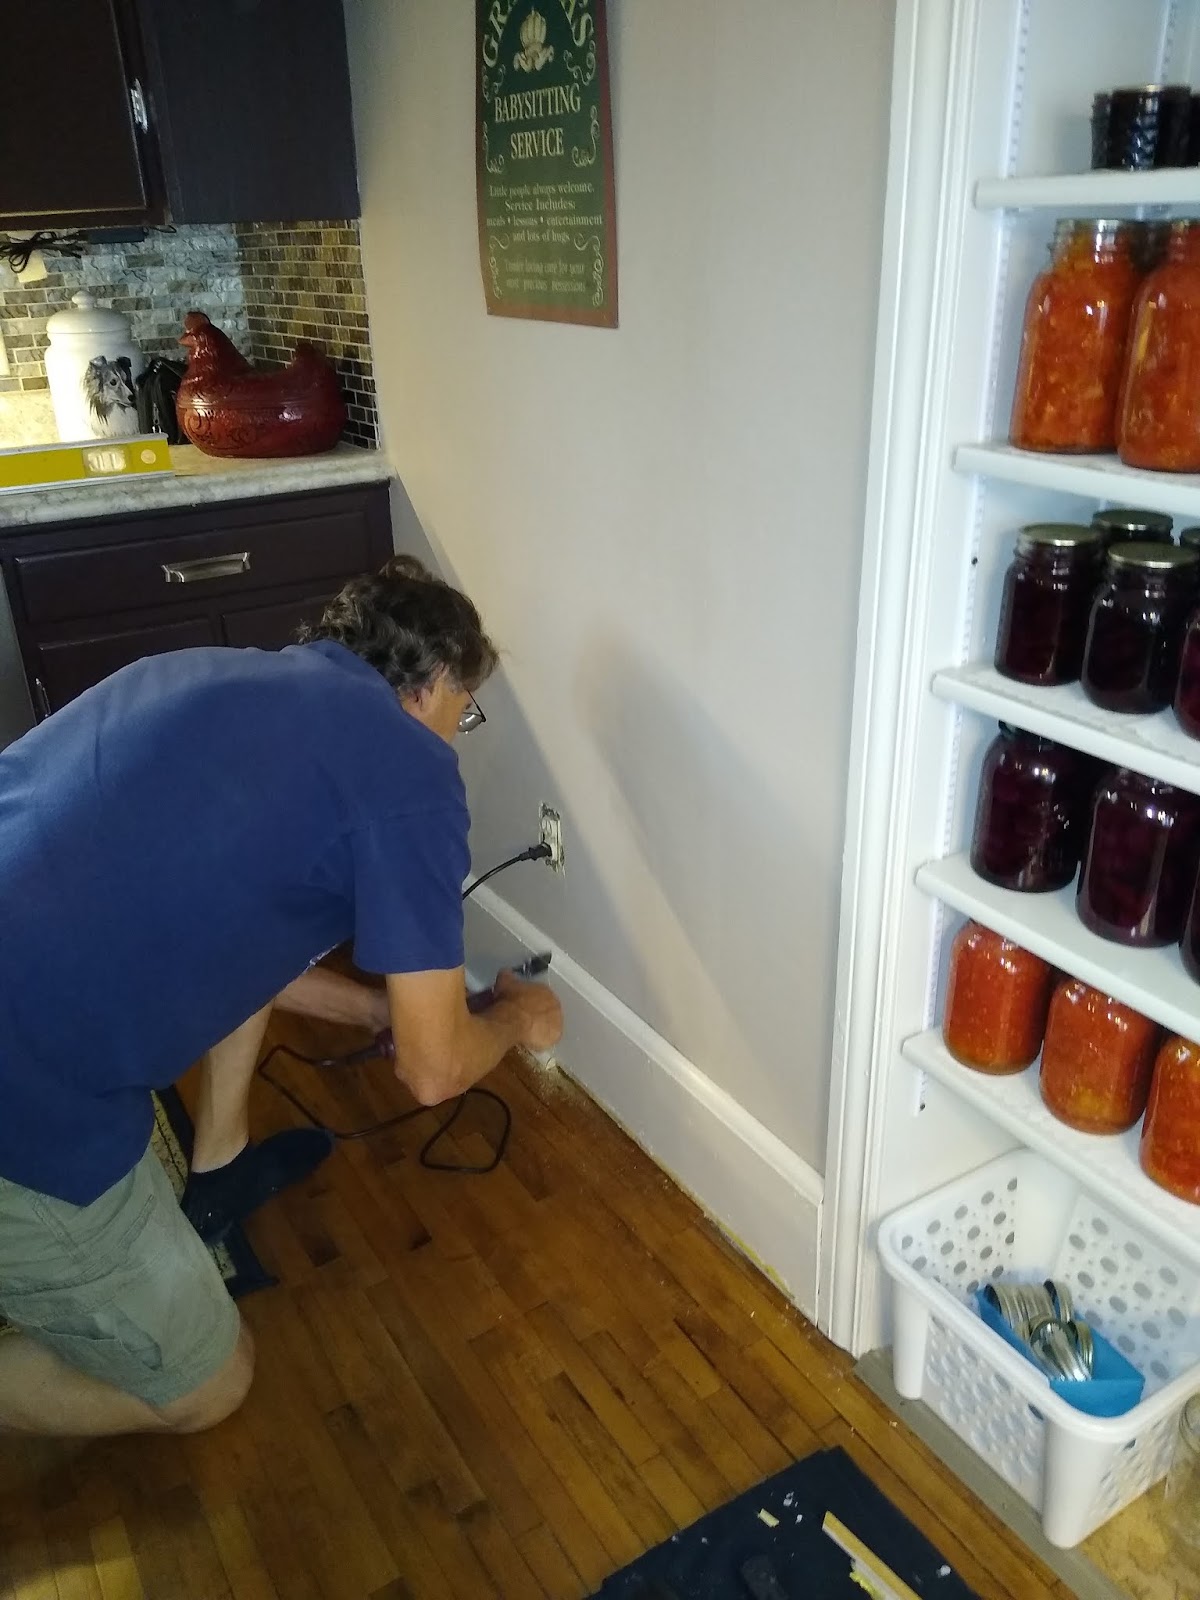

It lined up just perfectly tight to the edge of the electrical outlet on the wall. We needed that outlet because the top surface of this wine rack is going to be our new coffee bar!


So either we leave it hanging over onto the sink, or instead we've been having to take out each day and set it out on the island to use it, and then stow away afterwards. Otherwise it's in the way of meal prep or while cooking on the stove.


Steve carefully sealed around the edges of the countertop with caulking and stood back to admire his work. He agreed, it turned out a lot better than he had originally thought.

(we donated the leftover countertop to the ReStore)

We added a little silver battery operated push light to the underside of the overhead cabinet. We can see down inside of the coffee maker when adding the water and beans in the early morning darkness.


Our silly daughter Erin and soninlaw Waylen were near Trader Joes in Milwaukee a few weeks ago. They stocked us up with a couple cases of Two Buck Chuck wine (Charles Shaw). We live 150 miles from the nearest Trader Joes so this is a real treat for us! Plus it filled the rack up. Also, the dog treat canister found a good spot on the coffee bar too.

~~~~~~
One of the other projects I mentioned was something that Steve worked on outside of the she shed. While Paul was busy working inside doing the plastering, Steve was working on something else.
After working on the french windows in June, he had stacked the old sections of wall that we had removed to install the french windows. We knew he needed to save those sections for this upcoming project.

Steve was carefully removing pieces of the original cedar shake siding from these leftover sections. He was cutting each little piece down to exactly fill in any of the gaps of damaged cedar siding on the exterior of the she shed.

All of these little missing gaps
needed to filled back in
with pieces of siding.

The corners were especially hard and had the most damage. This home had multiple renters in and out over the years, with lots of children. The exterior had taken quite a beating.

He painstakingly was taking each little piece off without cracking it. He was busy marking, cutting, and then carefully sliding them into place and nailing them down. If you've ever done siding, you know it's hard to replace pieces when the entire wall is already complete. He was able to work in each little piece and make it appear as if there was never a repair made at all.


I went around with fresh paint
and touched them all up.

It doesn't even look like it have been damaged at all
when we were done with the project!


I am so glad that we kept things "original" rather than just ripping off the old cedar shakes. It lends to the cuteness of the little attached building. If this buys us a few more years of exterior protection before we can afford to reside the entire house (with lap board fibered cement siding) we can save on our meager budget and still make things look nice.

My next blog post is going to be about the painting once the plaster had dried.
Stay tuned!


This is all very interesting. Thank you. You are a perfect team. Nice job.
ReplyDeleteAwwww thanks. I am glad he can do it, and glad that I can help!
DeleteI love yur vertical cabinet and you cant go wrong with "Two Buck Chuck'----Taking something old and making something new is certainly a gift and you definitely know how to do it. Whenever you get back to making socks I could use a new pair. The last ones you made me and Don are now 10 years old---Keep up the good work and I look forward to the next blog
ReplyDeleteJust email me at pfundt@gmail.com with your color choice and shoe sizes. I just got my machine unpacked last night to whip up a pair for my brother.
Deletethe wine wrack/coffee bar is a great addition to the kitchen. Nothing beats recycled materials. And of course the repair outside is perfect. You and Steve had really made some great improvements on the house already.
ReplyDeleteThanks... It's been a lot of fun on a tight budget!
Delete