The next project we tackled was finishing the ceiling in the entryway which is a 4 foot by 12 foot area. I was trying to recreate the feeling of the front porch that we had at our home in Chilton. That enclosed porch actually had a painted white beadboard ceiling. We decided to go a little bit wider and more substantial than beadboard and use a different product.
Car siding is a tongue and groove board that is already sanded to a nice smooth finish. It has notches and tongues on the edges so it can fit together nicely. The smooth exposed surface of the board also has a long center notch all of the way along the length to give it the effect of being two boards notched together. Even though it's one big board 7 inches wide.

I put two coats of paint on every board in advance on the saw horses set out in front of the garage. Then they were ready to be cut and nailed into place. All of these boards are 12 ft long and a little easier to handle with one of us on each end.
We put board by board up on the ceiling with careful measuring to get a tight fit at the edges. Then we didn't need to finish the edges where the ends met the walls. Steve nailed them on with the air nail gun. I was holding them at one end and he was working his way across to tack them into place. Some of the boards were slightly warped and we had to really pull them into place.

It was very pleasing and satisfying
to see each board go up and cover the rafters.
The entryway was feeling BIGGER and BIGGER
as we worked our way across it.
as we worked our way across it.

That went really quick and we got it done in about a hour. It was instant gratification to see it all smooth and pretty and finished!
~~~~~~~~
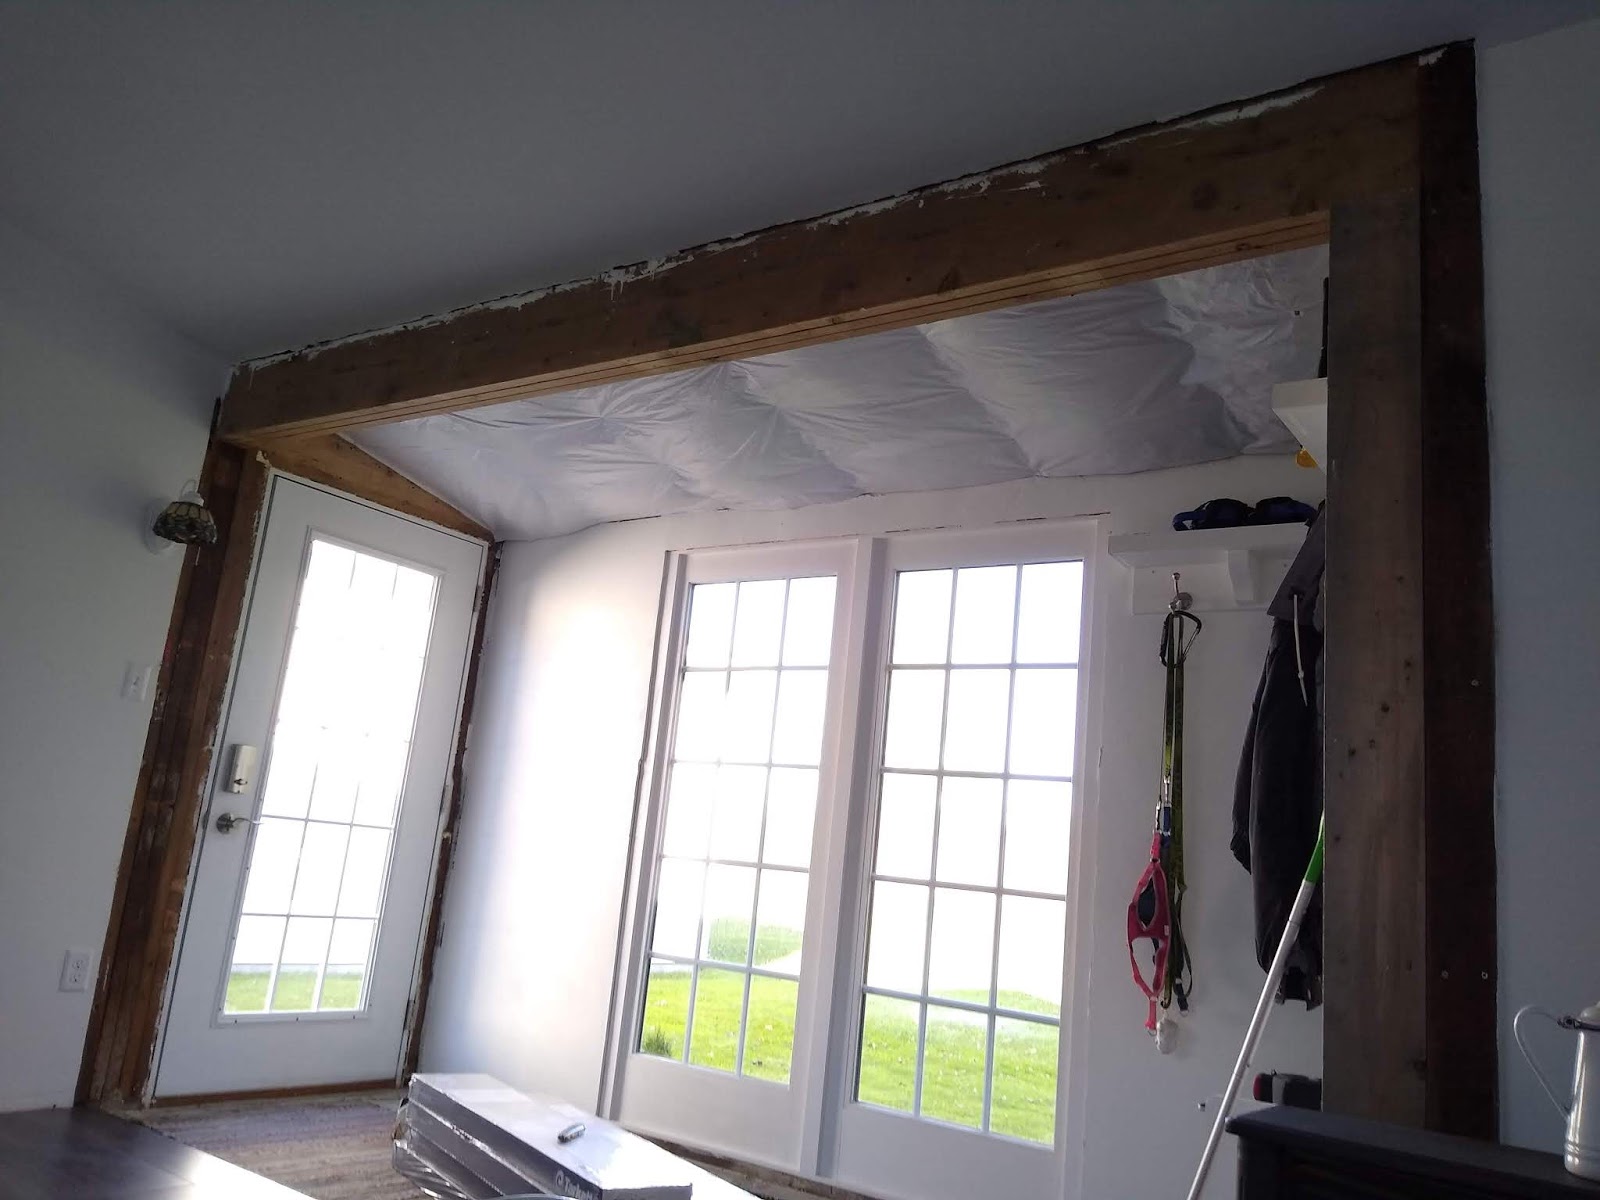
If you look way back in my blog in June, we added this big thick beam to the ceiling to help support the slight sag in the roof. Steve made a temporary wall to hold up the roof during the process. (remember this was back in June, not recently, so you can see just what we had to start with --- four yucky walls and ceiling and floor!)

Our son-in-law Waylen's father Gaylen was here visiting from Oklahoma. He just happened to stop by at the exact time that Steve needed help pounding this huge beam into place on top of both of the side supports. This beam just barely fit in after getting pounded over and over multiple times with those big hammers. He was able to take down the temporary wall and the beam now held the roof straight and level again, no more sag!

The beam might have been a little overkill for the specs needed to comply to code. (Grin Grin) When the building inspector was here, he said it was a fine job. He wanted to know if Steve could be hired to come and do projects at his own house!
Although we could have maybe just sanded out all the hammer marks and painted the beam white, we preferred to give it a more finished look. We decided to wrap the beam around with these tongue and groove car siding boards too.
The beam was actually three pieces of 2 x 12's screwed tightly together to create the proper thickness. Then in the photo you can see the pieces of tongue and groove on each side of that!


A very handy little tool we found to use on projects is called an oscillating tool. You can get a variety of different sized and shaped blades that can help out in almost any situation. Here one board was a little longer than the rest after we already had it nailed into place. Probably my mistake of measuring and not remembering the number when it came time to go out to the garage to the cut off saw. Probably my mixing up 3/8 and 5/8. It looks to be off by 1/4 of an inch. The board was already nailed up so we could use this little oscillating tool to cut off the excess. Easy peasy!

Steve carefully ran a bead of caulk along the up-and-down cracks between the boards. Then as they are nailed into place you don't see the little crack or gap on the corner pieces of wood where they lap over each other. Once it is smoothed out and painted over, everything looks well finished and put together.

I like how the top beam boards lap over the up and down boards. Kind of makes a big picture frame around the entryway. We added a little strip of wood along the side of wall to complete the look. I had to paint that one board while up on the wall, because it was a last minute addition and not pre-painted like I had done to all of the other boards. I really like painting the boards in advance, much easier than painting once they are nailed up on the walls.
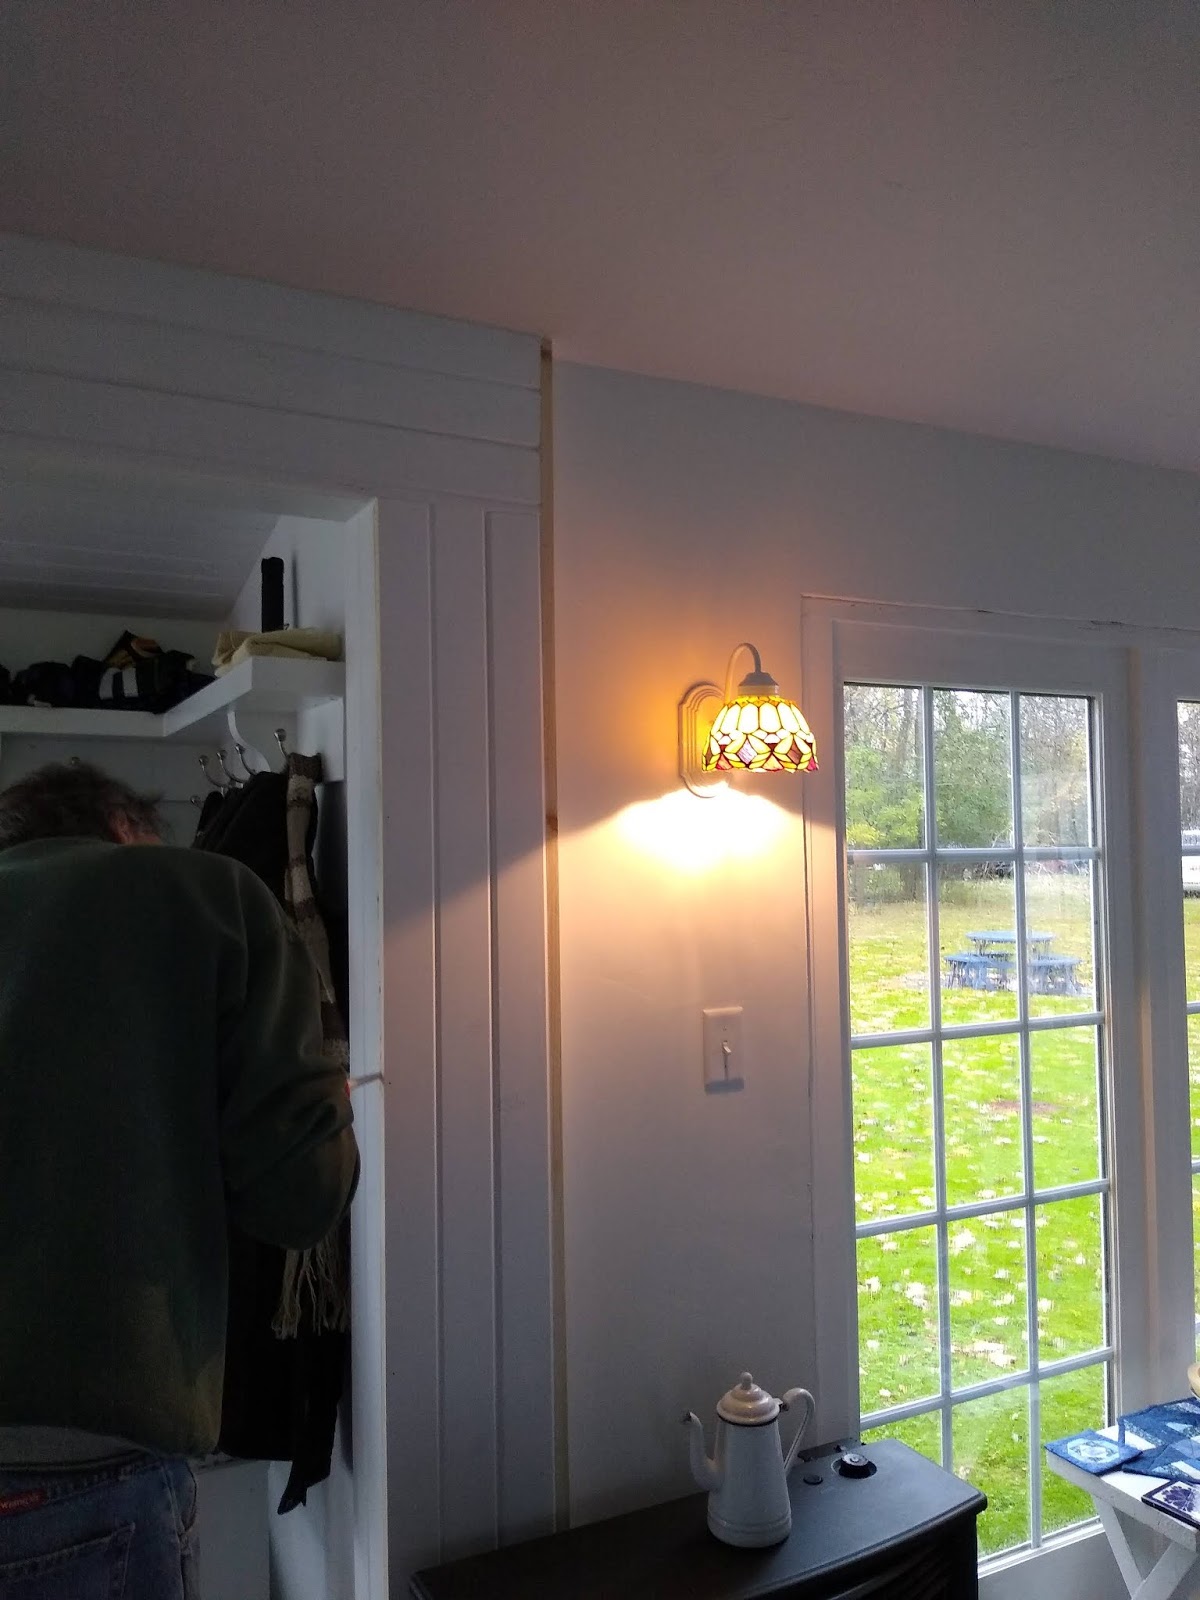
Steve finished off the trim around the entry door too, and soon we were ready for my final touch-up painting. Once all of those nails were in place, I put tiny dabs of spackling in each hole before giving a final coat of paint. The paint was needed to kind of cover-up the spackling, and all of our finger marks and hand hold marks from putting the boards up into place.
The room is looking more and more finished.

The only things we have left to complete at this point of the story, were the railings on the stairs and the ceramic tile by the 4 foot by 12 foot entryway. The railings are now complete as I type this, and the 2/3 of the ceramic tiles were laid today. So tomorrow I will be able to blog about both of those.
Then my blog will be all caught up and I can get back to regular posting of our day-to-day activities, as well as some pictures of the entire finished room.
P.S. Thank you for all your kind thoughts and prayers for my nephew. He is still in the ICU, but off the ventilator and out of the medically induced coma. He is now able to breathe on his own. He had some kind of anaphylactic reaction and they don't know what caused it. He is so far away in Illinois, but his parents are by his side. We are waiting for updates.


You and Steve have done such a great job on that room! I can understand why the building inspector might want Steve to do some work at his house.
ReplyDeletePrayers for your nephew's complete recovery.
Lol ... Actually, the inspector worked long ago for a contractor that came to do work at the University when Steve was a Facilities Maintenance Mechanic there. So he recognized him from way back then, working together on a project.
DeleteYou guys do such beautiful work together. Time for your own Fixer Upper show!!
ReplyDeleteI think when this one is done, we are taking it easy....
DeleteI am enjoying your catch up posts and your house is looking fabulous! Thanks for sharing.
ReplyDeleteAwwwv thanks!
Delete