These are common words around our house. It usually means that Steve needs an extra set of hands, or a gopher to run and grab some tool while he's in the middle of doing something. Lol. Such is the case again. Steve needed me to hold the other end of some large panels of beadboard paneling coming through our table saw. This product is different than the beadboard slats we put on the walls in the bathroom. These are entire 4x8 sheets of paneling that he wanted to cut up.
I snapped this pic before he started actually running the saw so you can see why he needed an extra set of hands. As he feeds the wide sheet through the saw, he needs someone on the other end to hold it steady and not let them go crooked. That's my job.
After he made the first cut - then the second cut - then third and fourth pieces were a little more manageable. He has a set of tall red rollers that can help when doing this too. (you can see one in the foreground). But he likes having me out there on the catching end of the saw. It feels good to work in a team effort.
Soon he had four long pieces cut to just under 15 inches wide. So now what do you think this guy is up to?
He carried them all down to the basement and laid them across the sawhorses. I guess that means that it's my job to start painting them. They will need to be primed first and then get two coats of paint.
If you read my last few blogs you know that Steve is not happy with the modern looking hollow core MDF whatever PVC whatever doors that were put in various places in our house. They were done by the previous owner during remodeling. Steve has been slowly replacing the doors one at a time. First the Master bedroom, then the bathroom, and next the grandkids guest room. He has been restoring old vintage doors that he has been collecting on Facebook Marketplace. Soon all of the doors will be matching with the originals that were left in the house.
Soooooo of course, years ago in the late 1800's, they didn't have bi-fold closet doors. Heck, many houses didn't even have closets, just pegs on the wall to hang your Sunday Best clothes. It is impossible to get vintage bi-fold wooden doors to match what he has been doing.
Because he doesn't like the look of the modern bifold closet doors, he wants to cover them up. Yes, they look nice the way they are. They are nice and neat and white. But they are fake molded hollow core doors in a more modern design than what our house has throughout.
Here is the one on the she shed:
Here are the ones in the office:
I came up with another idea. Using the same beadboard paneling we used on walls in the grandkids' guest room, and on the pantry cabinet in the kitchen, we had a few sheets leftover to use to cover up these doors!
I didn't get a pic of the ones in our Master bedroom, because he already had them disassembled and down in the basement, ready to work on. Speedy Gonzales. He is going to glue down the new pieces of beadboard panels to the surfaces of the bifold doors. After that, he will securely nail them with the finish nailer and putty up the holes. Then he's going to run his electric router around the edges to trim them up a bit.
Next I will be able to go down and paint them. We are doing it down in the basement where it is warm enough for the paint to dry. Although the garage is pretty comfortable when the temperatures outside in the 30s the inside of the garage remains up in the 40s or low 50s. He fired up the Mr. Buddy heater yesterday in the garage and it was quite comfortable. But not to run it for hours in between coats of drying paint.
~~~~~~~~
While he was busy working on the closet doors, I was busy working in my she-shed. I made my little antique Singer Featherweight do a heavy duty job with some thick denim twill fabric. It easily sewed through three and four layers of this fabric like a workhorse!
My neighbor across the street had two of these little wire shopping carts. She needed to have some fabric liner bags made with handles. She needed something secure and heavy duty before she gives them as gifts to some other people at Christmas. They are going to use them for shopping at farmer's and flea markets. I used up some of this really cute pinstriped denim fabric that I had in my stash. I took some measurements and did a few creative cuts. I made some nice heavy duty handles and a double layered bottom surface. The entire bag can be lifted out and be carried separately if needed.
The top edges fold over and the little handles hold it into place. It really worked out better than I expected. The fabric is a lighter blue stripe similar to railroad engineer overalls.
Here are both of the little carts, ready for gift giving to my neighbor's friends. In return we bartered and she is bringing me some of her wonderfully delicious home canned bread and butter pickles! I sure love a good barter.
~~~~~~~~~~
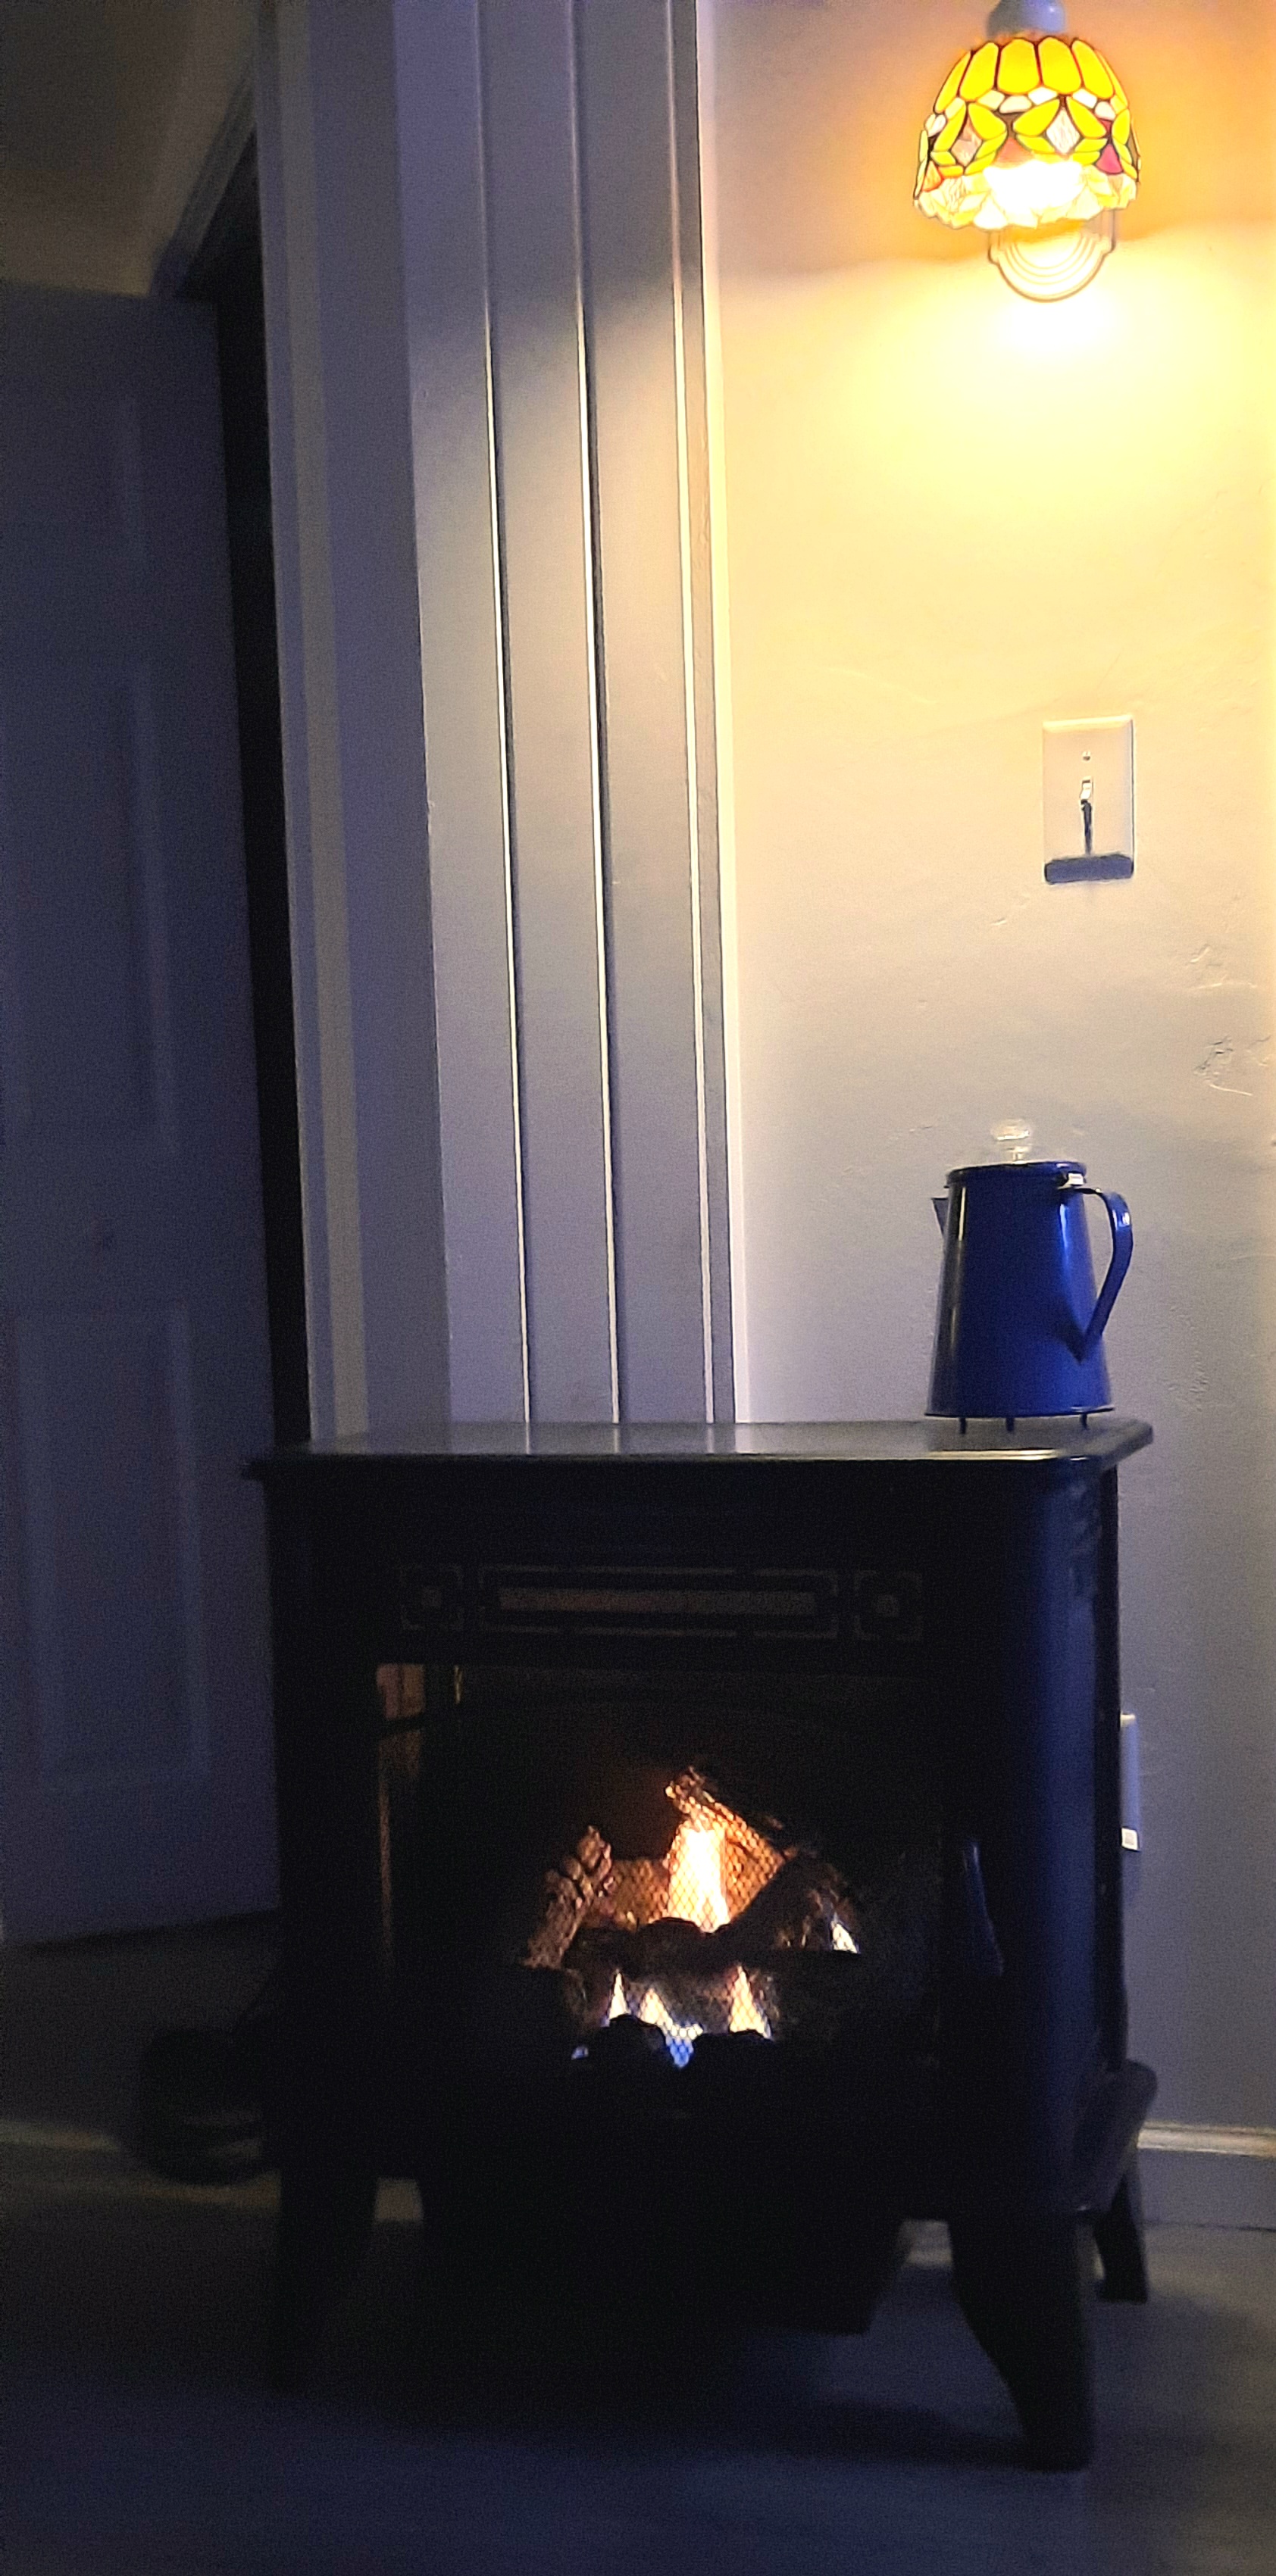
So after our busy day of projects, we curled up in front of the fire last night and watched some HGTV shows. That's where Steve and I get our ideas from you know! We love Bargain Block, Rehab Addict, Maine Cabin Masters and Home Town. Ya know, the ones where they REALLY do the work, and restore and reuse as much as they can of the original home. Not those "rip down, make it all new" type shows. Steve pops a bowl of popcorn and we snuggle in front of the fireplace in the She Shed to watch our shows.
~~~~~~~
Today, I think I'm going to start doing the quilting the layers of swirling stitching on the frame of my newest quilt. I got it rolled on the big quilting frame two weeks ago, before I got sick. Each layer needs to be carefully rolled on with even tension and no wrinkles. The bottom layer is the backing, then there is the fuzzy cotton batting layer, and lastly, on top, is the carefully pieced quilt block layer.
Then they need to be pinned evenly to the leader fabric of the back roller before I can start stitching through all three layers. The big sewing machine glides around the surface, stitching it all together. I guide it with my hands on the downturned handles, held like a bicycle. I move it around, making the stitches as even as possible, not too fast or they are too far spaced apart. Not too slow, or they are crammed together and look ugly. I do not have a "stitch regulator" like bigger fancier machines. So it's all just me and my judgement on how and where to guide the stiches, and how fast or slow to go.
Here it is all ready to go.
Before I start, I service up the machine a little bit give it some fresh oil, take out any lint or fuzz, and put on a brand new needle. It's kind of like taking care of a car, you can't expect it to roll down the highway mile after mile unless you do some service in between at regular intervals.
I just love this pattern --- it's called "Pineapple". I started sewing this one when we were camping this past fall. Once it's finished I will list it for sale in my Etsy store.
I'm finally feeling good enough to get things done, so I'm going to get this one stitched up in the next few days. After it's done getting stitched, then I put the binding around the edges to complete the quilt. It feels so good to do that final process, like completing an artistic creation. I put the tag on the back as a signature and my quilt is done!
I also have four large quilt blocks that need to be quilted in layers into fabric to make some matching throw pillows. I will finish them up for the previous quilt I finished for on our own bed.
As I am typing this, I can hear Steve in the basement running his finish nailing gun. Guess that means I better go start painting???
Always a project, and it seems like there's never enough time!
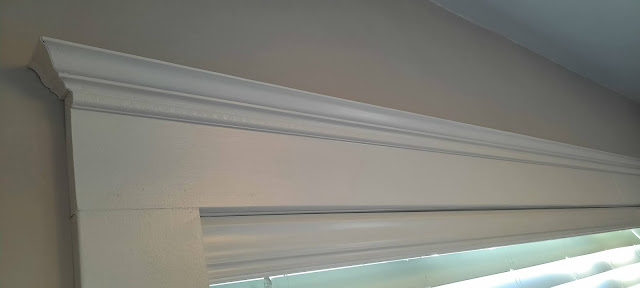
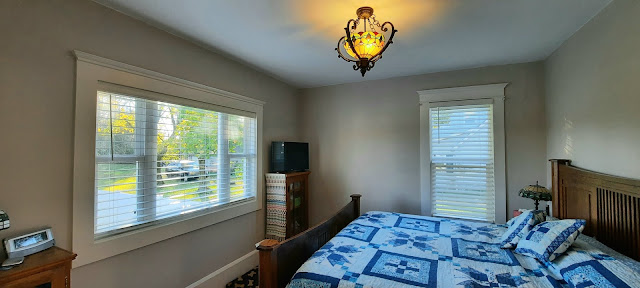
Now that we practiced with putting the crown molding trim over the top of the closet doors, it was time to put the same configuration on top of the new window in the master bedroom.
Steve did all of the measuring and cutting out in the garage and I took care of the painting. Then he was able to bring it inside all in one complete piece, to nail it up to the top of the window trim.
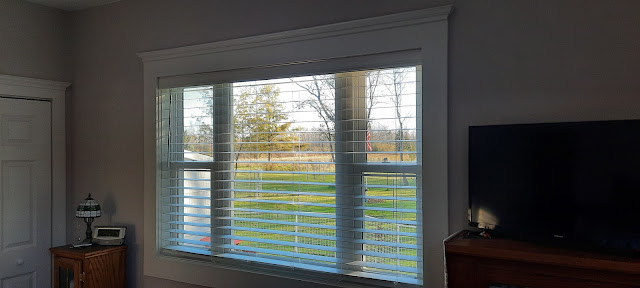
It sure looks nice and finished at the top. It's a close match to what is in the rest of the house. Even though the windows are new and modern, I still like the old-fashioned look of the crown molding around the tops.
Now that the trim is up everywhere, I don't think we're going to put up any curtains or valances. Not for now. The venetian blind is helpful for night if we want to close it off, and it still lets in plenty of daylight even in the down position.
Now I just have to hang some artwork...
~~~~~~~~~
Oh, Monday night we had a visitor in the back yard:
Yup,
A big ole possum wandered in.
The security cameras alerted us,
and Binney barked her head off till it left.
~~~~~~~~~~
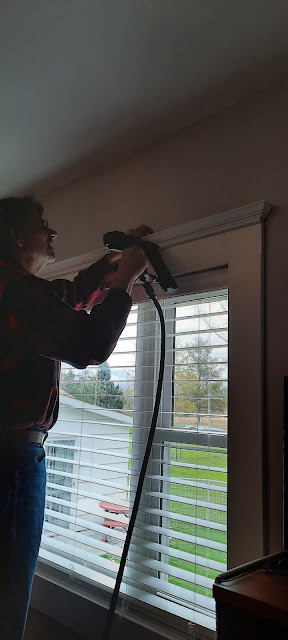
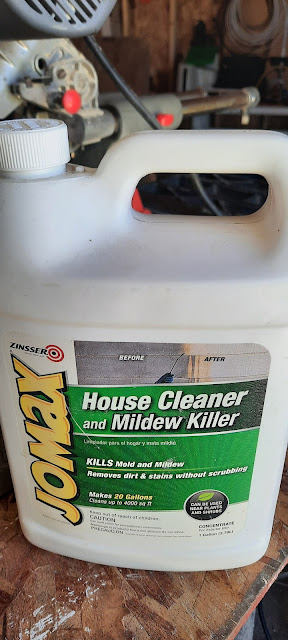
After watching the weather reports, we decided to not go camping this week. Tuesday was a beautiful day, though. The sun was shining and the temperatures were up in the high 50s. Steve thought this would be a good time to tackle the north side of the garage. It has vinyl siding out there and the northern side was not only dirty but was kind of getting a tinge of green mold or mildew. We found this product to use with the pressure washer.
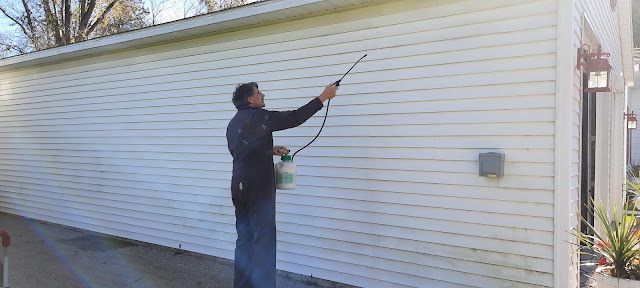
Steve wetted each area with the product in a pump up sprayer. He put on coveralls just in case it would do harm to his blue jeans or his favorite red checked flannel shirt.
After it soaked for a little bit, he used the wide soft bristle brush that he uses for washing the motorhome. It was amazing how well it loosened up all of the dirt.
The pressure washer was acting up a little bit, but he was able to get it working again and gave it a good spray down. Look at that dirt just roll down the siding.
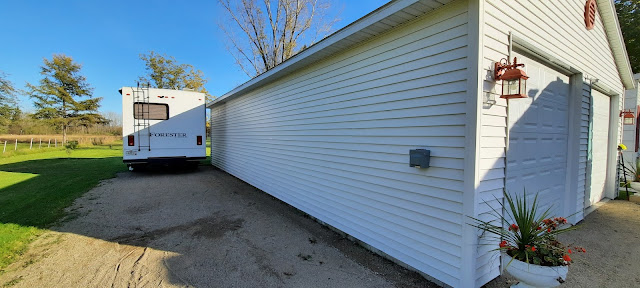
So when he got the entire North side completed except a little teeny section down where the kids have already parked their motor home for the winter. Now it should stay good for a while because it's supposed to have mildew inhibitor built into the cleaner. I never liked vinyl siding, that's even more of a reason why.... how moldy it gets on the north side of buildings.
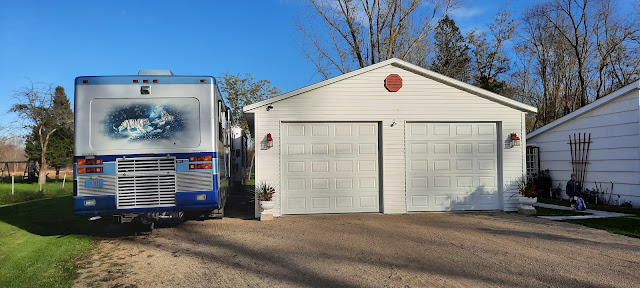
After he put away all of his cleaning toys, we were able to move the motorhome back over and park it where it belongs alongside of the garage. It is not winterized yet because we might try to go camping again next week. Did you know last year on November 6th we had a 60 degree day? Maybe we'll get lucky and get some warm weather yet.
It's like we lost the whole month of September for beautiful fall camping due to covid. With both of us getting sick, even though we weren't sick that long, the quarantining for 14 days took a big chunk out of our camping. Fall camping is so nice because the weather is more comfortable, less bugs, and all of the kids are back in school so it's easier to get a campsite during the week. Oh well, there's always next year.
~~~~~~~~~~~
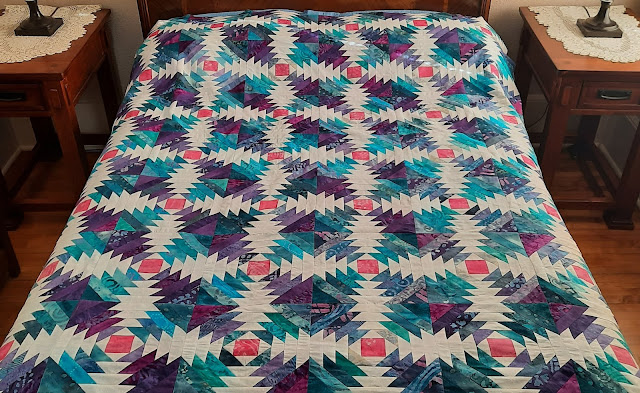
It was raining on Wednesday and I was able to finish up the last few blocks and put together the rest of the center top of this quilt that I am working on. I'm not sure what name I'm going to give it yet before I list it up for sale in my Etsy store. It will be a queen size quilt when it's done. This is just stretched over the full-size bed in our guest room for now.
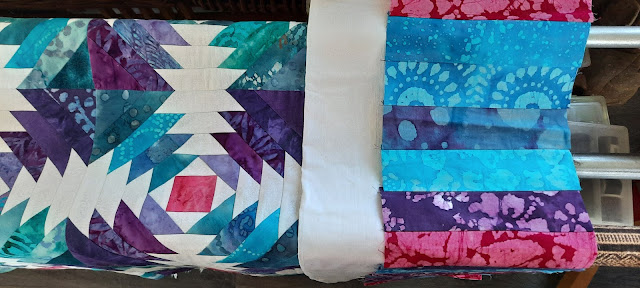
I still have a white border to put all around the edge of the main body of the quilt. Then the final border will be what's called piano keys. Which is nothing more than long rectangles. It will go around all of the edges to make it the proper width for a queen size bed. This is just to give you an idea of what it will look like. I just laid the fabrics next to the edge of the main body of the quilt.
I really like how that one is coming out.
I have a couple more in my mind
but nothing started yet.
I try to finish one before I start another.
~~~~~~~~~
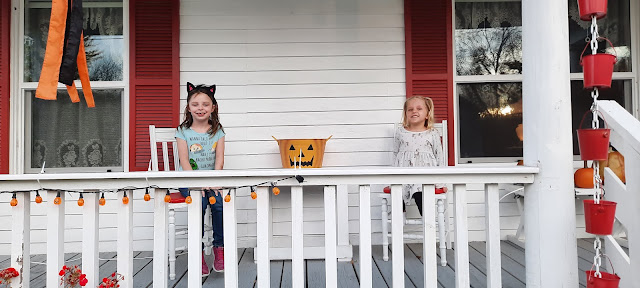
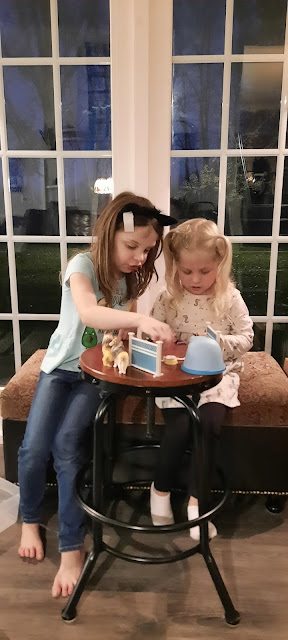
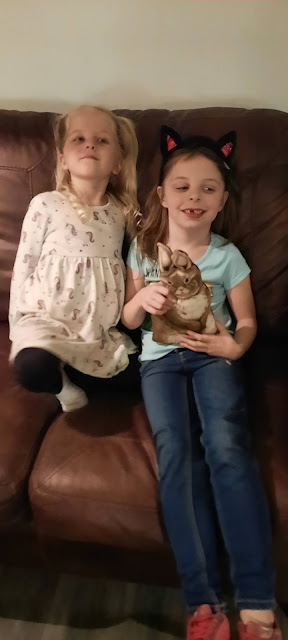
Another good reason to not go camping, Tuesday evening I was able to have the two youngest granddaughters come over. This is Whitney and Claire. If they weren't already cousins, they would be best friends! It sure is fun having them come over because they chitter-chatter all the while and keep each other entertained. I just kind of hang around the edges and listen to them. They are silly, hilarious and adorable all rolled into one.
Watching them play reminds me of myself and my cousin Pam playing together at Grandma's house when we were kids. All we ever did was beg to be together at Grandma's house and spend time with each other. Even though we were cousins we acted like best friends. Pam was older than me, but we sure enjoyed our time together. Especially at Grandma's house.
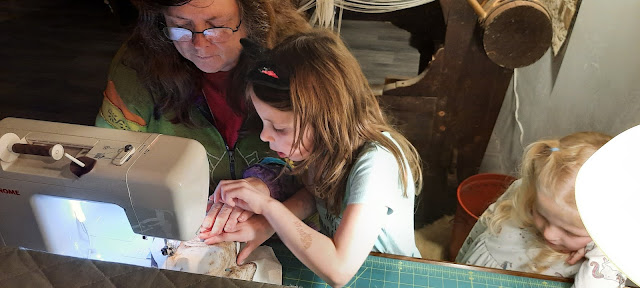
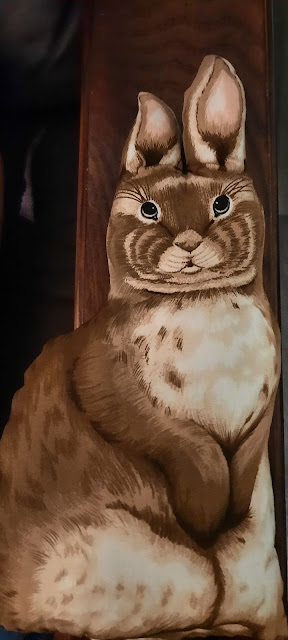
It was Whitney's turn to learn how to sew and make her own stuffed bunny toy. Claire had made one a couple weeks ago and I actually had two pieces of the same pre printed bunny fabric. So now it was Whitney's turn to learn to watch carefully as the needle slowly goes up and down. I have a speed control on this sewing machine that I can slow it way down. Then as we got near each stick pin, Whitney was able to pull it out and put it back on the magnetic pin cushion. It was cute to see how she watched that needle carefully go around the entire edge of the shape of the bunny.
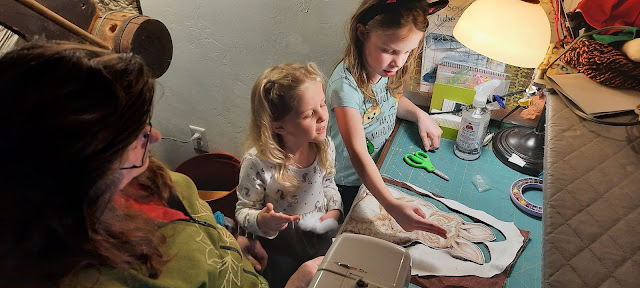
Once we were done sewing the bunny it was time to turn it right side out and stuff it. Now she could actually use the scissors (a blunt topped safety scissors) and cut open the bag of the stuffing. Claire watched carefully, because using a scissors is something that they both are getting practice with.
Here they both explained with imaginary handheld scissors, (really their fingers) how we cut all of the way around the bunny. Special thanks to Grandpa for taking all of these photos. Otherwise we wouldn't have these pictures... because there's no way I could hold the camera, take pictures, sew, and monitor the scissors and stick pins.
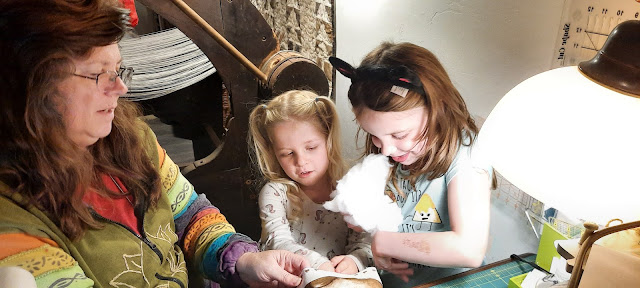
The stuffing part was fun --- each time they thought they had enough in there, Grandma said "Nope nope nope, the bunny is hungry, it needs more!" The giggles were infectious.
Once we were all done stuffing the bunny from the bottom, then I had to sew across carefully with a needle and thread. Whitney got to use the scissors to cut the thread after I completed the closing seam.
And there you have it, the two little cousins who created a bunny! Now they each have a bunny friend to play with and sleep with. Claire says it's a "bunny pillow".
Meet Little Miss Bunny, she is created with LOVE! Whitney says it's a girl because she has eyelashes. Of course!
~~~~~~~~~~~~
Now it's Thursday and it's quite a rainy day again.
I'm really glad we didn't go camping. We would have gotten one nice day out of three. The rest were rainy and cold and damp.
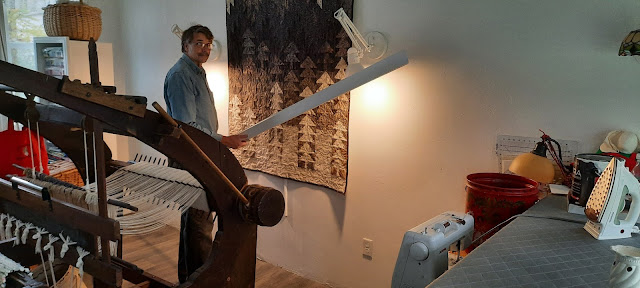
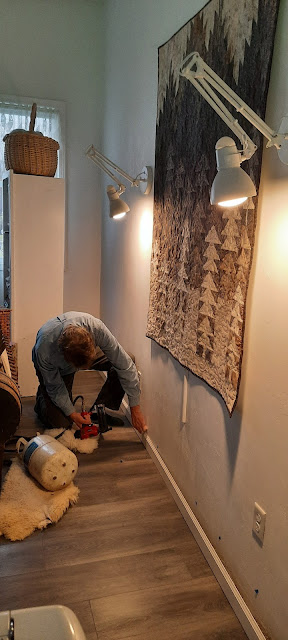
Steve was pacing around looking for a couple of jobs to work on indoors. We had never finished installing the baseboard molding on the long wall in the she shed. This is where my quilting machine was before we rearranged things. Now that the machine was moved, it's easier now to access the wall. The big barn loom slides away easily as well as the cabinet in the corner.
I had pre-painted the baseboard the other day, set on saw horses in the yard while Steve was pressure washing the side of the garage. It's a lot easier to paint this stuff outside, rather than after it's nailed up into place. Not to mention, having to cover all the beautiful floor flooring to protect it from any stray paint splatters.
Steve crawled around on his hands and knees and got it nailed into place. Now he is happy that job is finished. It's been bugging him in the back of his mind that the She Shed was really not complete, until he finished that piece of baseboard.
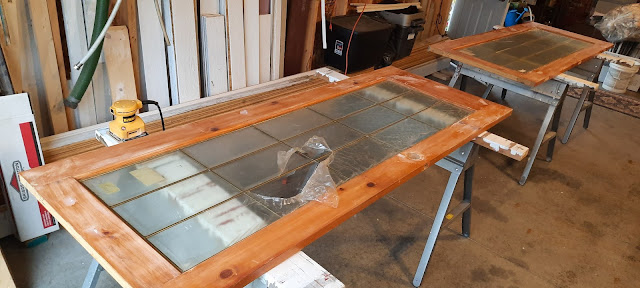
Steve is also getting antsy about starting the French doors that are going between the living room and the guest room. He took care of puttying up any little scratches or nicks and started sanding off the varnished finish. We will be painting them all white. Well, really our trim color is called String of Pearls. It's a little bit pearly grayish off-white. If the weather warms up enough, I will be able to get a couple coats of primer and paint on them. Then we will we will remove the plastic covering the beautiful beveled glass panes and brass caming.
We are tossing around the idea of changing the guest room into an office. Then the French doors will be leading into a nice office area. Our present smaller office we will make into a tinier guest room and playroom for the grandkids.
We will see what happens. For now, as long as he has a project to work on ---- like installing these doors in place of the present configuration, he will be happy.











 Posts

