Our Wonderful Followers who come back again and again to read about us...

Thursday, November 7, 2019

Horizontal to Vertical

As promised, I'm continuing on with the step by step process of creating our she shed. These posts are from some of the work we did in September and October to catch up my blog.

While the plastering guy Paul was here, we had to work on other projects and stay out of his way. Then we had to wait three days for the plaster to cure and dry before we could prime it and paint it!

During those days, we worked on two projects, here is the first one:

Remember back when we first bought the house, Steve closed up the doorway to the laundry room from the dining room?

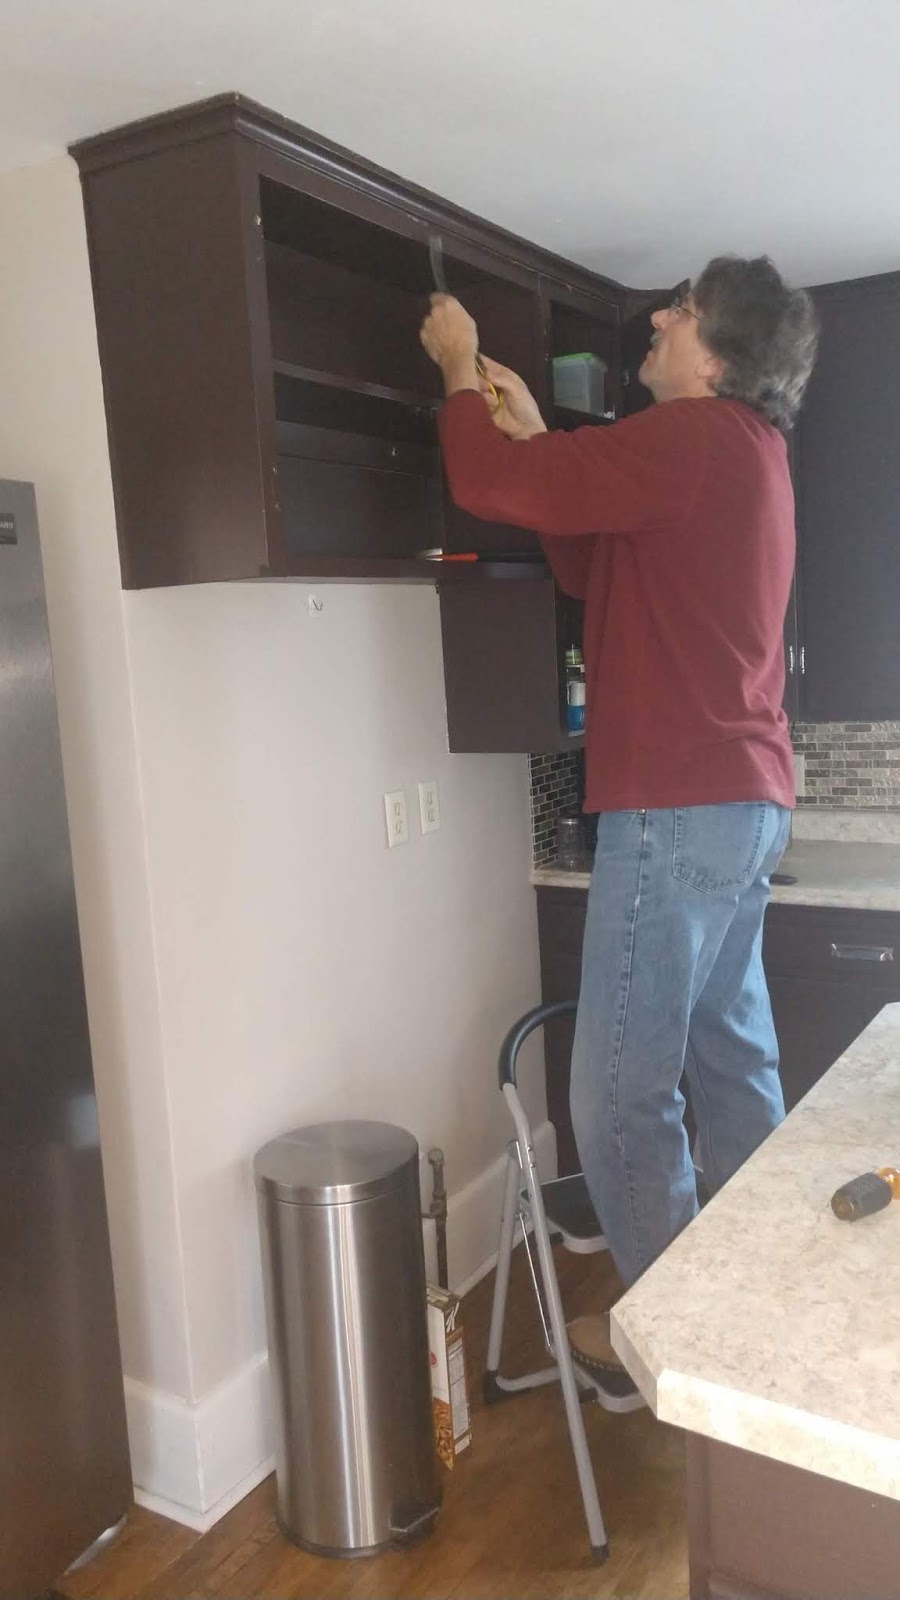
He created a new doorway leading from the kitchen into the laundry room. While he was doing that process, he had to remove a piece of kitchen cabinetry that was horizontally across that section of the wall. This was the original piece of horizontal cabinet that would have went over a stove.


I had him stash that piece of cabinetry away in the garage because I had an idea of what to do with it. He didn't think it was such a good idea (at first) so it got put on the back burner for a while.

Now that we had a couple days to twiddle our thumbs, I suggested it was time we try it out.

We took that piece of horizontal cabinetry, and actually turned it into a piece of vertical cabinetry!

Steve moved the center shelf over to the left about 8 in and secured it firmly back into place. I had some matching paint mixed up at the local hardware store after bringing in a little leftover piece of shelving to do a color match. So I am able to touch up any of the evidence of the shelf being moved over once it gets installed to the wall.


Why did we move the shelf over? Because I had this creative idea of making this portion of the cabinet into a tall wine rack!

I had originally owned three of these wrought iron wine racks. Since I had this idea in my mind, I have kept my eyes out for buying some more at various thrift shops or rummage sales. I know I could buy them brand new at Target for $24 a pair, but I would rather pick them up here and there for a buck or two. I am always The Bargain Hunter! Finally I had accumulated seven of them, which was just the right amount for what I planned to fill this whole space.


When we were camping two months ago, we had happened to stop at the Menards in Escanaba while we were buying a new pressure relief valve for the motorhome. On their clearance rack was a hunk of matching countertop that matched what we have in our kitchen. It was marked down to $20 and then an additional 11% off. So for about 18 bucks and then maybe another $10 worth of thrift shop wine racks, I had all of the materials needed to complete my project!


Now here's where the project was going to go.

On the opposite wall of our kitchen there was an awkward space on the wall where a refrigerator may have originally been. But we now have a large 2-door stainless steel refrigerator that's located in another spot of the kitchen on the other side of the island. So this awkward space needed something, anything, to not make it look so funny with the overhead cabinet and a blank wall underneath.


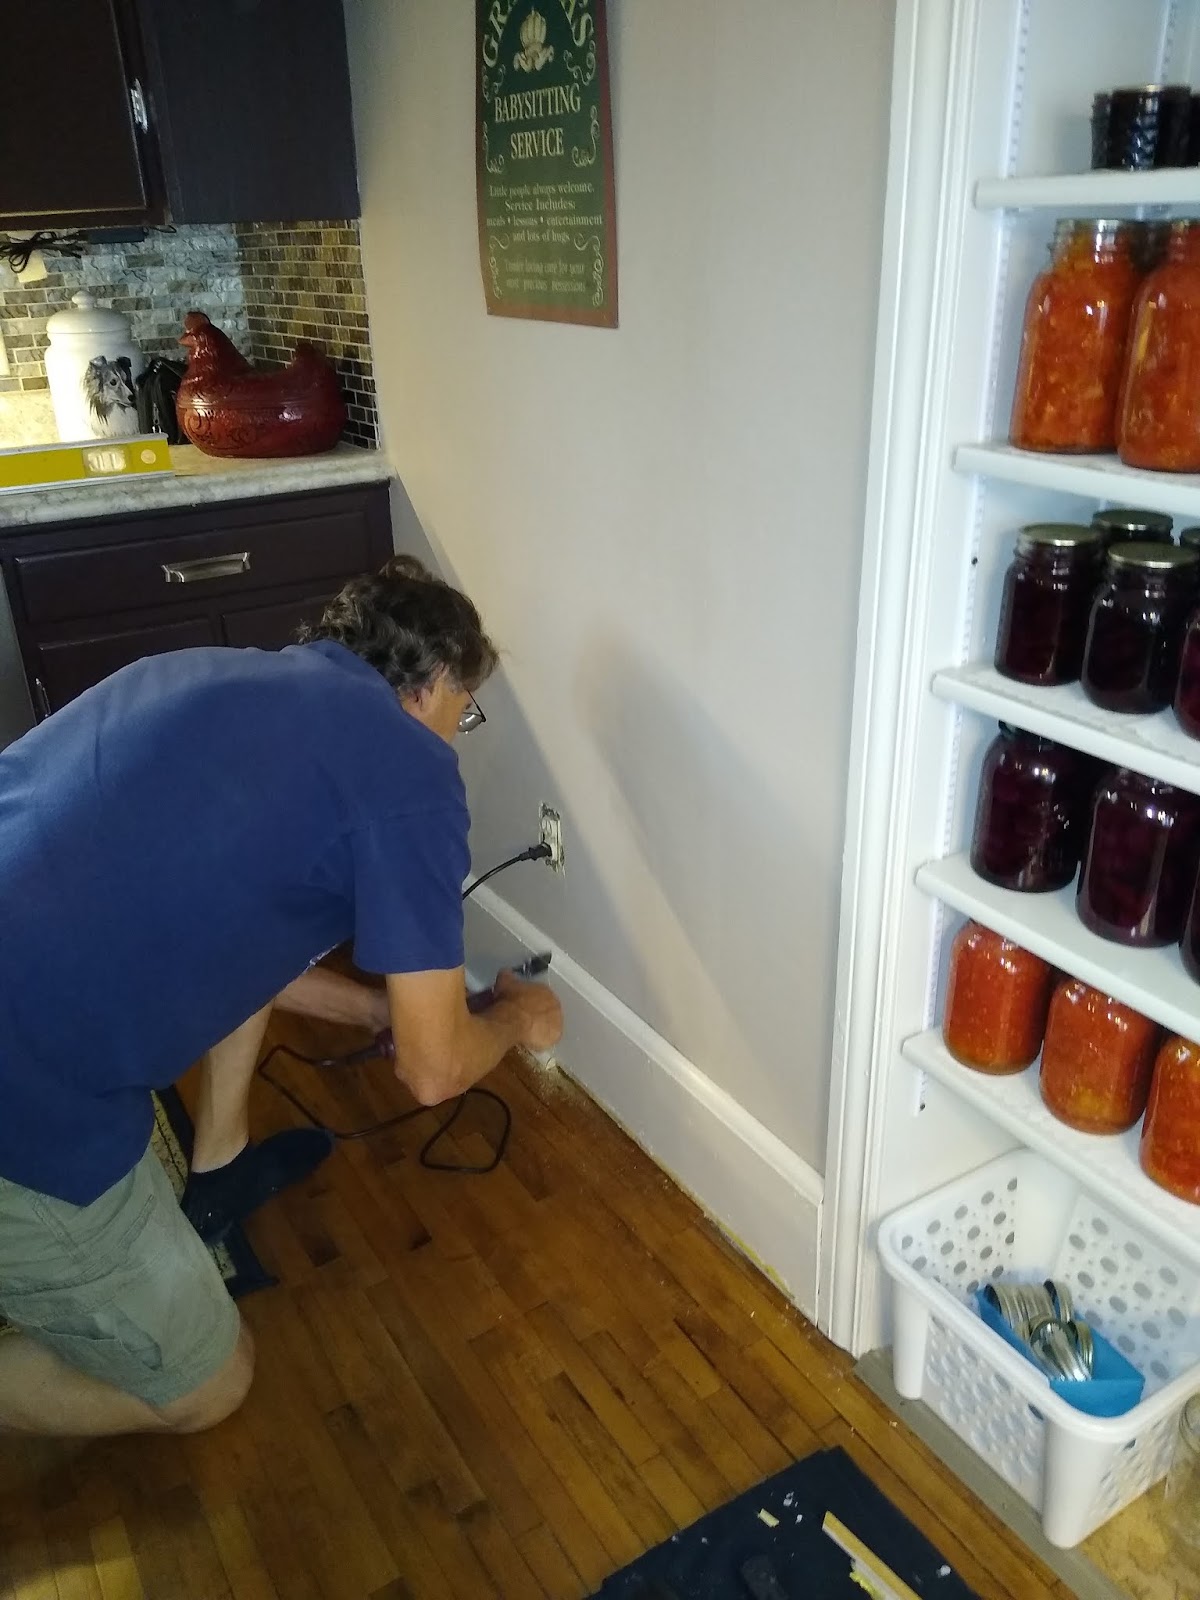
Lo and behold, this became the new location for the vertical piece of cabinetry. We mounted it tight to the wall after cutting away a little bit of the baseboard and trim.


It lined up just perfectly tight to the edge of the electrical outlet on the wall. We needed that outlet because the top surface of this wine rack is going to be our new coffee bar!


We have a tall coffee maker from Cuisinart that not only makes delicious coffee, it also grinds the beans fresh for us each morning. I especially like this particular coffee maker because the carafe is insulated stainless steel and keeps the coffee warm all day. We don't have to keep a burner on all day or keep the coffee maker plugged in. The only problem is, it's too tall to fit underneath the regular cabinets on our countertop.


So either we leave it hanging over onto the sink, or instead we've been having to take out each day and set it out on the island to use it, and then stow away afterwards. Otherwise it's in the way of meal prep or while cooking on the stove.


Now with the extra room available on top of this wine rack, this is the perfect spot for our coffee bar. We leveled it out and mounted it into place. He made a top surface to attach the countertop to, and I added the wine racks (after giving them a fresh coat of matte black paint) before the countertop went on. He also made some little shelves on the left, to hold booze bottles and a slide out tray for corkscrews, bottle openers and corks.


Next, Steve cut out a section of the countertop from that big bargain piece and covered the newly cut side with the edging trim from the original piece. He carefully removed the edging by using his oscillating tool with a putty knife blade and took it off in one piece without cracking it. Then using Grab It Adhesive, he was able to seal it onto the newly cut edge.

Steve carefully sealed around the edges of the countertop with caulking and stood back to admire his work.  He agreed, it turned out a lot better than he had originally thought.


(we donated the leftover countertop to the ReStore)


We added a little silver battery operated push light to the underside of the overhead cabinet. We can see down inside of the coffee maker when adding the water and beans in the early morning darkness.


I liked the idea that we re-purposed a piece of original old cabinetry, rather than just throwing it out. By looking at it from a different angle, and turning it from horizontal to vertical, we now have a wine rack / coffee bar! 


Our silly daughter Erin and soninlaw Waylen were near Trader Joes in Milwaukee a few weeks ago. They stocked us up with a couple cases of Two Buck Chuck wine (Charles Shaw).  We live 150 miles from the nearest Trader Joes so this is a real treat for us!  Plus it filled the rack up.  Also, the dog treat canister found a good spot on the coffee bar too.


~~~~~~


One of the other projects I mentioned was something that Steve worked on outside of the she shed.  While Paul was busy working inside doing the plastering, Steve was working on something else.

After working on the french windows in June, he had stacked the old sections of wall that we had removed to install the french windows.  We knew he needed to save those sections for this upcoming project.


Steve was carefully removing pieces of the original cedar shake siding from these leftover sections. He was cutting each little piece down to exactly fill in any of the gaps of damaged cedar siding on the exterior of the she shed.


All of these little missing gaps 
needed to filled back in 
with pieces of siding. 


The corners were especially hard and had the most damage. This home had multiple renters in and out over the years, with lots of children. The exterior had taken quite a beating.


He painstakingly was taking each little piece off without cracking it. He was busy marking, cutting, and then carefully sliding them into place and nailing them down. If you've ever done siding, you know it's hard to replace pieces when the entire wall is already complete. He was able to work in each little piece and make it appear as if there was never a repair made at all.


Steve did a wonderful job with each little section and carefully repaired all of the corner joints.  This was a time consuming job, but he wanted it done before the winter months set in. The little rodents from the field needed to be sealed out of any entrance into the house.


 I went around with fresh paint 
and touched them all up.


It doesn't even look like it have been damaged at all 
when we were done with the project!


I am so glad that we kept things "original" rather than just ripping off the old cedar shakes. It lends to the cuteness of the little attached building.  If this buys us a few more years of exterior protection before we can afford to reside the entire house (with lap board fibered cement siding) we can save on our meager budget and still make things look nice. 


My next blog post is going to be about the painting once the plaster had dried.

Stay tuned!

Wednesday, November 6, 2019

Getting Plastered!

As promised, I'm continuing the step by step process of what we were doing to complete the she shed. Yesterday's blog detailed all of the electrical and insulation.

I mentioned at the end of the blog that we had contacted our neighbor to get a referral. Our neighbor hangs drywall and we asked him who to get to do our finishing, which is all of the taping and the mudding work.

After our putting up all of the insulation and then hanging all of that drywall, we decided we are getting too old to do all of that overhead work. Especially up at 11 feet high sloping down to 8 feet high in the she shed.  Steve said after mudding and drywalling the half bath last month, he was DONE doing it himself. Time to hire someone else instead.

Our neighbor recommended a young man by the name of Paul. He is an experienced drywall finisher who has done various jobs in the area and works for a local contractor. Our neighbor said he did an excellent job for him personally at his own home and he is willing to take on side jobs at his own convenience.  He also mentioned that he had done a plastering job in a restoration of a historic lighthouse.  Interesting!

Paul came over at a designated time to give us a quote. When he saw the wonderful job that Steve and I had done with the drywall installation, he said that he would like to offer us an alternative rather than just taping and mudding. The drywall was done and joined so well that he had another idea.  He suggested that we go ahead and actually plaster the walls. He said he enjoys plastering much more than traditional drywall work.

Paul said with the plastering we could either have a smooth finish or a light skip trowel finish. We agreed to the light skip trowel finish that way we can hide any blemishes or imperfections later from normal wear and tear. It's easier to camouflage nail holes or repair "oopsies" that can happen with walls over the years.  We had a skip trowel finish on our ceilings in Chilton and we liked that effect.

He quoted us a very reasonable price to do the work, based on the condition that he could come over and work on it in the evenings or on the weekend after his regular job hours. He made it clear that it may take a little longer to complete it, but that would give it a chance for the plaster to dry in between coats.

We agreed to our picking up all of the materials and he would bring over all of his tools. We agreed to lock it up each night so nothing could be misplaced or disappear, but each morning we would unlock the room so he could come and go at will.

He furnished us with the specific brand of Venetian plaster that he likes to work with, as well as a special wall prep material that works as a bonding agent between the plaster and the drywall. He liked a certain type of mesh tape, and we got everything on his wish list.

We picked up all of the materials that evening and had them ready to go, and he was able to come over and start the next evening.


Paul brought in all of his scaffolding and stilts and tools to get right to work.  He had to roll all of the walls and ceiling surfaces with the bonding agent to insure a good surface for the plaster to hang on to.


The next step is to cover all of the seams with a special blue mesh tape. Then he covers those seams first with the plaster, making sure it gets pressed deep into the mesh. He also gives a good coat around each wall outlet and light fixture box.


He was especially happy that he did not have to put drop cloths all over to cover and protect the floor, like at most jobs. Because the floor in the she shed was still the original garage cement floor, he didn't need to do anything special to protect it. We said it was fine if he dropped plaster on it and we would take care of cleaning it up later. It made his work much easier because he would not be stumbling back and forth over tarps while wearing his stilts or arranging his scaffolding and having to rearrange tarps all of the time. It made his job much easier.

We provided him with a little mixing station outdoors with hot and cold running water by our exterior faucets, as well as an area to plug in his long drill with a mixing bar and additional buckets if he needed them.

I furnished him with buckets of ice water and bottles of drinking water and clean terry cloth rags and towels, because the weather was starting to turn very hot and muggy!!!

Boy oh boy, did that guy work hard! It was hot and muggy and sweaty while he got the first coat on. He said actually the muggy weather is nice, because it will prevent the plaster from drying out too quickly. He worked a lot with the windows closed down to help control the drying process.


I could have NEVER HANDLED ALL OF THAT HEAT AND HUMIDITY!!!  It was well worth the money we were paying him to do the job for us.

Over the next four days he came and went from the she shed. He lived nearby so he was able to go home to grab lunch or supper or take care of other errands. In between working and being here, he was also running his grandfather to a doctor appointment, running his dog to the vet, and working full-time.  He managed to squeeze in all of our work in 4 days. He was always messaging us to let us know when he was coming or when he was leaving. Some nights he was out there as late as 10 or 11 p.m.  It had to dry in layers in between each visit so that was good to space it out he said.


Here are some pics during the process:

EAST WALL WITH THE FRENCH WINDOWS


NORTH WALL AND PART OF THE WEST WALL 
(WHERE THE GARAGE DOOR HAD BEEN)


SOUTH WALL LEADING TO THE DOGGY POTTY YARD
AND PART OF THE WEST WALL LEADING UP TO THE KITCHEN

Each time after he left, Steve and I would go down on to the floor and do some mid job clean up. Steve would scrape any big gobs of plaster up with a snow shovel, and then sweep it into piles. I would vac up a lot of the excess with the Shop-Vac. It just kind of kept the job site a little cleaner and easier to work in and kept it from accumulating too much by the 4th day if left untreated.


The only inconvenience the job posed to us personally was that we had to remove the temporary back stairs so he could access the entire ceiling and corner walls with the scaffolding and stilts. Without having the stairs from the kitchen down into the she shed, that meant that the dogs could not access their potty yard as easily as their routine allowed.


Instead, we had to bring them out the front door, around the house, and put them into the fenced-in area from outside. Four or five times a day we would do that routine, even in the early morning and the late-night one before bed. But it was a minor inconvenience considering the fact that we were getting all of this work done for a good price.


We also covered the stairs to the basement door with a hunk of sturdy plywood. Later we would level and block those stairs off permanently, and just make a scuttle hole access in the wall.

It was kind of fun to watch him from time to time, but we did not want to interrupt or waste his time. The neighbor who recommended him also came over to check out his work and compliment him on a fine job he was doing for us.

Watching the way he handled his tools and slide that plaster back and forth with such precision was interesting. He kept up a figure 8 motion with that big trowel that just moved everything around to where it left an attractive finish as it dried.  No big gobs, no funny "chatter"  as he called it, and no big differences in thickness. The venetian plaster dries with some smooth and shiny and some more matte type finish in the skip trowel areas.


By the fourth day he was finished and we gladly paid him in cash. Steve also had some old plastering and drywall tools that we would no longer need, so he passed them on to Paul to add to his own collection of tools. We had some leftover materials that we also told him to take along and could possibly use on his next site.

I posted positive job reviews on all of the local marketplace groups, to help gain him some more side jobs.  We were totally satisfied with the finished project and we felt he did a good job.  Plus it was saving us a lot of back breaking work in hot and humid miserable working conditions too!

Now we had to do the agonizing process of waiting three days for the plaster to fully cure before we could prime it and paint it!!!


Sooooo during those three days of forced waiting, we took care of another project that has been on the back burner for quite some time. I will talk about that in my next blog!!!


Tuesday, November 5, 2019

Next Steps on the She Shed - Electrical and Insulation

I finally have a day to myself. I thought I would start out with getting a blog post done.

Steve left for the day to go with his brother to help his dad. His dad has been undergoing some health challenges. Both Steve and his brother Pete have been going up there regularly to give assistance.

We started out the morning with a little bit of snowfall, but now the sun is out and the wind is drying up and evaporating any flakes that fell. The temperatures are cold, below average cold for this time of year in Wisconsin. With the added wind, the winds chills are even more frigid. Brrrrrrr!

I am cozy and warm and snug inside our cute little National Folk Farmhouse. I know I've been neglecting posting about our progress on the she shed addition. Today I will start where I left off and add a little more everyday. But as any of you who follow me on Facebook know, we are almost complete!

But that's too much to put all the steps into one blog post so I will start where I left off in the last few blogs.

The last blog post I had done showed how we removed the big box pantry and made a shallower opening with shelving for a pantry facing into the kitchen. Then I also had posted about adding the french door dividing the kitchen from down into the she shed. If you go back a few more posts, you can read about all of the work up to that point. Prior posts deal with removing the single garage door, adding new windows, removing the broken ugly windows on the back, and adding all of the exterior french doors and windows.

Now that I have brought you up to speed, the next step we needed to address was the electrical.

We got the proper permit signed at City Hall that allowed Steve to take responsibility for all of the electrical wiring. Homeowners are able to do all their own work via this paper, as long as the homeowner is confident in accepting the responsibility to do it correctly. He has been doing this for 40+ years and knows what needs to be done per code.  Steve had originally gone to school to be an electrician, and got offered a job partway through his schooling to work at the University doing their maintenance and electrical and building and remodeling needs. So this was easy peasy for him.

We worked together on the plan.  It was kind of fun deciding where the outlets should go, how we wanted to arrange wall sconces and lighting, and what to put where. Steve installed a rather complicated 4 way switching system back and forth across the entire span of the room to operate the wall sconces from each of the entryways as well as a center switch in the room that could dim or brighten the wall sconces at will. That way when we're already in the room and we would want to brighten or dim, we don't have to walk up the stairs to the kitchen or over to the entry way just to adjust the lighting.  I thought it was complicated wiring when he explained it to me, but he got it all wired in correctly and it tested out perfectly!

We got all the boxes for the wall sconces set into place, as well as the wall outlets below.


I found three wall sconces on a clearance rack at a local hardware store. But they were without any shades. (that is what I wanted because I had an idea in mind)   Each fixture was a different finish, so I spray painted them all to match. I had found a lady selling three leaded glass shades that match our other fixtures in the house!  Voila!  (Preview of coming attractions to see them in place in this pic below)


We were able to figure out exactly where we wanted outlets along the walls and for what purposes. Steve also added an outlet and a cable port for the antenna up high on the wall where the TV will be suspended from a bracket.

I have never been a fan of ceiling fans, (pun intended). The motion of the blades swirling around overhead tend to bother me visually and give me vertigo. But we decided we will add one to the room anyhow and pre-wired for it up high on the sloped 11 ft ceiling.  It will help with air circulation for heat and air conditioning in the future. That week, I found a really nice all white basic ceiling fan that does not bother my eyes. I think it's the movement of the dark blades against a light ceiling on a big suspended contraption that visually bothers my eyes?  This one is unobtrusive and out of the way.


We didn't do any overhead lighting. Instead we opted for wall sconces which is something I have always enjoyed. Overhead lighting doesn't work well on weaving or quilting because your head and shoulders creates a shadow on your work when you're leaning over it. I have task lighting that clamps onto the loom and other lights that shine right over the sewing machine work areas.

On the north wall we opted to mount two white architect articulating arm lights that could reach out and flex down to shine directly over my long quilting frame. Spaced about six feet apart it will give enough room to swivel them left or right to encompass the whole 12 ft area for the quilting frame. I found some really neat desk architect lights that Steve was able to adapt to hang on to the wall. I needed lights with the switch out on the head and not in the base where I would have to reach all the way back to turn them on or off.


Actually, most architect desk lights I looked at had the switch on the line cord. But I finally found some with the switch up on the end of the head that I can just reach up and rotate and they are on or off. Steve figured out a way to wire them directly to the wall.

On the exterior of the she shed, Steve mounted a light out of the side door to the South leading to the dogs fenced in potty yard. The fixture we found at the ReStore was a motion sensor type. I gave it a coat of fresh paint and he mounted it into place by the door. So every time we open the door to let out the dogs, the light goes on. He set it to stay on for 15 minutes, which is plenty of time for the dogs to do their job and get let back into the house.


On the east side of the she shed facing out over our big backyard, he put on an exterior double spot light fixture with a switch to operate it from inside of the room. Now we can flick on the spotlight and look out through the backyard at night. The light reflects off the trees and the open meadow area of our 2 1/2 acre lot. The deer come in at night, and I've already seen a big bushy fox go through. Word about town is there's a big old bear rumbling around, but we haven't seen him yet. I think he's gotten into my bird feeders a couple times, but we haven't seen the actual bear. It's a good thing that we can light up the whole area before letting the dogs out at night for last call before bedtime. Of course, they are let out in a fenced-in area close to the house and not roaming around the yard in the dark.


Before we could start the next step of insulating the she shed, we needed to make absolutely positively sure there were not ANY roof leaks. The roof is only 2 years old, but there had been a slight leak near where the gable end meets the flashing of the roof. The previous owners had puttied it up with some roofing tar. But we did see a few drips during a heavy rain. That is not a good thing.  For a garage it was passable, but not for insulated and finished ceilings and walls. Nope!

We went up on the roof, yes both Steve and I, and examined it closely. We decided that not only would we repair/replace the entire flashing area, but we would also redo the siding on the gable end as the old wood siding had some signs of rotting and seepage.


We bought some more pieces of the fibered siding laminate that we used on the front where we closed up the overhead garage door. They needed to be painted two coats before we nailed them up there. Our grandson Clayton was over one day, looking for a project and we paid him to paint for us. He was very focused and dedicated and didn't make a mess. He did very well and was quite proud of himself.


We tore off the old siding and exposed the huge wide boards which make up the walls on this house. This house was built back in the day when wide huge trees were being floated down the Oconto River to the big lumber mills here in the town. Lumber was plentiful and many of the houses are well-built with huge wide boards. Far cry from the silly little buffalo chip wood panels stapled up stuff that you see nowadays. After we exposed the boards and fixed the flashing, then it was time to seal it all in with house wrap and then apply the new siding. We very carefully sealed everything, even around the vents.

Once it was all complete, we ran a garden hose up on the roof, totally saturating that area from all angles, simulating any type of rain storm that could possibly happen.

Inside everything was bone dry. I think we did a good job!!


This brings us up to about Labor Day. We don't go camping on that holiday as the campgrounds are crazy busy and noisy. Our kids decided the same, so they all came and spent the day with us and had a backyard party!

We set out the chairs and a table full of food.  That's when I realized we should also have an exterior outlet on the back of the house for crock pots. Since we haven't insulated yet, it was this time enough to add one to the back exterior of the house.

Even though we thought we had a well-thought-out wiring plan, it was nice to be able to quick add one more feature to make it nicer. Much better than running extension cords out from the garage!


The kids had a blast here with the picnic, we took a little nature walk outback along our woods and enjoyed having our kids families visiting. We are so glad we moved back to live closer to all of the kids. We were missing one family, we hope they decide to come to visit soon.

~~~~~~~

Now it was finally time for insulation....

We were thinking about having the commercially blown-in solid foam insulation done by a contractor. We contacted someone for an estimate and he came back with a quote of over $4,000 to do the ceiling and the walls! ACK!  For a 24x16 room? That was more than our entire budget for the complete she shed!!

Instead, we measured accurately, waited for a sale, and hauled home our own kraft faced batt insulation for the walls. The r-value is a little less, but the price was under $100 on sale. Our neighbor down the road was also selling some batts of insulation for $5 a roll of the thicker stuff for the ceiling. So we bought his to add to our assembled materials.


We started first with cans of foam, filling around all of the edges and any cracks on the exterior to seal it tight. Once that was done, then we carefully put all of the batts into place. The ceiling was pretty easy to do, as I held a long rake on a double length handle to hold them up with the wide tines, while Steve stapled the edges to the rafters and wall studs.


It was amazing how the room suddenly felt warm, even though there wasn't a heat source in it yet. With all of the leaks sealed up and the insulation in place, we could tell right away that this was going to be a very pleasant room.

In addition to the ceiling insulation, we also mounted up sheets of thick Styrofoam on the ceiling for additional r-value. These were held into place with special nails that had plastic discs on them. Then the building supply salesman at Menards said this special red tape holds well to the styrofoam and you can tape all of your seams with it. The tape was a pain in the butt! It would not unroll nicely off the roll and kept ripping and tearing and sticking to the previous layer. We fought and fought with that tape but finally got it on. We decided by that point we would take a break for a few days and do some camping.


Once the camping was done it was time to start hauling drywall. Again, we waited for a sale and then 11% rebate. Our little Geo Tracker hauled home two loads of drywall in batches, so we didn't overload the trailer. Steve and I unloaded each and every piece and stacked it carefully.


One sheet at a time, we measured and marked outlets and mounted it up into place. We did rent the drywall lift to get the flat ceiling sheets up 11 ft high. We have done drywall before in the log house out on the river. It's a pain in the butt. Once we got it all screwed into place, we made the executive decision that we were going to blow our budget a bit.


Instead of taping and mudding all of the seams and doing all the drywall finishing ourselves, we asked our neighbor for a recommendation to get someone else to do it. He is a drywall hanger himself and he knows everybody in the area. He recommended a young man who did an excellent job for him plastering. The young man had been doing it for five or six years now, and was experienced and a hard worker. He would take this on as a side job and work it when it was convenient around his own regular hours with a contractor. That was fine with us! His quote was reasonable and I will write more in the next blog about the process of doing plaster over the drywall instead of just finishing it with drywall mud.

Stay tuned and I promise I will be back tomorrow!