On Saturday, we said our final goodbye to Mom with a live streamed service from her church in Florida. It was emotional and we had a private gathering at our home with the siblings and a few grandsons too. One grandson flew in secretly from Pennsylvania to surprise his mom (my sister) on her last day of radiation and attend the live stream service with the rest of us. It was good, sad, tragic and healing all at the same time.
~~~~~~~
A month or so ago, our daughter noticed that our old house in Green Bay was for sale. She sent me the listing and I looked at the pics.
It was a great house--- an investment property with an apartment in the upstairs that was income, to help me pay my mortgage when I was a single mom. When Steve and I married in 1997, his parents had gifted us with a beautiful birdbath made from tiny pebbles. It proudly sat in the front yard under the pine tree. We started building our new log house that fall. We later sold that home in February of 1998. The birdbath was frozen in the ground, and we didn't want to destroy it by prying it loose. So we left it there for the buyers. I always regretted that.
Fast forward now 23+ years later. The house is for sale. On a whim, I contacted the realtor. I asked if either the sellers (it had changed hands a number of times over the last 23 years) or the buyers cared about the birdbath at all. Would either party be willing to let us have it? The realtor said she would work on it. She contacted me today, and said the property closed and YES... COME GET IT!
We hopped in the Saturn and headed down to Green Bay right away. It was rainy and icky out, so what better thing to do on a rainy day???
We tossed it in the back of the Saturn as quick as a wink.

I wrote a nice thank you note, and left it in the mail slot for the lower apartment to the right of the door. Nobody was there, and the house was still vacant. I had half-heartedly hoped they would be there so I could go through the house one more time. But just getting the bird bath was enough for both of us! Here is a pic of when I owned it before we built the log house up on the river in Oconto.

The bird bath is in the garage right now,
and once the rain stops, we will add it to our yard.

~~~~~~~
In my last blog, I wrote about how we finished up the inside window trim on the two new windows in the kitchen nook. We managed to steal little Claire to come over and help dust off and put up all the collection of my blown glass paperweights.
She went right to work


She arranged and rearranged and arranged again all of the little paperweights. She had so much fun. I think each one was picked up and put down 10 times until they were arranged to her complete satisfaction.

Good job, Claire!

~~~~~~~~~
Now that the inside of the windows were trimmed out, we needed to focus on the outside trim. We got all of the materials ready and stripped off more of the siding, but only up to a certain level. We didn't want to rip off too high up, until we figure out the spacing of the matching window for the master bedroom. That will be more intense figuring with a new header, king studs and inspection before we can even knock a hole in the wall!
In the meantime, we gathered our tools and started to work on the nook trim and siding.

We spent one day trimming out the windows and another day doing new soffit and fascia. The weather got very hot, so we did what we felt like doing, and took a break for the rest of the day.
Once the soffit and fascia were in place, Steve was able to put up new metal raingutter so we never have the problems of water intrusion that previously damaged the wall in the corner like before.
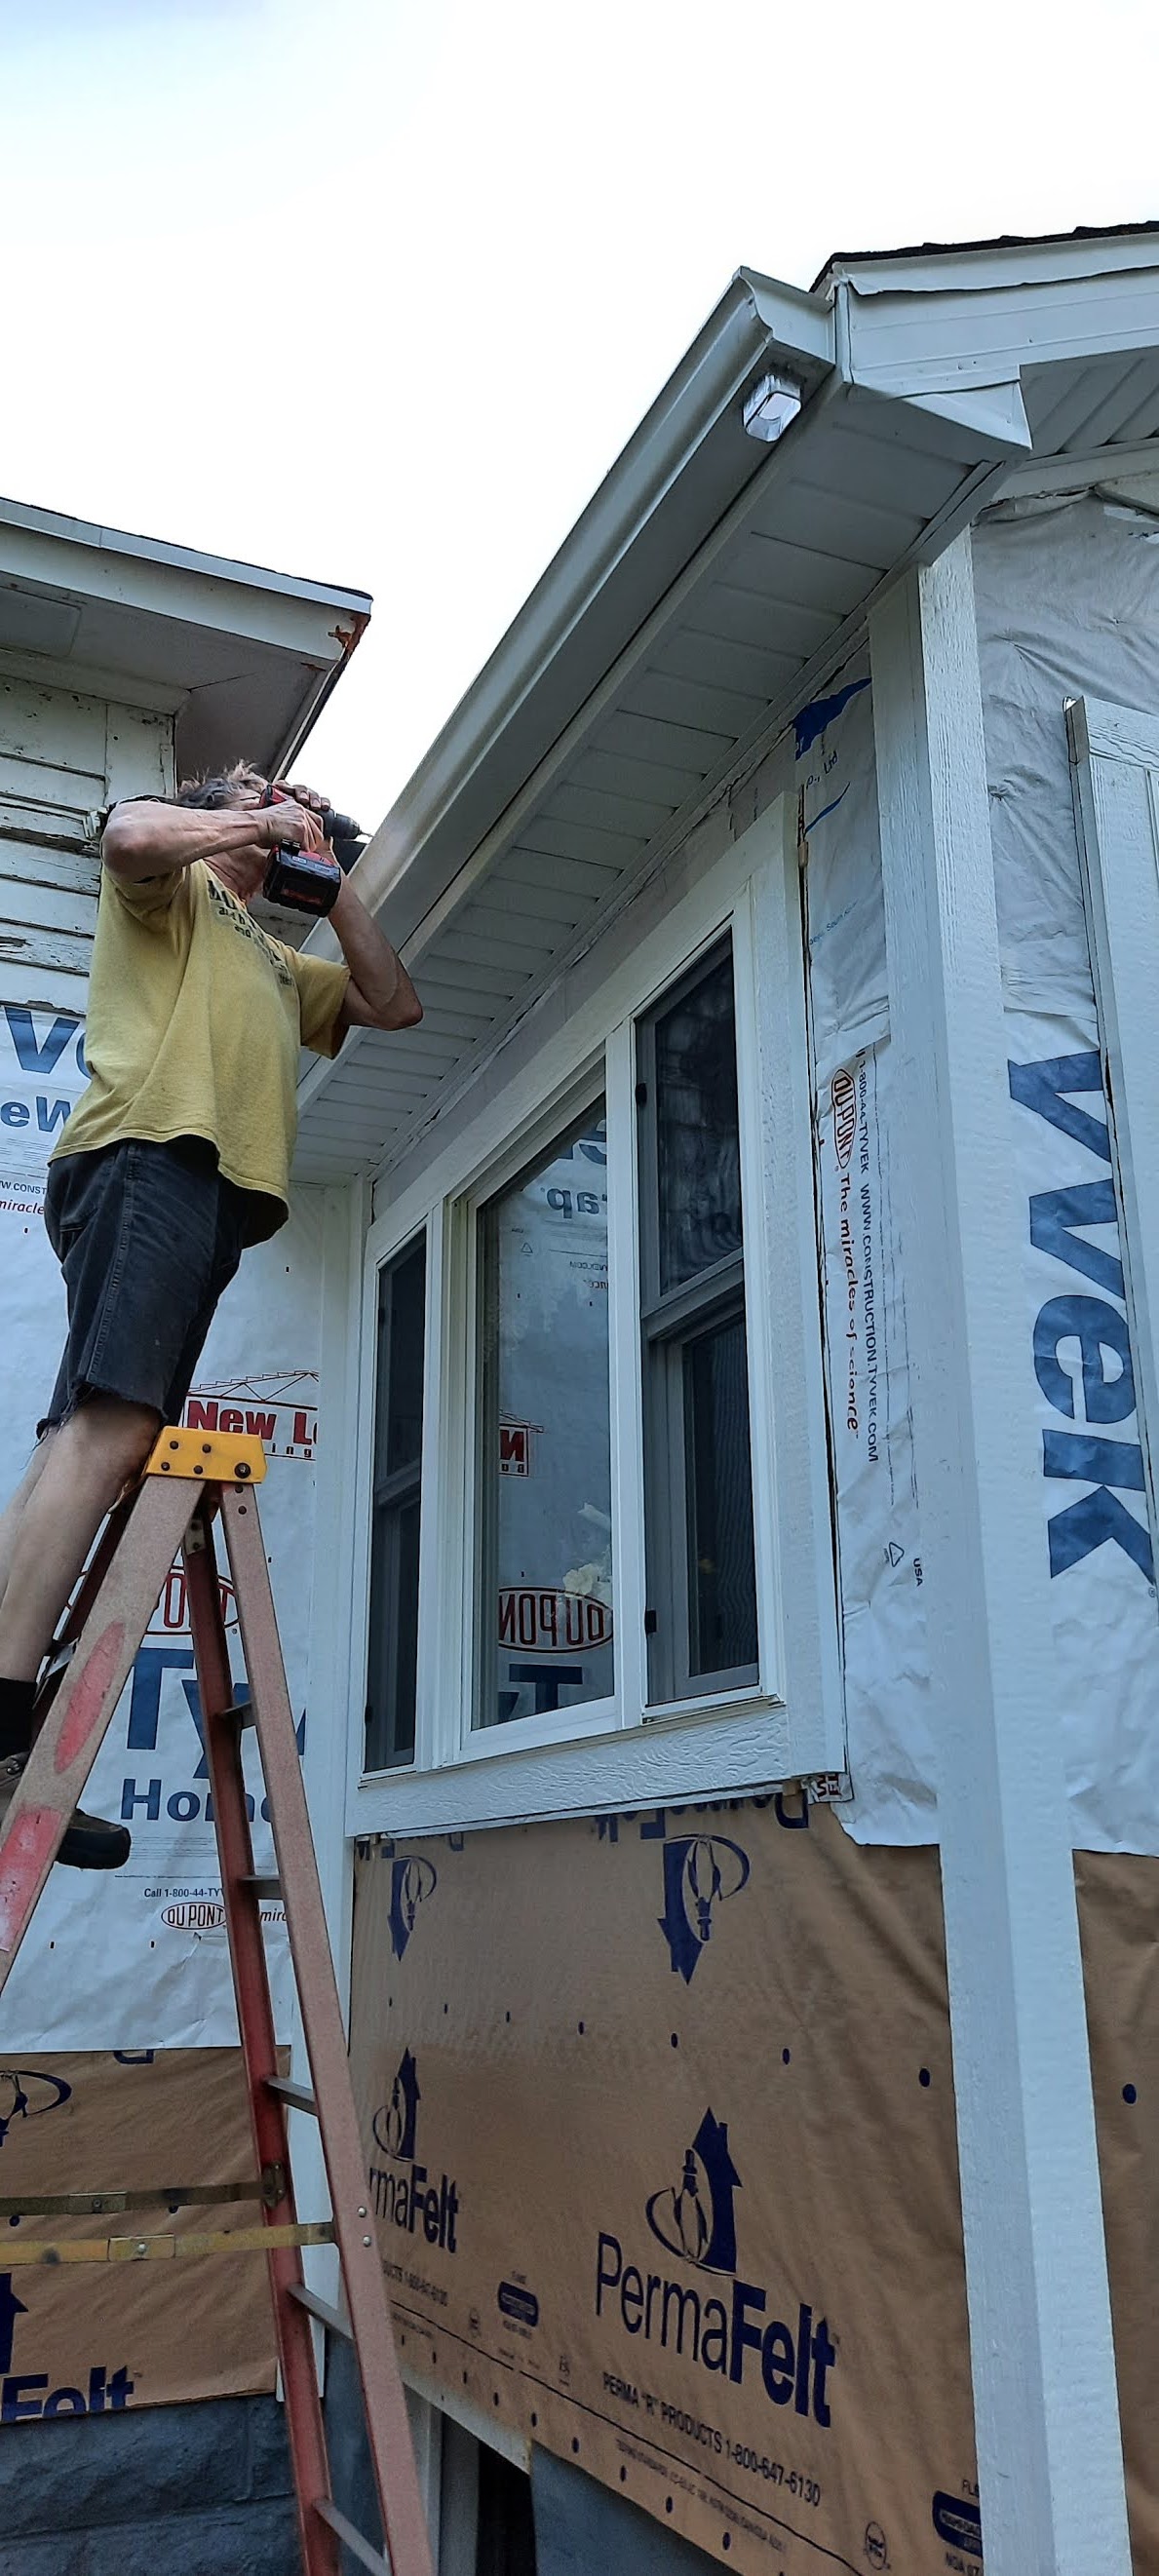
While Steve was working on that, I was busy busy busy painting trim and siding boards out on the sawhorses. Each piece takes three coats, one primer and two paints. It was a gorgeous day with blue sky and puffy clouds.

When he was ready to get to the siding, I had enough painted and dry and ready to work with. We work together as a good team, and he handles the air nailer gun, because it really hurts my ears. Even with ear plugs in. I think I am gonna get the full ear muff style protection. Gosh, I feel old.

I take care of the leveling and spacing and hold the other ends of the boards while he does the nail gun thing. The long 16 ft pieces go up easily, and will butt up to a vertical trim board that will configure with the new master bedroom window.

As he works on his cutting and figuring stuff, in between waiting for coats of paint to dry, I was working on planting flowers in my flower boxes and planters, as well as some other projects..
This one I really had fun with... ever hear of a rain chain? I made one last year for the front porch. Here is the blog from that one:
making a rain chain from Dollartree Buckets
I went to Dollartree to get some more buckets,
but they don't have them this year!
I found these pretty iridescent buckets at Walmart in the party supply aisle. Only 97 cents each. Deal! Steve had a hunk of chain, and I bought 8 little S hooks from the hardware store. That is all I needed.

I begged Steveio to put down his siding tools for a bit so he could help me. I asked him to quickly drill 1" holes in the bottom of each bucket for the chain to run through. Thank you!

I assembled the S hooks and then bugged Steve again to screw a big hook into the edge of the fascia above the rain gutter. We hung the chain up and then spaced out the buckets in a reasonable fashion to let the rain run from one to the next.

The bottom of the chain is dangling down into the big rain barrel. On the bottom, we will add a heavy old vintage window weight that my brother gave us. We didn't attach it yet, because I want to get one more bucket for the chain yet.

Today it poured rain for hours. The chain worked great and the rain barrel is now full for my tomatoes that I am going to plant in a few days.
Here is a You Tube I made last year on how the other rain chain works on the front porch:

Once that part of the siding is done, I have 12 tomato plants patiently waiting in temporary pots. Their garden spot is right where the new siding is going up. Once that is complete, they can spread their roots in their new home... and grow grow grow to give us yummy maters!

~~~~~~
Oh, last week, Steve had a little idea to brighten up a gloomy emotional day after everyone left after my mom's funeral service. We weren't going to start the siding just yet, so instead he cut up some precious wood. It was scraps from in the garage. If we went to the lumberyard right now, that would be $20-30 worth of wood!
He cut the strips and I got out the paint. (he hates painting) and soon the 2 coats were dry and ready to be assembled.

A new trellis for my clematis plants!

It didn't take him long to whip it together for me. The store was selling plain old wooden ones for $40 and painted or vinyl plastic ones for $50. I think I prefer home made. Especially when made with love. Awwwww

I think it looks so cute there and kinda fills up the gap on the wall. The big electrical service meter is there, as well as the gas meter further back beyond that. The more we can beautify up the space, the better.

So that is it for today. We will see what tomorrow will bring. As for now, it's still raining well into the night. At least I know my rain barrels will be filled to the brim. Ready to water the flowers and 'maters once they get planted.
And maybe fill a certain bird bath once we figure out the perfect space in the yard. Maybe back by Finnegan's grave, with trees nearby for the birds to perch on as they wait their turns to bathe.





 Posts

